The post Digital Projects – NSFW appeared first on Photography by Dave Kai Piper.
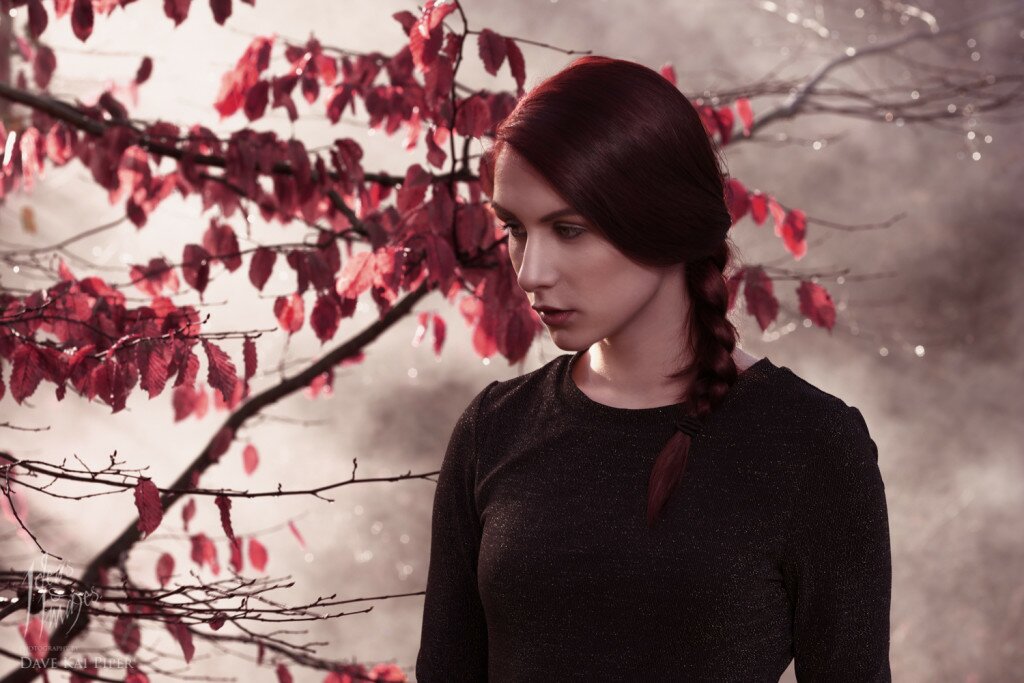
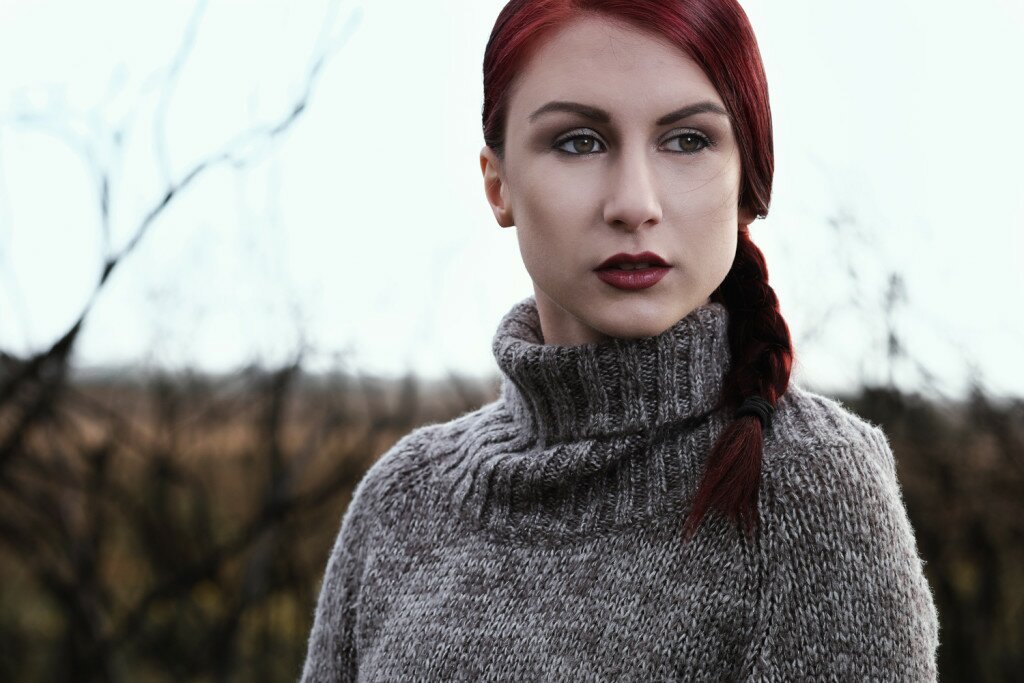
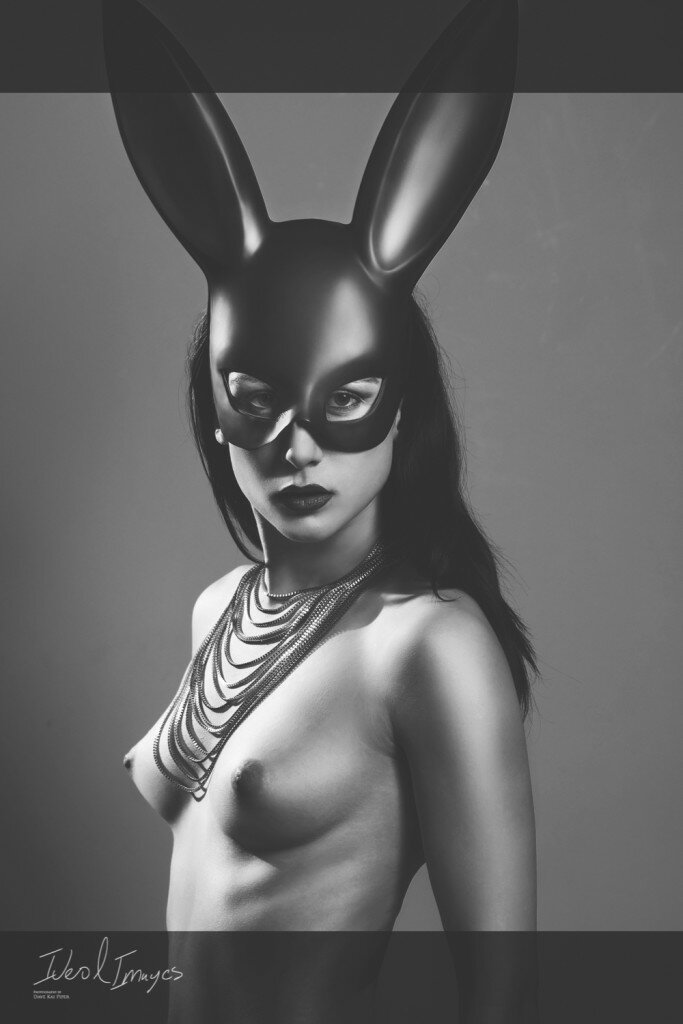
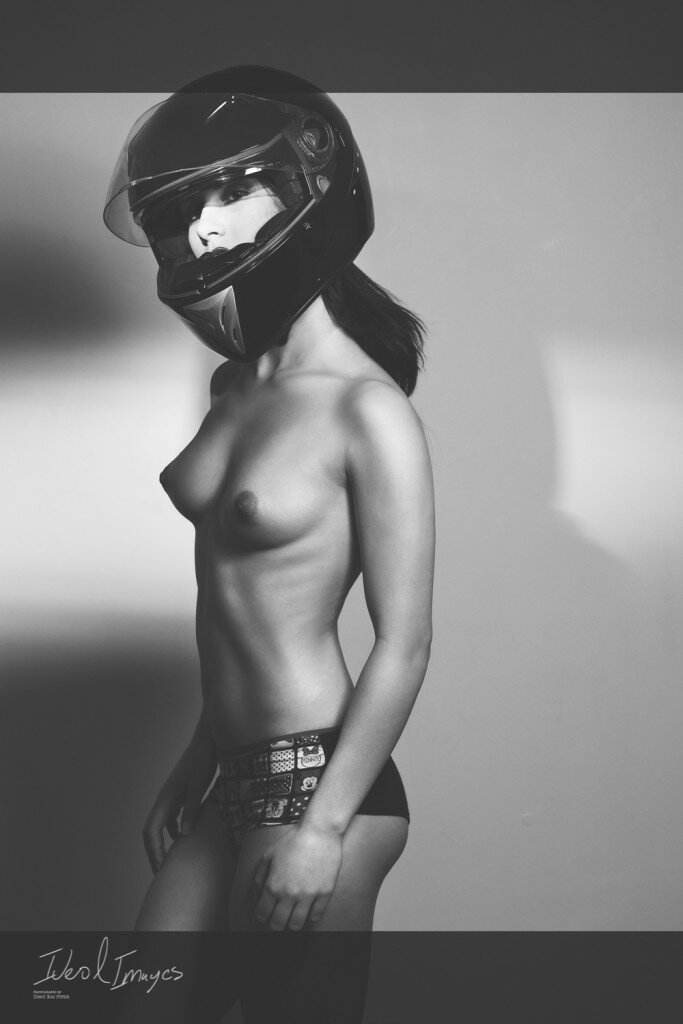
]]> Ever since I have been a photographer – I have had a close affinity with Photoshop – for me the two (photography & retouching) are linked on so many levels. Over the years I have played about with the amount of digital enhancements or ‘retouching’ that has gone into my work but up until recently never really played about with shooting images designed for digital composites. This blog shows some of the more recent images that have totally digital backgrounds.(Behance link: https://www.behance.net/gallery/38647565/Photo-Composites)
In the last few weeks I have been starting to aware of more and more of photographers following the likes of Renee Robyn, Dracorubio, Lauri Laukkanen Karen Alsop & Bella Kotak. Their use of digital additions and extensions to craft story and blend the real with the surreal is amazing. So…. I thought I would have a go at making some fantasy style images.
Most of the backgrounds here come from here : http://raw.exchange/ As did the snow, ice, sand, sunflare and pretty much everything aside from the models. I also used the CLUT’s that can be found here http://raw.exchange/product-category/looks-presets . It’s all pretty much of a one-stop store if you’re into digital composites. Head over and check out everything – it was easier than I thought for sure. Make sure to check out the fog elements too which are heavily used in the image directly below.
If people have any questions about these images feel free to ask at the bottom and I would love to say sorry for the very untidy layer stack ! – Pratik Naik would be upset to see such bad labelling of layers for sure – but, these images were more an exploration into a genre more than making finished images to a brief.
Version with less snow & ice.
At some point if there is demand or I get the time, I might find an image and do a full breakdown or do a screen capture of an edit coming together – but the truth is – there are far better at this sort of thing. Check out Renee Robyn for that sorta thing.
Above & Below.
Model: Holly Alexander
Make up: Penny Grimley
Headdress: Joanna Strange
Camera: Fujifilm X-Pro2
Above – edited
Below- raw image
Below:
Model: Stephanie Rebello
Camera: Fujifilm X-Pro2
Backgrounds: http://raw.exchange/
Below:
Model: Rachel Bowler
Camera: Fujifilm X-Pro2
Backgrounds: http://raw.exchange/
The post Digital Projects – NSFW appeared first on Photography by Dave Kai Piper.
]]> https://ideasandimages.co.uk/digital-projects-nsfw/feed/ 0The post Changing Camera Cases – Peli Protector & Air cases appeared first on Photography by Dave Kai Piper.
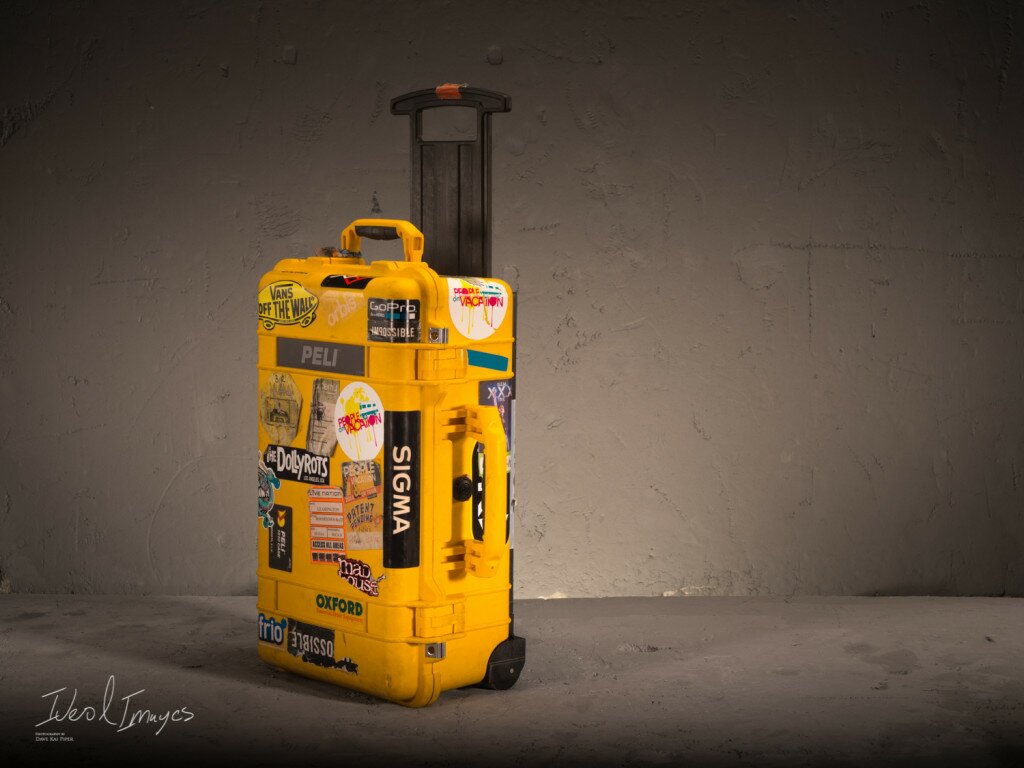
]]> For the last few years, I have been using my trusty yellow peli case – the 1510 to be model specific. It has been the backbone of my camera and photography kit, however, it is about to be replaced by not one but two new cases.There are a new range of cases – the Peli Air range – they are the roughly the same sizes as the normal protector cases yet the 1615 is 40% lighter than is protecter equivalent case. These cases are all about protection and keeping your stuff safe. They are by far away the best cases you can get if you want to have the maximum level of protection from the elements.
Off to Ireland this morning with the brand new Air cases ! #matching #luggage – @peli_uk
Image of the new cases – photographed in Ireland (click here)
I will be using this as my day to day camera case when I just have to carry a smaller amount of gear – such as 2 bodies and 3/4 lenses plus laptop & hard drives.
This case will be used to carry my 3 Legged Thing tripods, lighting equipment, lighting stands, the DJI drone plus any other things such as warm clothes or back up equipment. On the way home from Ireland we packed the case, using the Trekpak system, as half camera case and half suitcase to carry clothes. The case was actually lighter than my North Face roller case, meaning we could carry more inside it. The 1615 is a little shorter in length than the 1670, but so much lighter. I love this case !!
Check out more here (https://peliproducts.co.uk/air/)
Another cool thing about the new Air cases on sale in the uk is that you can buy them with TrekPak pre-installed. I have had a ton of people asking about this cool system and where they can buy it. It’s a pretty cool rack & pin system letting you change the lay out of a case on the fly with no velcro.
The new cases are pretty new from the ground up – looking closely at these photo you can start to spot the new feature and the updated body shell. Peli are calling the newer rounder lid a ‘conic curve’ – which I guess sounds fun but – it does mean that its harder to fit a lid organiser in at the moment – something that might be updated as the new cases come out.
The rear of the case where the handle and wheels are house is now fully integrated into the case.,meaning all the extra plastic is gone helping bring weight down. Plus now the case has extra deep side pockets in the very bottom of the case due to a more refined shape around the handle and wheels. When you buy the case with Trekpak installed the bottom foam will flatten out these dips with foam inserts.
The handle on the top of the case has gone with the new design leaving just the one handle which is also the extendable handle – which has also had a redesign to make it tougher and less bendy. Those of you who have had to drag a have case over cobbles will know what I mean about that !
There is also a nice big & clear name plate on the case which is great for holding a business card or ID tag for the case. On the bigger cases there is a space for more than one tag, also the bigger 1615 has handles top and bottom. My plan for the two cases is to use the smaller one for the cameras & laptop etc with the longer things like tripods and lighting equipment going in the 1615. Both cases come with Trekpak and with a cutter so you can shape your own cases.
Both cases fit very nicely into the overhead compartment of a plane & the 1615 has the same lock points to keep your keep safe when putting the case in the hold.
The post Changing Camera Cases – Peli Protector & Air cases appeared first on Photography by Dave Kai Piper.
]]> https://ideasandimages.co.uk/peli-air-cases-photographed-ireland/feed/ 0The post Summer Candy – Beauty Shoot / Dreamingless Magazine appeared first on Photography by Dave Kai Piper.
]]> In the last few years I have started to move from colour to shooting more nior, Newton-style black and white image, so, we thought a shot with a splash of colour would be fun.Shot for: Dreamingless Magazine
Photographer: Dave Kai Piper
Beauty & Hair: Penny Grimley
Model: Rachel Bowler @ Alan Sharman
Assisted: Stephie Rebello, Fraser Pond & Amber Scarisbrick
Close up detail image of Penny’s amazing make up:
Makeup credits:
Nars Sheer Glow foundation
Sleek eye palettes
Mac Soft & Gentle on cheeks
Mac lipsticks – Different lipsticks on different shots.
The backgrounds where a mix of hand painted boards and wall paper just sellotaped to the wall behind Rachel. Lighting was created using a very large and very close Ocatabox. and on the other side we just had a naked bulb to add the highlights and mix the hard light and soft light. Huge thank you to the staff at the Hare & Hounds for letting use a couple of rooms for a day. The rolls of wallpaper came from Homebase & thank you to Stephie who hand painted the yellow & blue backgrounds. Thank you to Fraser & Amber for lending a hand on the day too.
As always, I shot these using the Fuji X Pro 2, but unlike normal, I shot everything on the 50-140mm – A lens I am totally becoming to love in every way. I am still hoping that Fujifilm bring out and update to let me shoot tethered with the X-Pro 2 just like the X-T2, but maybe I just might have to switch cameras when shooting beauty shoots like this. Even with the screens being amazing on the camera, giving a screen attached to the computer can let the makeup artist or lighting team work on their jobs while I can worry about shooting. Shooting teathered is not just a ‘cool’ thing to have – for many shoots and many sets it is part of the whole workflow – this is very true with such shoots as this.
The post Summer Candy – Beauty Shoot / Dreamingless Magazine appeared first on Photography by Dave Kai Piper.
]]> https://ideasandimages.co.uk/summer-candy-beauty-shoot-dreamingless-magazine/feed/ 0The post Lee Filters – Exposure magazine. appeared first on Photography by Dave Kai Piper.
]]> Lee Filters – Exposure magazine.I have been a huge fan and user of the filters that Lee make for a while, it was a very nice surprise and a massively wonderful thing to help out with some images and this little interview for the magazine that they put together.
The thing is about Lee is the depth that the company knows photography – I have had the pleasure of spending time with the people at Lee and I can promise you that you have to look far and wide to find such a nice company who genuinely care about the people who use the products. The other thing is that although I do shoot landscapes, most of my work is created in the portraiture genre, however I do still filters pretty much on everyshoot, if not the filters I am using the Matte Box that Lee Make.
An image of me shooting mixing light from the Sun, Flash and using ND Filters at the same time to control all the lighting in camera
If you want to check out more photographing people using filters check out this
blog here: https://ideasandimages.co.uk/lee-filters/ If you want t read the full interview and breakdown of the images – you can do by clicking on the images below to see the full magazine.
You can find out more about Lee Filters & Exposure Magazine here: http://www.leefilters.com/index.php/camera/camera-resources#xposure
A Sneak Peek of Xposure Issue 5!
A little sneak peek video of the latest issue of Xposure, LEE Filters online photography magazine! Enjoy 84 pages of inspiration, tips gorgeous photography from photographers around the world! Download your free copy now!
The post Lee Filters – Exposure magazine. appeared first on Photography by Dave Kai Piper.
]]> https://ideasandimages.co.uk/lee-filters-exposure-magazine/feed/ 0The post Penthouse Interview appeared first on Photography by Dave Kai Piper.
]]> Mid last year Penthouse in Australia got in touch and asked for a little interview & if they could share some images in the magazine – I said yes and here was the article & a transcript of the interview.Who is the hottest woman in the world?
Well, hot is subjective. Personally I find that intelligence is more attractive that beauty… I guess ladies like Cara Delevinge, Rosie Huntington-Whiteley, Laura Whitmore & Kate Moss could fit into my ‘hot’ list. I am just not the kind of guy who sees girls as ‘hot’ or ‘not’, I never have been. I like to see class, style and humility.
What’s the one thing you couldn’t do without?
As I photographer I guess I should say my
camera, but I will have to go with music. I love
my Spotify account and I simply cannot work
without my playlists guiding me though my day.
I think this is why an office job would not suit me.
Camera wise…. my Fuji X-T1, my laptop or even
my Wacom tablet for editing.
Who is the greatest photographer of all time,
and why?
There are a few names that come to mind for this. Helmut Newton, David Bailey or maybe
someone like Guy Bourdin, Herb Ritts, Peter Lindbergh, Mario Testino, Nick Knight, Richard Avedon. It would be quite impossible to say why one person is better over the other. There is a Montreal based photographer named Ben Von Wong. His work is mazing, but it is so much more than just showing pretty things or stunning images. What he does is engage people and he really does change lives. Photography for Ben is a way to live and a way for him to make other people’s lives better. Very inspiring.
If you could photograph one person in the
world, who would it be?
The Queen. There is no doubt on that. In a hundred years from now, I am sure my children’s children would be looking though a box of images under the stairs or something and come across some images of mine. Would it not be amazing to have images of the Queen in that box ?
The post Penthouse Interview appeared first on Photography by Dave Kai Piper.
]]> https://ideasandimages.co.uk/penthouse-interview/feed/ 0The post Go high-speed sync! Cactus launches the V6 II, appeared first on Photography by Dave Kai Piper.
]]> It seems like the update to the V6 is here & it sounds like they are bringing HSS to the Fujifilm System – how exciting !!There was a press release that just landed into my inbox. It outlines the two new models that are announced. There is a dedicated Sony version which is the V6IIs & the HSS version – the V6II.
Hong Kong, June Hong Kong, June24, 2016 – After two years in the making, Cactus V6 II & IIs – the second generation of the World’s First cross-brand wireless flash transceiver, NOW supports high-speed synchronisation (HSS)! Besides the revolutionary remote power control of Canon, Fujifilm, Nikon, Olympus, Panasonic and Pentax flashes all at the same time, the new models now support HSS / FP mode in the same cross-brand environment.1 This unique function gives photographers flexibility undreamed of. Matching flashes with same camera system for off-camera flash photography is over.
Two High-Speed Sync Modes
1. Normal HSS: Supports shutter speed up to 1/8000s.
2. Power Sync: Boosts flash contribution above camera’s x-sync speed, perfect for extreme conditions where Normal HSS is not powerful enough.
Cactus also extends HSS capabilities to Fujifilm cameras despite them not yet supporting high-speed sync at the time of writing.
AF-assist
Both the V6 II and IIs now has an automatic LED AF-assist light that makes autofocusing
in dark environments possible – even in pitched-black!3 Besides the cameramounted
V6 II/IIs, off-camera units will also activate the AF-assist light, which
helps focusing even when camera is far from the subject.
V6 IIs for Sony
The dedicated Sony version – V6 IIs, embodies all the desirable functions of its
sibling V6 II but with a Sony compatible hot shoe on the transceiver body, ensuring
a seamless and secured connection with Sony cameras and flashes. Mounting the V6
IIs on a Sony Alpha camera allows the photographer to shoot above camera’s maximum
x-sync speed and control power and zoom of Sony, including those with a
Minolta/Sony hot shoe via an adapter, and other V6 II compatible flashes. 4 It is the
perfect wireless flash trigger for existing and new users of Sony Alpha cameras,
especially those who may still have non-Sony system flashes in their camera bags.
Highly Intelligent
V6 II and IIs can now auto-detect the on-camera portable flashes at device start-up
by selecting the system the flash belongs to and assigning an Auto flash profile.
Similarly, the V6 II will auto-detect the camera and selects the system
accordingly. 5 This simple plug-and-play makes the setting up extremely quick and
easy that both amateurs and professionals appreciate.
Expands Flash Compatibility
Remote zoom control now applies to all compatible TTL flashes, gives the
photographer much quicker controls. Better still, previously unsupported digital
TTL flash models on the V6 are now being supported.
Download the full PDF Press Release here: LINK
Features at a Glance
1. Cross-brand wireless manual power and zoom control with HSS support of Canon,
Fujifilm, Nikon, Olympus, Panasonic, Pentax and Sony flashes;
2. Two cross-brand high-speed sync modes:
• Normal HSS supports shutter speeds up to 1/8000s;
• Power Sync boosts flash contribution above camera’s x-sync speed;
3. Multi-master supports up to 20 photographers firing the same set of flashes
at their own power settings;
4. AF-assist light assists focusing in low light environment;
5. Flash profile customization ensures accurate power output;
6. Work seamlessly with the RF60 series to support HSS and Power Sync;
Other useful features inherited from the V6 including:
• Lo Power
• Absolute Power
• TTL Pass-through
• Group Sequence
• Sport Shutter
• Remote Shutter
• Relay Mode
• Delay Mode
• Firmware Update support
Price and Availability
Cactus V6 II and IIs are currently scheduled to be available in 2016 July and
August respectively and both are priced at US$95.00 (ex VAT).
Sample from the RF60 flash from Dave Kai Piper
Sample from the RF60 flash from Dave Kai Piper
Sample from the RF60 flash from Dave Kai Piper
The post Go high-speed sync! Cactus launches the V6 II, appeared first on Photography by Dave Kai Piper.
]]> https://ideasandimages.co.uk/go-high-speed-sync-cactus-launches-v6-ii/feed/ 0The post Dressed in Light – Rachel Bowler appeared first on Photography by Dave Kai Piper.
]]> This shoot shows for why getting into the studio and testing out ideas and new skills can be very important. Normally I find myself shooting portraits, but with this set Rachel and I wanted to do something a little different. We decided that a fun shoot using a different light source might be interesting – in this case we used a ACER digital projector.After a while of testing out different projections we found that we really loved the white strips of light. We have already planned a the next set !
Rachel Bowler for Alan Sharman Agency
Photographer: Dave Kai Piper
Retouch: Ideas & Images
Fujifilm X-Pro2 – click for more info
Colouring & toning was done in Photoshop using CLUT’s & Gradient Maps.
The post Dressed in Light – Rachel Bowler appeared first on Photography by Dave Kai Piper.
]]> https://ideasandimages.co.uk/rachel-bowler/feed/ 0The post New from Peli – The 1535 Air + Pre-installed Trek Pak appeared first on Photography by Dave Kai Piper.
]]> There is nothing I trust more to look after my camera kit than my 1510. It’s loved and has the scars to match. It has been by my side everyday looking after the cameras that provide my income.A few years ago, Epic Photographer Tom Barnes showed me some of the kit he carries in his case ( which was pretty pimped I must say ). we both shoot in the same way using the same tethertools cables and like the idea of having a portable workstation – hence we both turned to the 1510. Tom also used the killer Trek Pak System.
Link to Trek Pak & Peli – http://www.pelican.com/trekpak/
For a while the 1510 or the storm case was the only real option for a photographer looking to travel and work. The news today that there is a NEW case coming which is lighter and you can buy with TrekPak Pre installed is very exciting. The 1535 weighs in at 3.9kg compared to the 6.2kg of the 1510.
PELICAN™ AIR CASE FEATURES
For a while now I have had many questions on TrekPak – It’s a pretty rad rack & pin system that lets you change and adapt the layout of any bag or case – not just Peli cases. They can be used to make the layout for tour cases, tool cases or anything to be honest.
Check out this video which shows how Trek Pak fits into your case. The image above it my 1510 kitted with the system. I can not wait to get my hands on the new 1535 Air case though. I do hope I can get the new cases in yellow
If your based in the UK – I am very confident that if you keep your eye on peliproducts.co.uk website you will be able to order them real soon. There is a newsletter to sign up to at the bottom to make sure you are kept in the loop
The post New from Peli – The 1535 Air + Pre-installed Trek Pak appeared first on Photography by Dave Kai Piper.
]]> https://ideasandimages.co.uk/new-case-peli-1535-air/feed/ 0The post Another afternoon with Holly Alexander (NSFW) appeared first on Photography by Dave Kai Piper.
]]> A few weeks ago, I was playing about with some film cameras with Holly Alexander as my lovely model ( check that shoot here ), unfortunately Holly didn’t have much time to shoot that day so, fortunately that did mean another shoot !Instead of shooting with the Mamiya I was just shooting 35mm Fujifilm Acros on an old beat up Nikon camera from back when the uni first opened. I have yet to scan finish processing the images but I do have them developed. Today’s shoot was more to shoot the Towel images that we didn’t have time to shoot last time.
After the shoot we shot another little set with some rope that Holly brought along. Hope you enjoy the shoot & there will be more to come & a blog about shooting the Fuji Acros system next to the actual Acros 35mm film. Check out the article on the Fuji X website about the film sim – link –.
Image of Holly Alexander by Dave Kai Piper
I am pretty sure there the Acros film sim is directly linked to why I am shooting more and more Monochrome images !
All these images where shot in the studio using the Bronc lights – mostly with the most epic Cumalite. Make sure you sign up to my newsletter for news on my towel project when I have it. https://ideasandimages.co.uk/newsletter/
Image of Holly Alexander by Dave Kai Piper
Image of Holly Alexander by Dave Kai Piper
Image of Holly Alexander by Dave Kai Piper
Image of Holly Alexander by Dave Kai Piper
Image of Holly Alexander by Dave Kai Piper
Image of Holly Alexander by Dave Kai Piper
After we shot the towel images, Holly wanted to try and create some images using the Rope she had brought. We loved the ideas of playing with the texture of the rope and the skin so went for a dark and shady lighting style that would show the smooth skin texture and bring out all the detail in the rope.
I used to long, deep Strip soft boxes on a pair of Bronc heads to set up the split lighting used in these shots.
Image of Holly Alexander by Dave Kai Piper
Model – Holly Alexander
Image of Holly Alexander by Dave Kai Piper
Image of Holly Alexander by Dave Kai Piper
The post Another afternoon with Holly Alexander (NSFW) appeared first on Photography by Dave Kai Piper.
]]> https://ideasandimages.co.uk/another-afternoon-holly-alexander/feed/ 0The post An Afternoon with Jezebelle (NSFW) appeared first on Photography by Dave Kai Piper.
]]> Jezebelle is just as much of a lovely person as she is a lovely model. I have been wanting to shoot with Jezebelle for a good while and a few months ago we got the chance to set a date and hit the studio we did just that !We shot some images for my towel series and we also had a play about with another fun concept too.
Something that was quite fun & I will have to update this post with them, is that I part shot this image on film and part digital. I have yet to get the film sorted out and printed, then scanned but will be sure to do a post when I have. These were shot on the D800 & the Fuji X-Pro 2 as part of a test. People had been asking me recently just how good the APS-C sensor is against the amazing Sony Sensor that is in the D800. It made me think, and I had not really done a direct head to head. At some point I will do a side by side, but I want the film first. What I can say is… The d800 was FAR slower to use & edit as I wanted to match the monochrome images to the Acros Film sim mode from the Fuji, as that was the very same 35mm I was shooting with on the film camera. From just looking at the files, it is impossible to tell the cameras from these images, but also, as I was editing them, it was still hard to tell them apart unless when I needed to really zoom in to edit. Just thinking too… I should really add in the Pentax 645z and shot some images across all the formats on the same shoot.
Thank you to Jezebelle !!
The post An Afternoon with Jezebelle (NSFW) appeared first on Photography by Dave Kai Piper.
]]> https://ideasandimages.co.uk/an-afternoon-with-jezebelle/feed/ 0The post Character lighting workshop at Amersham Studios appeared first on Photography by Dave Kai Piper.
]]> Last Saturday myself and Stephie headed down to Amersham Studios for our workshop ‘creating lighting with character workshop’.We kick started the day with a seminar looking at various different images and discussing how each one was lit and what lighting types were used. We spent the morning looking through images I had shot with each lighting style and fitting each light into one of these three types. We spoke about how each lighting type makes us feel and why. The idea that the shadow placement is good way to identify lighting types was spoke about for a while and the concept that lighting is actuality all about shadow placement is a key element.
Once we had finished our discussion we set some lights up and put to practise what we talked about during the seminar. Personally speaking, I don’t think my work is that complicated when it comes to lighting. I mainly work with a combination of three lighting styles, Rembrandt, butterfly and split lighting. Once you have got the idea of Rembrandt, Butterfly and Split lighting the rest is about the finer placement and combination of these lighting types to produce things like clamshell and badger etc… For me, I find that all the character and story of an image is all in the shadow. Where I place the shadows is usually the most important element when photographing people.
If you think this workshop sounded like fun you should check out Amersham Studios for some other great workshops here.
Image of Stephie edited by Stephie
Image of Stephie edited by Stephie
The following BTS images by Simon Ellingwrth
The post Character lighting workshop at Amersham Studios appeared first on Photography by Dave Kai Piper.
]]> https://ideasandimages.co.uk/character-lighting-workshop-amersham-studios/feed/ 0The post Saying goodbye appeared first on Photography by Dave Kai Piper.
]]> So far 2016 has been quite a year.A few months ago my partners Grandad passed away. Shortly after my Grandma passed away. We decided that we should photograph both days. We are not going to share all the images in this blog but I did want to share some of the images taken around the days and some of the images that we created as a way to remember the days.
Norman was an amazing person. I only ever met him once however he was the most welcoming man I had met in a long time. We chatted like we had known each other for years. He had a very full and amazing life, from his time with the RAF to working for BAE his passion for technology was something that kept his mind tack sharp even after retirement for years. I can only imagine the person he was back when he was fighting fit.
All photos are released with family permissions.
Norman was a much loved brother, father, grandfather and friend.
Marianne Piper was my Grandma on my dad’s side. She was an amazing lady. Strong willed yet very giving and loving. Marianne had an eventful life, full of travelling, full of spirit and kindness. I will forever cherish the memories I have.
As you might notice – above and blow, the images end with a colour image. Norman’s is a sunrise from the morning of his funeral & Marianne’s is a sunset from the day we sad our goodbyes. When we decided to take a camera to both of these funerals we also wanted to create something meaningful that we could hang on our walls to look at everyday. As the two funerals were so close, to Stephie and I, they are linked. These two images are very special to us, they mark the two very important dates.
There is a song written by John Glynn that seems to be one of those songs that follows me though life. It breaks my heart to just even think of the words. John is a former priest, but, religious or not, these words do connect with me and did inspire, for me anyway, the idea of capturing the sunrise and the sunset for Norman & Marianne.
I watch the sunrise lighting the sky,
Casting its shadows near.
And on this morning,
Bright though it be,
I feel those shadows near me.
But you are always close to me,
Following all my ways.
May I be always close to you,
Following all your ways Lord.
I watch the sunlight shine through the clouds,
Warming the earth below.
And at the midday life seems to say,
I feel your brightness near me.
For you are always close to me,
Following all my ways.
May I be always close to you,
Following all your ways Lord.
I watch the sunset, fading away,
Lighting the clouds and sea.
And as the evening, closes its eyes,
I feel your presence near me.
Yes, you are always close to me
Following all my ways.
May I be always close to you,
Following all your ways Lord.
If you wish to listen to a wonderful version of this song – click here
———————————————————————————————————-
If you are struggling with the the loss of a loved one – samaritans.org is a great place to ask for help or advice. There is always someone to talk to. Feeling sad or lonely is a very natural feeling after the loss of a family member, partner or friend. Sharing your worries can be a massive weight lifted of your shoulders.
The post Saying goodbye appeared first on Photography by Dave Kai Piper.
]]> https://ideasandimages.co.uk/saying-goodbye/feed/ 0The post Charlotte in the New Forest. appeared first on Photography by Dave Kai Piper.
]]> The New Forrest is a stunning place. I have family there and each time we go down we have to shoot something. Our most recent trip was super short on time & meant we ended up shooting this set at about 6am in the morning to be able to fit everything into the schedule.We had no idea what the weather would give on the day, but I knew that during this time of the year the chance of a low fog was high, so, that was what we planned for. We took the filters to let me shoot at a wider aperture & the speedlight to be able to add an element of contrast & crisp light when we needed it. To get the light up high we used the monopod from 3 legged thing as a lighting boom with the roundflash attached to the Cactus. It all works pretty well. Thank you to Steph for helping get the lighting just right.
(check out more of my images shot on the X-Pro2)
As with most of my shoots, we styled this a little bit on the flow between Charlotte and my self. A few days before we jumped on to ASOS and lined up some some cool stuff that would work.
If you want to see more about shooting with filters on location click here
Model: Charlotte Roffey
Lighting: Stephie Rebello
Camera: Fuji X-Pro 2
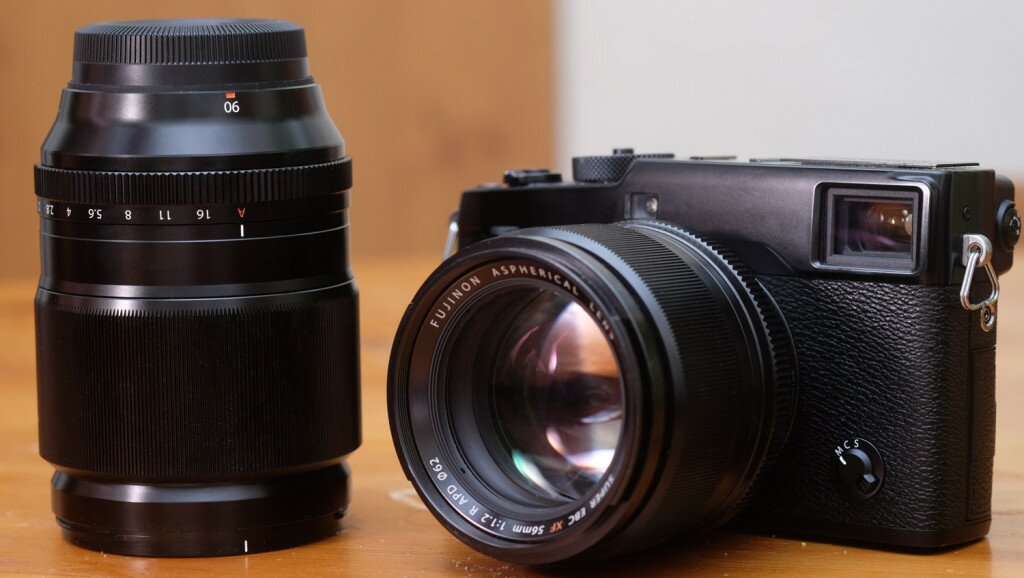
Lens: 16-55mm, 56mm APD & 50-140mm
Lee Filters x 2 .06 ND Grad – https://ideasandimages.co.uk/lee-filters/
Cactus Speedlights – RF 60 Speedight – V6 Transmitter
56mm APD 1/80 ISO200
56mm APD 1/60 ISO100
50-140mm @ 87.1mm 1/25 ISO500
50-140mm @ 50mm 1/25 ISO50
16-55mm @ 16mm 1/125 ISO320
56mm APD 1/125 ISO200
56mm APD 1/80 ISO100
The post Charlotte in the New Forest. appeared first on Photography by Dave Kai Piper.
]]> https://ideasandimages.co.uk/charlotte-in-the-new-forest/feed/ 0The post We started a Video blog appeared first on Photography by Dave Kai Piper.
]]> At the end of May we started a video blog / diary.My life is changing, the world around me is changing and I want to be able to share that with you and document it for me self to look back on. I felt that a video blog as the right way to go as there is something more personal about seeing a person speak rather than a status update on Facebook or tweet. I also wanted to be able to share the good news and the bad times – these posts will be direct and honest. They will cover things work related – personal and things that come and go in my life.
The rest video was filmed on the train as I was headed to a shoot in Warrington on Easter Sunday. I have linked the first few here and think each month that I will make a blog with some of the more interesting uploads.
This is the blog covering the 30th & 31st.
In some ways I really wanted to do a daily blog – but.. I think that I might either do combined days or bi weekly updates. The other thing about doing a video blog is to choice to show and edited version of life or talk about the up’s and downs. April the 1st was tricky day to film. We had gone down to Portland for the Funeral of Stephie’s Grandad. I took my camera with me and I did take a few images of the service. I am still in the process of sharing the images with the family, but we have shared one or two, and I have permission to share the image below here too.
I decided to also do a blog post the evening of the funeral. You can see that blog post directly below here. It was a very difficult day for sure. My heart goes of to all those who knew Norman. He was an amazing person. Rest in Peace.
As I was mentioning, this video blog is going to be just as much of a personal document as a work document. It just so happened that we had the sad loss of Norman a few days into starting the blog.
One of the things about doing what I do is the sheer number of amazing people I get to spend time with. Matt Hart is a wonderful street photographer and fellow Fujifilm X-Photographer. We had the pleasure of dinning with Matt twice this week. The 4th of April saw Stephie’s and my Anniversary. It was our first in fact – directly below is the video from that evening which we filmed at the Hare & Hounds. Underneath is the video we made the following day when Ben Cherry – another fellow Fujifilm X-Photographer popped over to join Stephie, Matt & myself for dinner. We had some beers then made a video.
You can check out my YouTube Channel by clicking here
If you also want to be reminded when I post new videos you can subscribe too
The post We started a Video blog appeared first on Photography by Dave Kai Piper.
]]> https://ideasandimages.co.uk/i-started-a-video-blog/feed/ 0The post Workshop: Creating lighting with character ( Noir / Provocative ) appeared first on Photography by Dave Kai Piper.
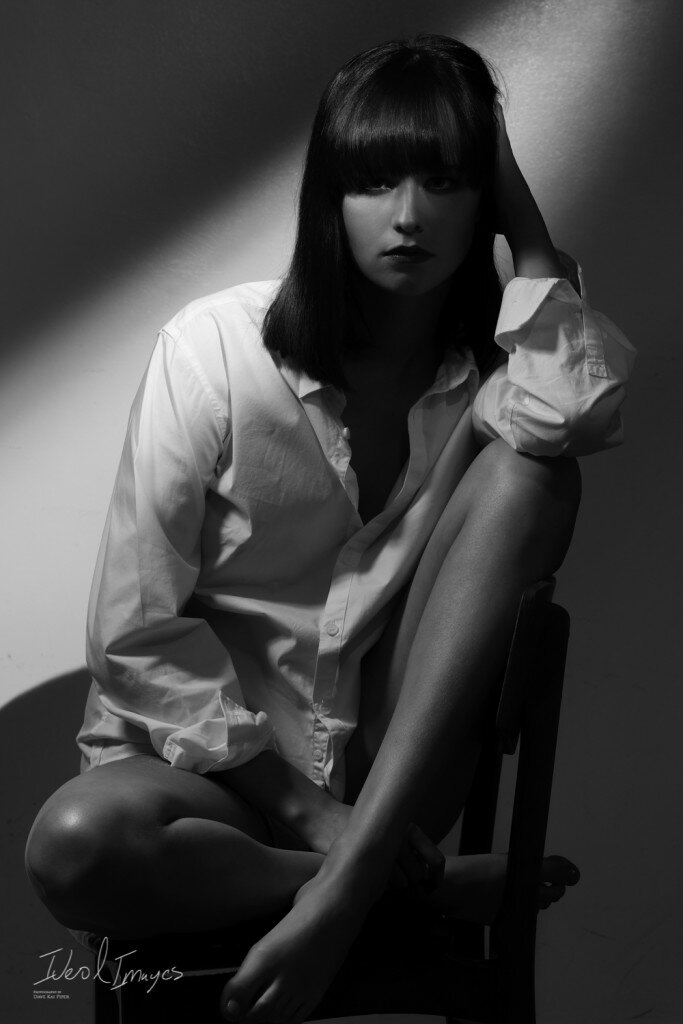
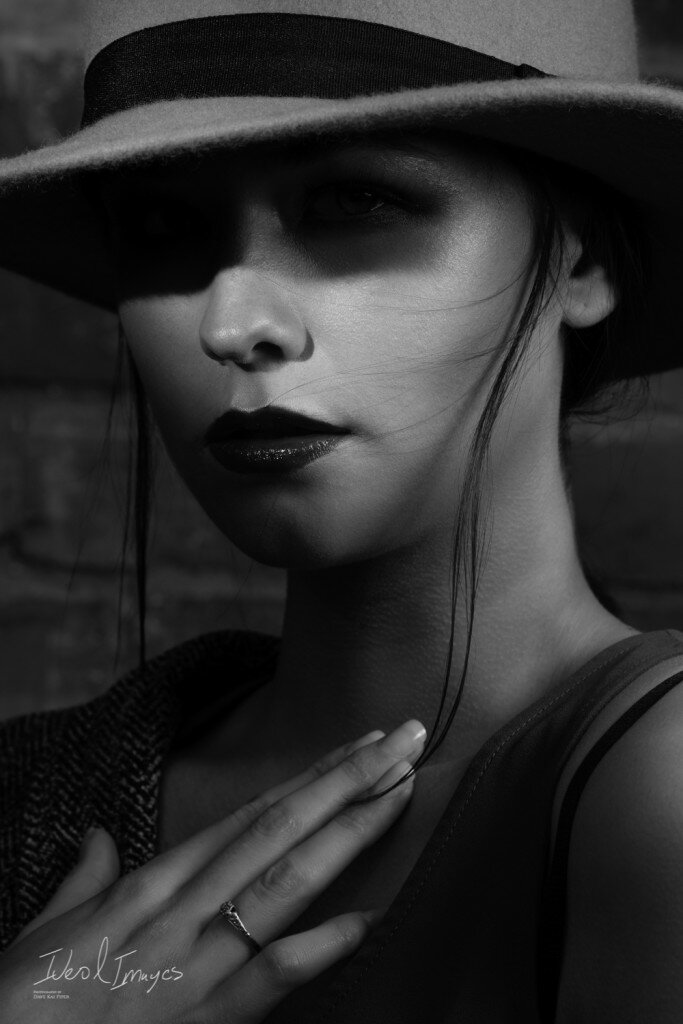
]]> We are delighted to announce a new workshop with Amersham Studios. This workshop is all about shadow, story, light and creating moodIn this workshop we will breakdown what photography and lighting is all about then using our live model we will recreate some amazing lighting styles that are all about creating mood and character. We will look at what light is, how it can be shaped and changed as well as how to mix and blend hard light and soft light. Using the fully kitted out Broncolour studio, we will test out what settings do what and go though some lighting setups that will give a newbie some great starting points when lighting people for portraiture.
To book this workshop – http://amershamstudios.com/store/lighting-dkp/
Price: £149.00
Model: Stephie Rebello
Facebook event on the Amersham facebook page:
https://www.facebook.com/events/1708961542675737/
At the end of this workshop – we promise you will feel more comfortable setting up lighting for your images. You will know what Rembrandt lighting is how just how to use it to maximum effect. You will also be much more comfortable posing your subjects to get stunning powerful character led portraiture. If your looking to learn how to make portraits with impact – this course is just for you.
Dave Kai Piper is a Fujifilm Ambassador & teaches Photography at Wolverhampton as well as being an Adobe Community Pro.
(Anyone wanting to pay in installments, please email [email protected])
(Full terms and conditions: http://amershamstudios.com/terms-and-conditions/)
The post Workshop: Creating lighting with character ( Noir / Provocative ) appeared first on Photography by Dave Kai Piper.
]]> https://ideasandimages.co.uk/workshop-creating-lighting-with-character-noir-provocative/feed/ 0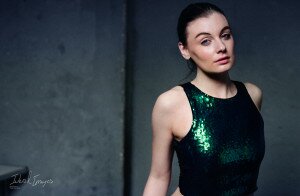 Holly and I have been trying to get a shoot date together for a while. It turned to that we both had a couple of hours free the other week after I was teaching at Wolverhampton Uni, so Holly popped up and we broke out the Mamiya & X-Pro2 to shoot some stuff. We didn’t have […]
The post An Afternoon with Holly Alexander appeared first on Photography by Dave Kai Piper.
]]> Holly and I have been trying to get a shoot date together for a while. It turned to that we both had a couple of hours free the other week after I was teaching at Wolverhampton Uni, so Holly popped up and we broke out the Mamiya & X-Pro2 to shoot some stuff. We didn’t have time to shoot a ‘Towel’ image so there will be a part two to this shoot !(check my youtube blog page – https://www.youtube.com/c/DaveKaiPiper)
The fun thing about this shoot was that we also used the 35mm Nikon FG-20. Which I could process my self at uni in the darkrooms. This was the very first time I ever took and processed a film image myself – which was very fun. As you can see from the images below which are images take of the prints. I still have lots to learn – but the process was quite fun.
It’s pretty fun to look at a hand printed film image (35mm) next to a digital image (Arcos Film Simulation shot on the Fuji Xpro2) – model is @hollyblairxoxo #film #xpro2 #ilford #studio #awesome #photographic #model #fashion #retro #filmsnotdead
Across the three images below I do prefer the image on the far right – even though my image of this print is a bit dark. The print in the middle was made using a paint brush to add the developer before dropping it into the fix. Hopefully I will be shooting more and more film.
We also shot some stuff on the Mamiya! Which you can see below – I am still not sure if I have the perfect technique using film cameras & I did lose quite a few images from this shoot which was a shame. I think it was something to do with me having the wrong ISO level set – not sure but.. Sorry Holly !! I am somewhat of a newbie with film – but.. I love the look and feel of these. Scanned in and edited in Photoshop.
As always though – as I am not that confident using film – I am still shooting both digital and film. These images below were taken on the X-Pro2. All shot using the Acros film simulation mode and in JEPG – which a slight twist in Lightroom.
If you want to check more of Holly’s work out – click here
If you want to check out more about the cameras I use – Head over to the Fujifilm section –
Be sure to check out the Newsletter too – you can sign up here –
The post An Afternoon with Holly Alexander appeared first on Photography by Dave Kai Piper.
]]> https://ideasandimages.co.uk/an-afternoon-with-holly-alexander/feed/ 0 Rachael is just one of those models you can shoot again and again, and indeed this was the third shoot we had done together. This time we just used a simple white wall – in fact this shoot is a little delayed to hit my blog and was part of the test shoots we did […]
The post An Afternoon with Rachel Bowler (part 2) appeared first on Photography by Dave Kai Piper.
]]> Rachael is just one of those models you can shoot again and again, and indeed this was the third shoot we had done together.This time we just used a simple white wall – in fact this shoot is a little delayed to hit my blog and was part of the test shoots we did for the X-Pro2. We did a few lingerie shoots and also a few images for my towel series. On this blog they are in colour but you can check out my towel series here: https://ideasandimages.co.uk/gallery/towels/
We also filmed a little BTS video as we had also just picked up the Panasonic GH4. This video mixes footage of Racheal doing her thing and close up images scaled at 100% from the X-Pro2.
Rachel Bowler is with the Alan Sharman Agency
Lingerie: Maison Close & Clavin Klien
Hello Sunday ! Quick upload from my last shoot with @rachel_bowler_ – loved this set a super simple and super fun. #lingerie @alansharmanagency
You can check out the full shoot & the images from all of the other shoots we have done here : https://ideasandimages.smugmug.com/Archived-Images/Rachel-Bowler/
As always – all images edited in Lightroom & Photoshop using colour look up tables.
The post An Afternoon with Rachel Bowler (part 2) appeared first on Photography by Dave Kai Piper.
]]> https://ideasandimages.co.uk/an-afternoon-with-rachel-bowler-part-2/feed/ 0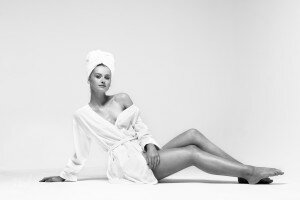 Recently I have been shooting more and more on location – so this shoot was a double treat as we stayed in the warm studio, used the big Broncolour lights and enjoyed catching up with the stunning Georgia Round. We first met a few years ago when Georgia was doing her very first images for […]
The post An Afternoon with Georgia Round appeared first on Photography by Dave Kai Piper.
]]> Recently I have been shooting more and more on location – so this shoot was a double treat as we stayed in the warm studio, used the big Broncolour lights and enjoyed catching up with the stunning Georgia Round.We first met a few years ago when Georgia was doing her very first images for her first agency. I loved the images we made back then and the new shoot was just as wonderful.
We shot on both the Mamiya RZ67 – but I have yet to get the images scanned and processed, so all the images below are photographed on the Fujifilm X-Pro2. We shot two two sets. One a fashion based set with dark moody looks then a lighter set as part of my towel series.
Want to order an the X-Pro2 – click here
Win a free workshop – click here
Check out more Fuji stuff on this blog
Pretty much all of these images have been photographed using the XF 90mm lens.
All aside from the top image below have been shoot using flash. The image directly below was photographed using a single Arri Light.
Pretty much everything below was shot using about 3 or so lights – quite big ones too. The main light was the Broncolor Mini 120×80 Cumulite, which is an amazing light – quite an old light design but – I just love them. As you can see from the set up photo below
Another full day shooting in the studio – lovely to see @georgia_round again too !! It’s been to long – we shouldn’t leave it that long again ! #broncolor #studio #photography
Below are the images that we created for my towel series. All of these images were created with use the single Cumlite. You can check out more of the images I have already photographed as part of the story here : https://ideasandimages.co.uk/gallery/
The post An Afternoon with Georgia Round appeared first on Photography by Dave Kai Piper.
]]> https://ideasandimages.co.uk/an-afternoon-with-georgia-round/feed/ 0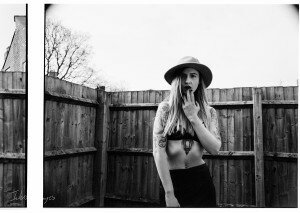 Samantha Erised and I have been trying to get a date to shoot together for such a long time. Finally in 2016, we seemingly got a date sorted & Sam drove up from Bristol to spend a day with me shooting – in my backyard of all places. As most of you know – I […]
The post An Afternoon with Samantha Erised (nsfw) appeared first on Photography by Dave Kai Piper.
]]> Samantha Erised and I have been trying to get a date to shoot together for such a long time. Finally in 2016, we seemingly got a date sorted & Sam drove up from Bristol to spend a day with me shooting – in my backyard of all places.Loving this set up – finally getting to share the images shot with @misserised . Check out the blog for more info about the shoot. #mamiya #rz67 #model
It’s super to nice to work with lovely people & Sam is just adorable. Check out more of her amazing work here : https://purpleport.com/portfolio/misserised/
It was a pleasure finally working with Dave Kai-Piper and had s lovely day shooting and generally having a giggle. He showed me the world of strawberry flavoured coffee, made sure that I was kept warm (most of the time) and kept me giggling throughout. He is a talented man and I’m super happy with all of the images. – Sam
Shooting film is fun & printing is fun too – but I do love all the advantages of shooting digital. Shooting both seems to be a nice blend. I had the digital edits done and sorted about 2 weeks before I had the time to even look at the negs from the film shoot. I also must admit that I have still so much to learn with film. It’s a road I think I am going to really enjoy doing down – but not sure how much time I really will have to get into this with the right amount of dedication it will require.
Here are some of the files shot with my X-Pro2. I still think because the response time is far quicker both Sam and I felt more comfy with the digital camera. We could see what we was getting and refine it as we went – thus getting better images ? I dunno – I feel that that way but which images do you prefer ? Digital are all below – film scans are all above.
If you want to check out my thoughts about the Fujifilm X-Pro2 – click this link !
In total there are 34 images we selected from the shoot – you can see them all here
The post An Afternoon with Samantha Erised (nsfw) appeared first on Photography by Dave Kai Piper.
]]> https://ideasandimages.co.uk/an-afternoon-with-samantha-erised/feed/ 0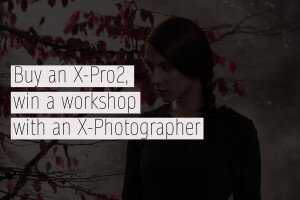 Fujifilm UK are giving away 4 places on three different workshops. One street, one landscape and one studio day with three different X-Photographers. You can have a totally free day on a workshop with either Matt Hart, Paul Saunders or myself – the catch, you just have to register your new Fuji X-Pro2. All three […]
The post Fancy a free day day on a workshop with Fujifilm UK appeared first on Photography by Dave Kai Piper.
]]> Fujifilm UK are giving away 4 places on three different workshops. One street, one landscape and one studio day with three different X-Photographers. You can have a totally free day on a workshop with either Matt Hart, Paul Saunders or myself – the catch, you just have to register your new Fuji X-Pro2.All three days are going to be amazing – so which ever you go for it will be a super treat. In the workshop were are putting on at Amersham we will have an amazing day running though just what your new Fuji X-Pro2 is designed for.
All workshops have been limited to 4 places – this means you will get some amazing one to one time & all get all the questions you have answered in full. Fujifilm them self will also be in attendance.
TERMS:
Only X-Pro2 cameras purchased from Authorised UK Dealers are eligible to win.Each workshop has 4 spaces available.
Winners will be notified by the 13th April.
Prizes are not transferable and does not cover the cost of travel and accommodation.
Lunch and refreshments will be provided

For all the finer print click here: Fujilm blog.
Oh also – as a little treat – here is a link to the v1.01 firmware for your new X-Pro2
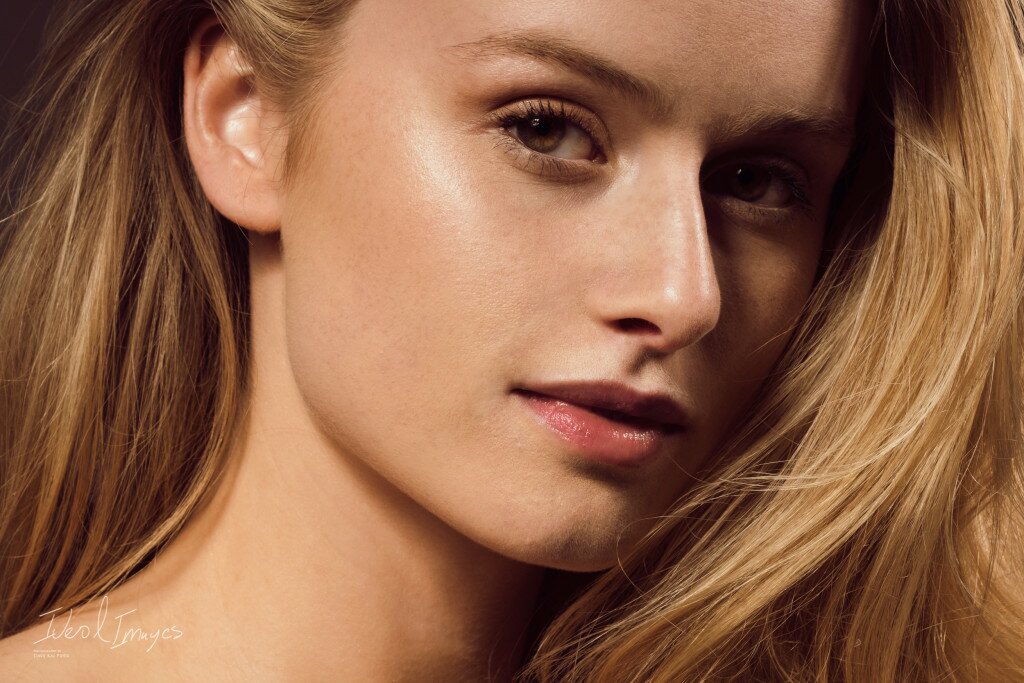
Being a photography lecturer, Adobe Community Pro and Fujifilm X-Photographer, Dave Kai-Piper will take you on an exciting journey into portrait photography.
His workshop starts off with a conversation with each participant discussing individual goals for the day alongside a group objective. As part of the morning set-up you will have a look at some iconic images from influential photographers. Then he will break down what makes those images work & talk about how different lighting types can create moods and styles. You will learn how to build on simple lighting styles like Butterfly lighting, Split lighting and Rembrandt lighting and then put them into practice using live demonstrations with a stunning model.
Once your objectives are set, you will jump into the studio full of the newest WiFi controllable Broncolor lighting to put your new Fujifilm X-Pro 2 through its paces. You will look at ways to shape, control and create that perfect image. Within this workshop you will also learn the best way to communicate and pose your subject to get the best from your model.
Whether you have spent a lot of time in the studio using lighting or have never used additive / flash lighting in your photography before, each attendee will leave the workshop with a broader knowledge of various techniques from lighting your subject, creating a scene and directing your model.
—————————————————————————————————-
—————————————————————————————————-
Spend the day with Street, Event and X-Photographer Matt Hart in this candid street photography workshop. It is here that Matt will give you an insight into the way he works and how to shoot his style of street photography.
He will show you how to anticipate and capture decisive moments, how to be invisible in public spaces to get the best images and how to to develop confidence shooting street photography. He will show you the best places in Liverpool to capture great street images – so in the future you can come back and have another go!
Matt’s workshops are always fun, informative and relaxed whilst at the same time challenging and have been designed to stretch your imagination.
Your day will be spent with Fujifilm X photographer and landscape artist Paul Sanders, he will help you develop your own way of seeing the landscape to create images that resonate with how you feel about the location.
Paul’s specialty is long exposure photography, he will take through a natural and easy to follow workflow that enables you to get to grips with the technical side of this style of photography. He will have some Neutral Density filters and graduated filters for you to use on the day. Filtration is one of the key aspects of landscape photography, it allows you to control contrast, mood and exposure time. Paul will explain all of the pros and cons of using filters and the different types of filters available.
The day will be split into two sessions – one at Dungeness and the other at Winchelsea beach.
Dungeness is the only classified desert area in the UK, its flat bleak landscape has inspired photographers, artist, writers and filmmakers for many years. The beach is a detritus of fishing boats and fleet. The decaying hulls of boats are left on the shingle, nets, huts and machinery make this a photographers dream location. Paul will explain that landscape photography isn’t always about the big vista but also lies within the details and the abstract he will guide you around the area so that you don’t miss anything.
Winchelsea Beach is a long exposure dream, lines of decaying groynes stretch along the beach. These make the perfect subjects for getting to grips with the minimalist style that long exposure work generates. Paul will also pay special attention to composition and exposure time to create beautifully minimal images.
Some links to check out:
Resource Magazine / First thoughts / 5 years of x series cameras / Matt Harts’s & X-Pr02
Matt Hart / Paul Sanders / Fujifilm blog / Amersham studios
More about Fujifilm on my site: https://ideasandimages.co.uk/fuji/
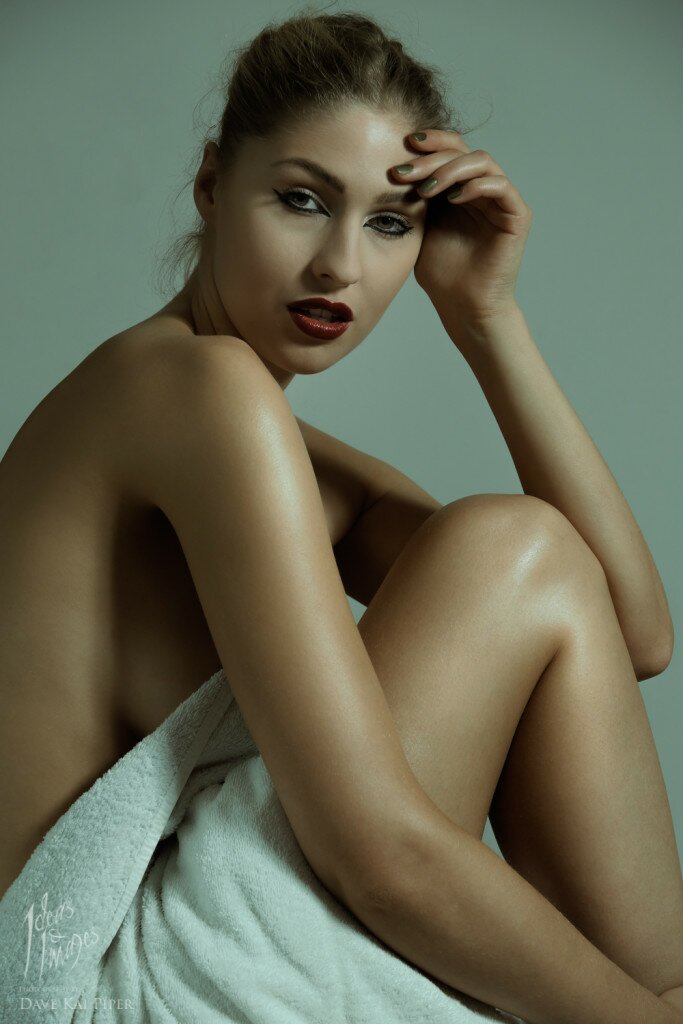
All of these images are photographed using a Fujifilm X-Pro2.
X-Pro 2 Samples from Dave Kai Piper
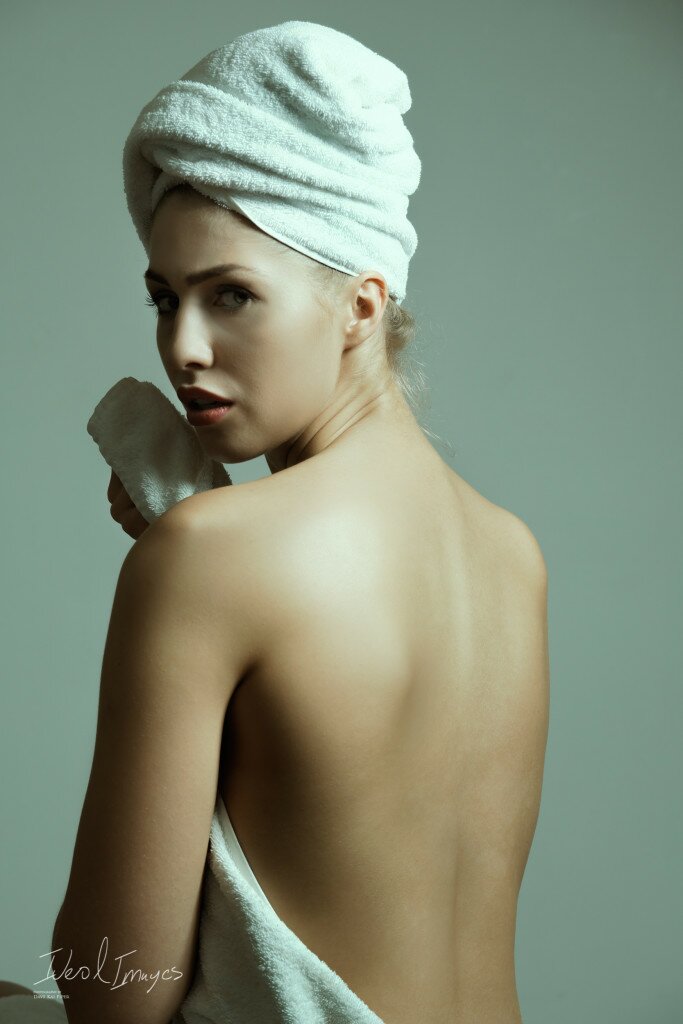
Photographed by Dave Kai Piper
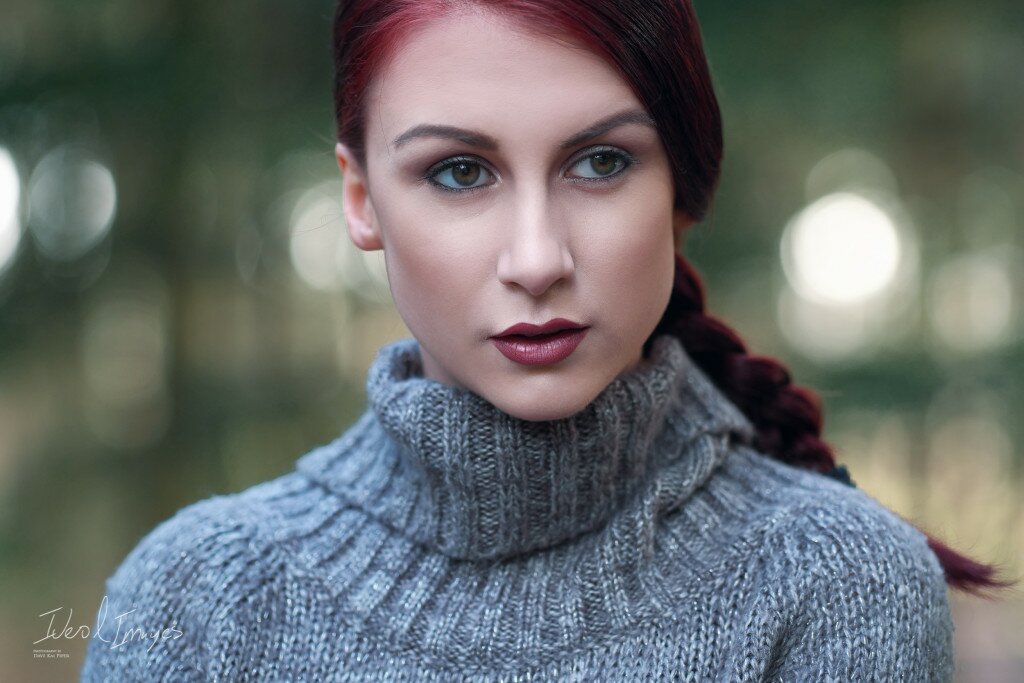
X-Pro 2 Samples from Dave Kai Piper
X-Pro 2 Samples from Dave Kai Piper
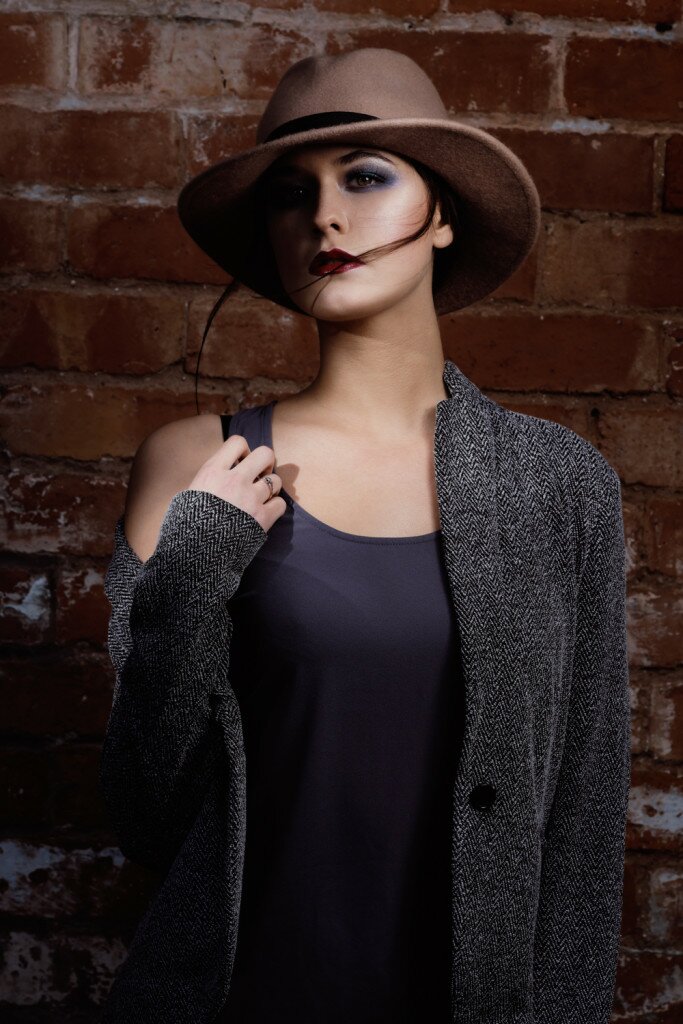
Durdle Door
The New Forest – XF90mm (ISO200 1/250th F14.0)
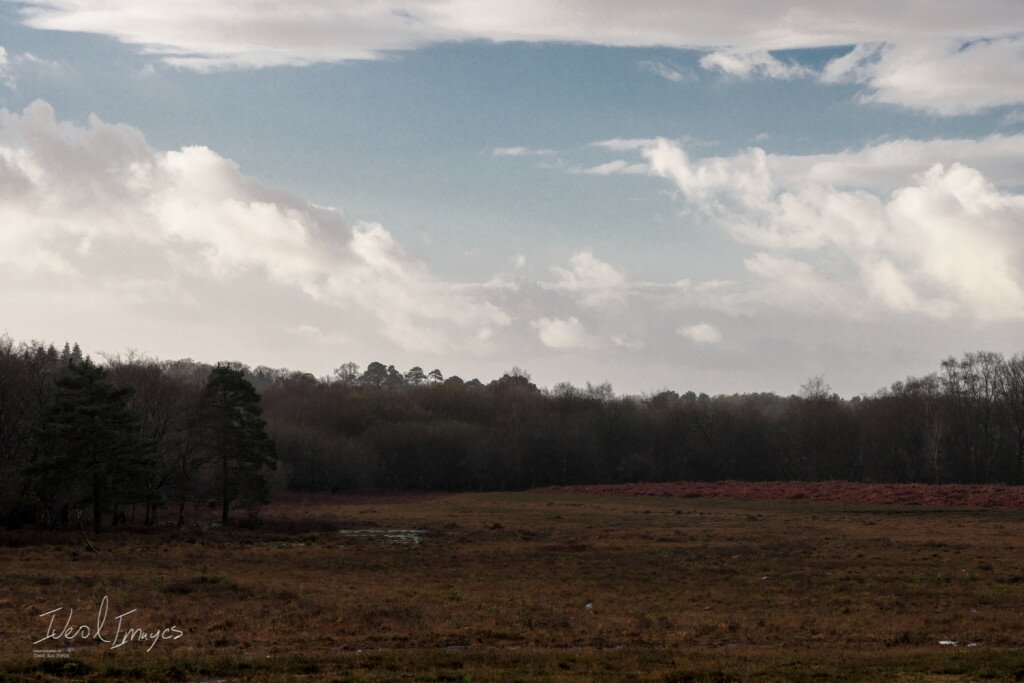
The New Forest – XF90mm (ISO200 1/250th F8.0)
The post Fancy a free day day on a workshop with Fujifilm UK appeared first on Photography by Dave Kai Piper.
]]> https://ideasandimages.co.uk/fancy-a-free-day-day-on-a-workshop/feed/ 0 So.. today I woke up to the sound of the door bell. It was on of those moment when you know your not expecting anyone or anything to arrive via the post. As I signed for the package, I noted that very lovely postage mark from Fujifilm that I have come be so fond of […]
The post The 5th Anniversary Fujifilm Book. appeared first on Photography by Dave Kai Piper.
]]> So.. today I woke up to the sound of the door bell. It was on of those moment when you know your not expecting anyone or anything to arrive via the post.As I signed for the package, I noted that very lovely postage mark from Fujifilm that I have come be so fond of on parcels. I was not expecting anything new so it was a total delight to see an image of Rachel Bowler had made it into the ‘Getting back to Photography’ book. It is always very nice to be involved with projects of such a nature but, with the Fujifilm projects there seems to be a extra feeling of accomplishment. I am feeling very proud today.
Oh.. I should point out – I just took these photos really quick – but the prints are just amazing. So much tone & micro contrast – the details are amazing. Below is the image used. It was photographed as part of my towel series.
If you want to check out all the images in the series, you can do on this link ideasandimages.co.uk/gallery/towels/ If you want to check out my other Fuji related stuff – check this link : https://ideasandimages.co.uk/fuji/.
Getting back to the book – Printed so well and with a stunning ivory cover with white embossed lettering – this book is going to be something I treasure for a long long time. Another wonderful little treat is that over the page from my image, Paul Saunders has a stunning image too. In fact – the book is packed full of amazing images from Photographers all over the world, but the most wonderful thing about this book are the images and words from the team who built the X-Pro2.
The first few pages showcase David Alan Harvey (Magnum Photo Agency + check out this video). Then the book goes into a collection of photographers all around the world from the likes of David Hobby etc.
I will be sure to have my book with me at the Photography Show if anyone wants to have a look in person & I am very sure there will be some on the Fujifilm stand. I am not sure if they are for sale or just for archival purposes.
The post The 5th Anniversary Fujifilm Book. appeared first on Photography by Dave Kai Piper.
]]> https://ideasandimages.co.uk/the-5th-anniversary-fuji-book/feed/ 1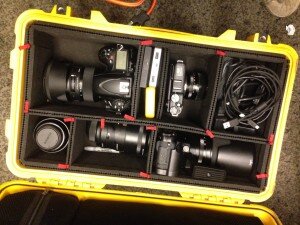 Pelican Products, Inc. Announces Exclusive Partnership With TrekPak. Pelican and TrekPak are teaming up to present an exclusive solution that allows PelicanTM case owners to kit out their cases with utmost precision. The TrekPak system comes with pre-installed wall sections, divider panels, locking pins and a fool-proof cutting tool. Case owners simply need to lay out their […]
The post Trekpak + Pelican join forces. appeared first on Photography by Dave Kai Piper.
]]> Pelican Products, Inc. Announces Exclusive Partnership With TrekPak.Pelican and TrekPak are teaming up to present an exclusive solution that allows PelicanTM case owners to kit out their cases with utmost precision. The TrekPak system comes with pre-installed wall sections, divider panels, locking pins and a fool-proof cutting tool.
Case owners simply need to lay out their gear the way they wish for it to appear in the case, measure and cut the divider sections, and lock them in place with the provided U-pins. Each divider section is manufactured from a waterproof, closed-cell foam that is laminated to a rigid corrugated plastic panel. They are light, strong and almost impossible to tear or shred. The highly configurable system includes extra divider materials, and divider panels are also available separately to switch up the layout any time.
“We are pleased to partner with TrekPak, a company whose divider systems match Pelican’s high standards of durability and quality, “said Kevin Murphy, Pelican Products, Senior Director of Marketing – Commercial/Government Division. “Our customers have trusted us to protect their sensitive equipment for years. TrekPak solutions will provide Pelican case owners with a whole new level of organization and security for their valuable items.”
TrekPak will be sold as a 4th configuration in six classic Pelican cases, including the 1510TP, 1550TP, 1560TP, 1600TP, 1610TP and 1650TP.
Check out the full announcement via PDF here: Pelican&TrekPak
As a user of both of these products it’s super amazing news to see them joining forces to make it even easier to look after your gear.
This is my 1510 with the Trek Pak installed
“At TrekPak, we value the importance of partnering with companies who hold themselves to similar quality standards,” said Georgia Hoyer, Founder & CEO of TrekPak. “Pelican continues to set the standard for protection and transportation across a variety of industries, and TrekPak could not be more excited with the opportunity to be a partner in raising the bar even further and changing the game on how equipment is packed and protected. We look forward to the future and continuing to bring more elegant and simple working solutions to Pelican’s consumers around the world.”
For more information on Pelican Products, visit
http://pelican.com
http://trekpak.com
The post Trekpak + Pelican join forces. appeared first on Photography by Dave Kai Piper.
]]> https://ideasandimages.co.uk/trekpak-pelican-join-forces/feed/ 0 When we first got in touch – via Instagram – I had no idea that Alex ‘Lexi’ Kelly was on the TV. When we got chatting more it turned out she is on the current series of Britain’s Next Top Model Alex: @BNTMLexi Penny: @PennyGrimleyMUA We enlisted the help of fantastic make up artist Penny Grimley to […]
The post An Afternoon with Alex ‘Lexi’ Kelly appeared first on Photography by Dave Kai Piper.
]]> When we first got in touch – via Instagram – I had no idea that Alex ‘Lexi’ Kelly was on the TV. When we got chatting more it turned out she is on the current series of Britain’s Next Top ModelAlex: @BNTMLexi
Penny: @PennyGrimleyMUA
We enlisted the help of fantastic make up artist Penny Grimley to create a wonderful strong look to match the lighting that I had in mind.
The shoot was mixed up with a couple of looks – but still based around a strong lip colour and strong contrasting lighting.
We used two RF60 Cactus Speed lights to create all these looks, one light was modified using the Roundflash with a homemade Snoot made from the Lee Filters BlackWrap for the second light to create the highlights from which the lighting style was designed around.
We used a mix of the XF 90mm & the XF 50-140mm Fujinon lenses on the Pre-Production Fuji X-Pro2 camera for this shoot.
Check out more of my towel series here : https://ideasandimages.co.uk/gallery/towels/
If you follow me on Flickr click here: flickr.com/photos/davekaipiper/
Check SmugMug: https://ideasandimages.smugmug.com/Archived-Images/Alex-Kelly/
X-Pro2 XF90mm 1/125 ISO200
X-Pro2 XF90mm 1/125 ISO200
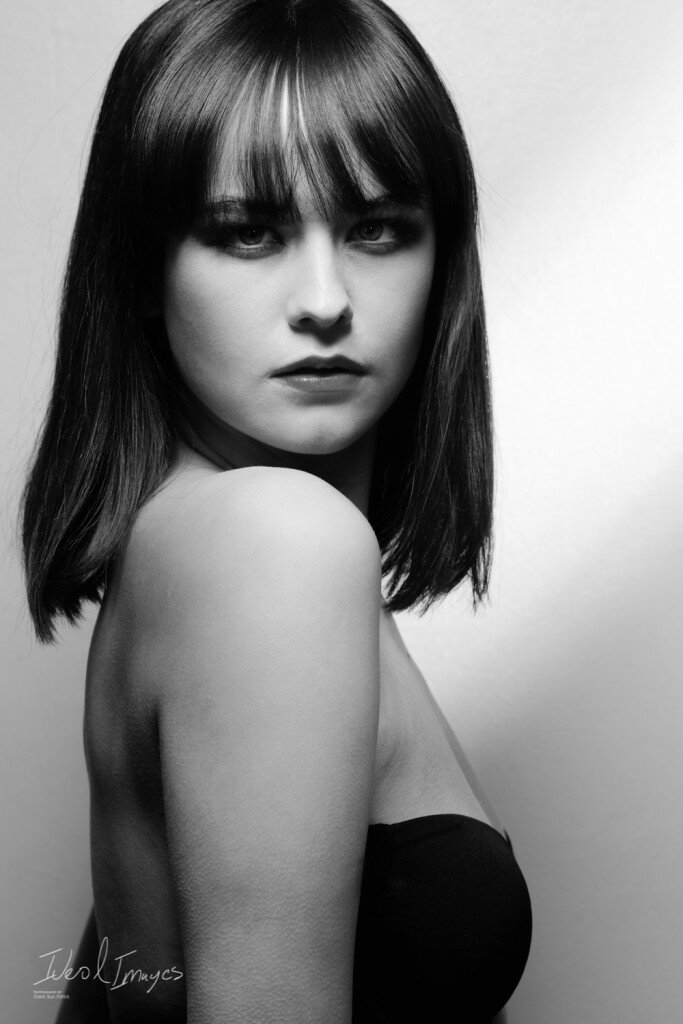
X-Pro2 XF 50-140mm 1/100 ISO200
X-Pro2 XF90mm 1/100 ISO200 f7.1
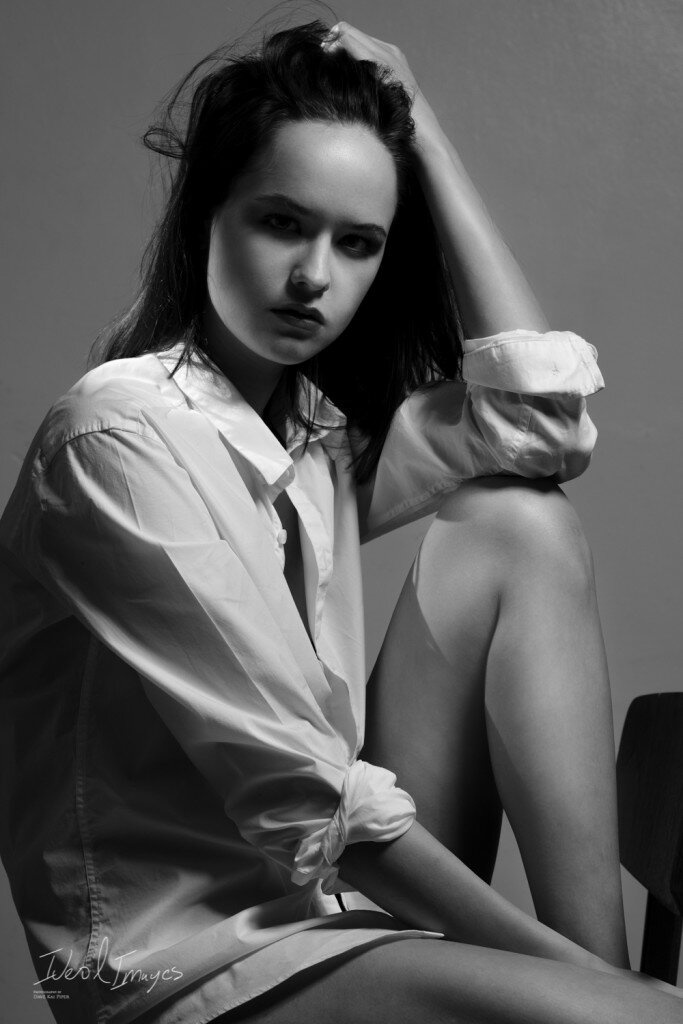
X-Pro2 XF90mm 1/125 ISO200
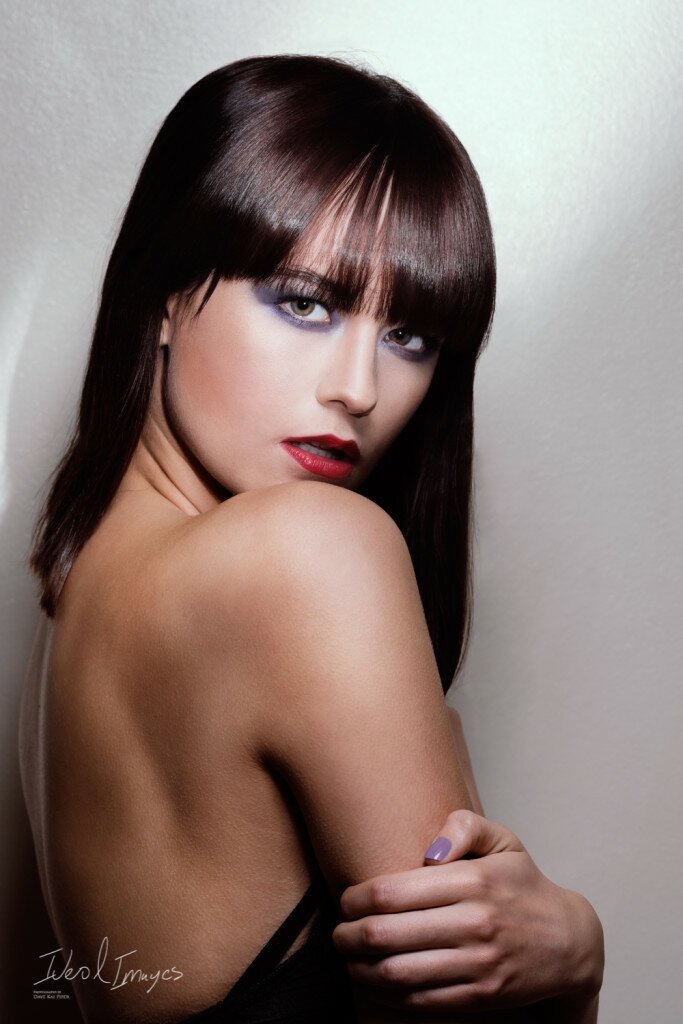
X-Pro2 | 90mm FN/A 1/100 ISO200
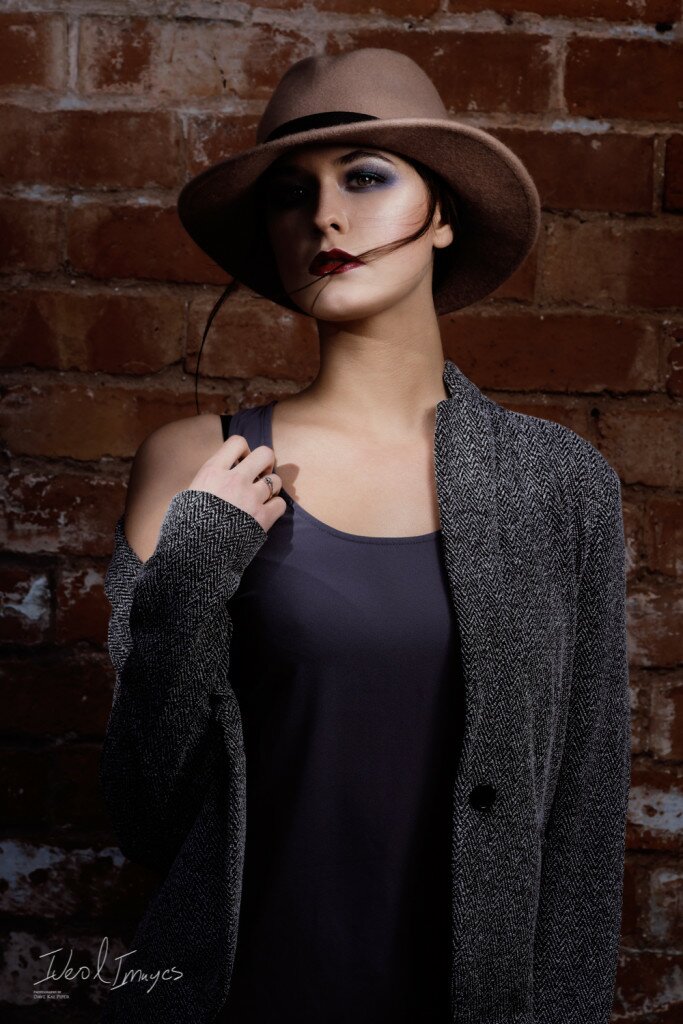
X-Pro2 | 90mm FN/A 1/125 ISO200
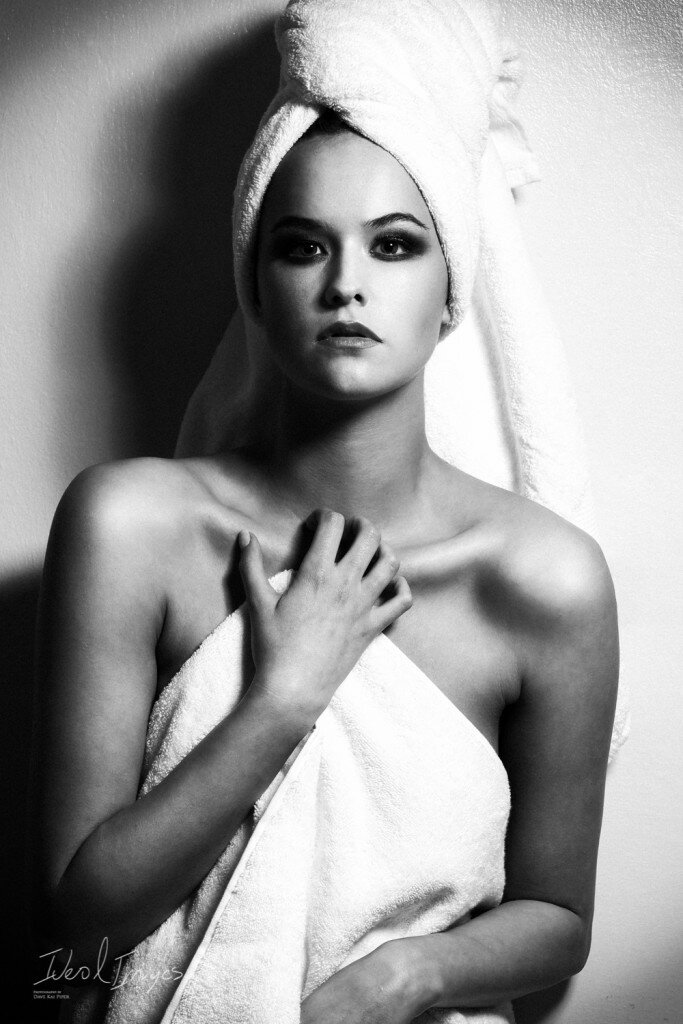
X-Pro2 | 90.6mm FN/A 1/80 ISO200
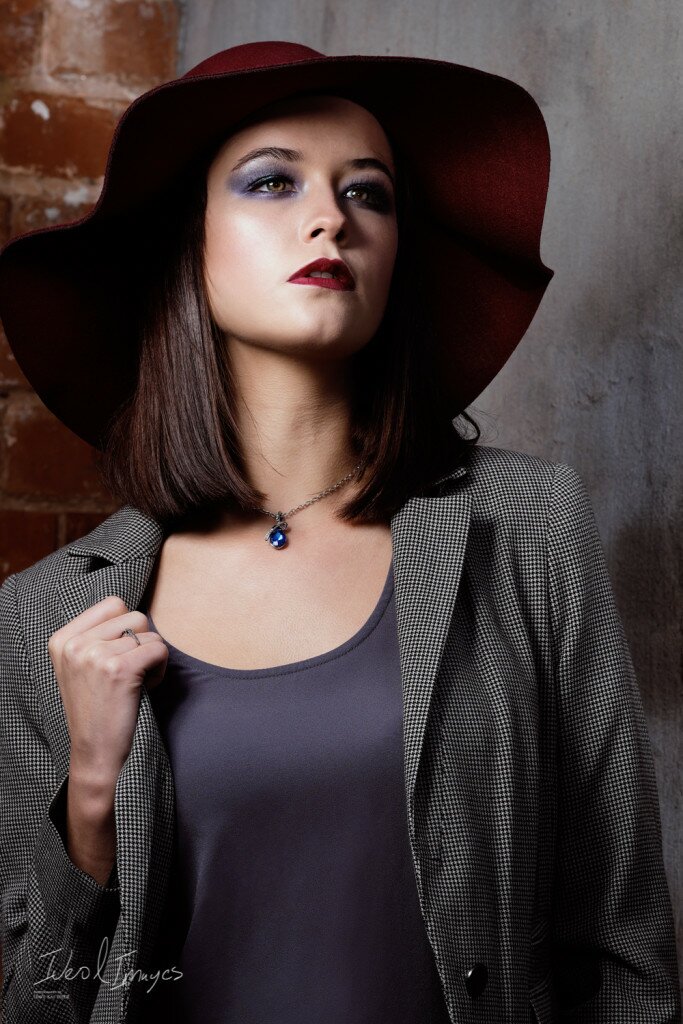
X-Pro2 | 90mm FN/A 1/250 ISO200
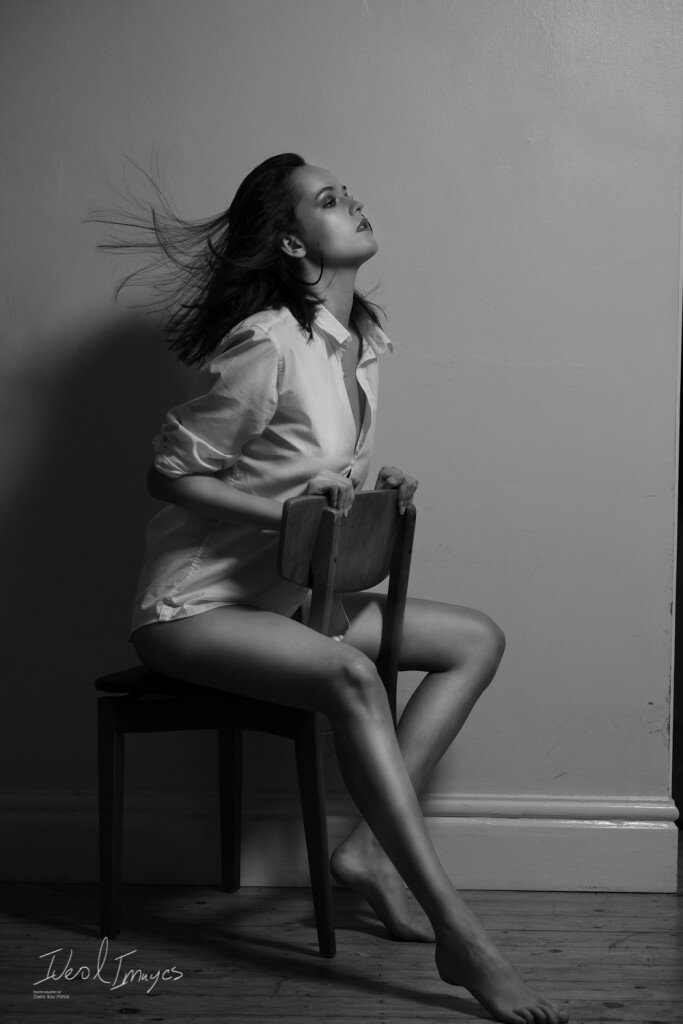
X-Pro2 XF 50-140mm 1/100 ISO200
The post An Afternoon with Alex ‘Lexi’ Kelly appeared first on Photography by Dave Kai Piper.
]]> https://ideasandimages.co.uk/an-afternoon-with-alex-lexi-kelly/feed/ 0 SmugMug vs. WordPress – Which is Better? A while ago I wrote a long blog about my full digital workflow – we thought it was time to break things down a little and just look at the online sections, which currently include a blend of WordPress (the self install .org version) & a business account […]
The post SmugMug vs. WordPress – Which is Better? appeared first on Photography by Dave Kai Piper.
]]>
A while ago I wrote a long blog about my full digital workflow – we thought it was time to break things down a little and just look at the online sections, which currently include a blend of WordPress (the self install .org version) & a business account of SmugMug.
When you’re looking for a photography website, two options always make the top of the list. SmugMug and WordPress. So which one is better for a fellow photography and why?
Below I go over the benefits and downsides to each so you can help to determine which is right for you, your business and current needs.
A little note about my WordPress account. Currently I am using the Go-Daddy WordPress hosting service. It works very well – but does cost money + having my own domain name costs money. This means that I can use the Self-Install version of WordPress over the WordPress ‘hosted’ version that can be found at WordPress.com. Both are pretty straight forward to use & Go Daddy look after the install, but as I said – it costs more money, but you have more flexibility.

Benefits:
WordPress is an amazing content management systems which allows you to add plugins and widgets for almost anything. There are also no shortages on templates and themes. You can optimize your content to bring in new customers, create great forms for people to reach out to you and even add ecommerce aspects to it. One extra benefit is the flexibility of javascripts so that you can use lightboxes and other tools for your marketing. Currently I am using a theme from Flothemes called called Matte – I love the look of it & the amount of customisation is endless.
Downsides:
The biggest mistake people make is assuming WordPress is free. You have to pay for quality hosting if you’re serious, you’ll need to buy a template if you want something that is good and as the software updates, you may need to pay for a new version of the template (that is assuming the designer is willing to update it). The theme I am using cost me $200 or maybe a little more when I bought it. The same goes for Plugins and other things that make WordPress great.
Keeping sure you are using the latest updates is vital. WordPress is quite buggy from time to time and make sure you are only using trusted plugins.
There is little to no direct support if you are looking to ring up someone, you will need to look after much of this yourself.
Depending on the templates, hosts and what you’re willing to spend, chances are your site won’t be able to securely store and display high res images safely, quickly and in a way that you would be proud to show off. That’s where SmugMug comes in.

Benefits:
SmugMug will let you create a stunning photo website that quickly loads your images, enables secure storage and easy sharing options. The templates are continuously updated to meet current standards (so that you don’t have new fees like you do with WordPress) and they’re designed by photographers for photographers.
Because everything is specifically done for photographers, you’ll find themes that meet your business’s needs and also can display your work how you feel it should look. Your high res images will load quickly and you also have full ecommerce solutions to sell prints on multiple types of products. One of the biggest benefits of having a SmugMug site is that they have trusted and vetted printing partners all over the world.
SmugMug is the backbone of my client / web-proofing workflow. Using such things as the Client Login and private sharing options help give my clients fast & secure access to high-res images at the click of a button. If you want to sell prints on canvas as wall art, mugs or keychains for clients, etc… through WordPress, you may be limited to the country the print shop is in, or your clients will pay excessive shipping fees. SmugMug’s partners are all over the world so your fans can shop from a printer closer to home and save on shipping. This can help you drive more sales. In short, if your client is in the USA, prints are produced in the USA, if you are in the UK, they get printed in the UK.
The Phone App gives me access to all the images online – everywhere.
And to save the last till least – the Lightroom App is the engine that makes everything tick along. I use the unlimited online storage to back up images when I shoot on location using the Lightroom App. When I have edited ready, I just up date the images online. This is also part of the online-client proofing system.
Negatives:
You don’t have all of the plugins and apps like you do with WordPress. You also have to stay within the boundaries set by SmugMug. The templates will not allow you to use Javascripts, but you do have some HTML options.
Cost is factor if you are looking to set up something on a budget

If you’re just looking for a blog and aren’t worried about high res images or being serious about selling prints, go with WordPress. If you want a proven system to have a professional portfolio with no hidden fees, a solid network of printers around the world and drag and drop ecommerce solution, you cannot go wrong with SmugMug. WooCommerce is your WordPress option that I have seen other people use and what I used to use – personally – I am glad to see the back of it.
Me personally, I use both. I build an audience and following with my wordpress blog, but when it’s time to funnel the traffic to sell prints, book clients and show off my portfolio; I drive everyone to my SmugMug website ( see my site here ). The combination has proven valuable time and time again. If you’re serious about having and growing a photography business, you need SmugMug for your portfolio, bookings and sales and WordPress for your blog to bring in traffic, build a fan base and give them a way to interact with you through the comments and even plugins to take polls, run surveys and use marketing tools like lightboxes.
At the end of the day – you are reading this on a WordPress blog yet, as I said, my online buisness is backed up by a SmugMug Account. Another thing to think about is that, if for some reason one of my servers went down, I still have a live online working system.
If you do want to check out SmugMug: Click here to save 15% on a SmugMug pro package.
Read more about my full digital workflow here:
The post SmugMug vs. WordPress – Which is Better? appeared first on Photography by Dave Kai Piper.
]]> https://ideasandimages.co.uk/smugmug_or_wordpress/feed/ 0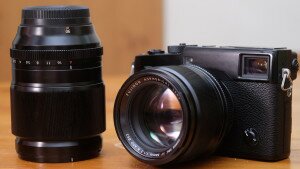 Shooting on location with the XF90mm F2 A couple of weeks ago I had a e-mail from a publishing company wanting a few images to use taken on theXF90mm F2. It turned out that this was one of the very few lenses I didn’t have my self. I had taken a few images with a prototype […]
The post The XF90mm f2 + X-Pro2 (NSFW) appeared first on Photography by Dave Kai Piper.
]]> Shooting on location with the XF90mm F2A couple of weeks ago I had a e-mail from a publishing company wanting a few images to use taken on theXF90mm F2. It turned out that this was one of the very few lenses I didn’t have my self. I had taken a few images with a prototype version of the lens but nothing that really did show the lens of to the best.
A few days later there was a knock at the door, the XF90mm F2 was here and off we went down to the New Forest to shoot some images.
Stephie Rebello in the woods – XF90mm (ISO200 1/60th F2.0)
The XF90mm F2 is among the best lenses made by Fujinon. This goes for both the build quality & the optical quality.
One question that comes up again and again is ‘should you use a prime lens over a zoom lens’. The XF90mm F2 is one of those lenses that shows just why primes still have the edge when you are looking for optical perfection.
I have the XF50-140mm and to be very honest it is pretty much perfect, when I looked into the XF 90mm I was wondering how much better it would have to be over one of my favourite lenses to warrant me to carry it with me and change lenses while shooting. Would the extra .8 of an f-stop be worth it ?
Image by Stephanie Lock
On the new X-Pro2 – which I use with the 90mm, the balance of this lens is amazing, tack sharp from edge to edge combined with wonderful contrast and tone across the lens make now my go-to close up beauty and portrait lens when in the studio. The focal range gives a wonderful compression which suits natural light shooting when mixed with the wonderful bokeh. The lens really does get the very best out of the 24mp sensor. In short – this is stunning, well made, lens that is fast becoming a center point of my camera bag & yes, the extra f-stop is useful for getting that extra light and depth when you need it.
The XF90mm next to the XF56 APD & FujiX-Pro2
Stephie Rebello in the woods – XF90mm (ISO200 1/60th F6.4)
Stephie Rebello – XF90mm (ISO200 1/60th F2.0)
In my eyes, this really does make an amazing portrait lens, the focal range is very suited providing a nice compression for full to tight crops. This is not to say that it should only be used to photograph people. The crispness of the lens is also very suited to shooting landscapes with the contrast control is also equally suited to capturing the suitable tones in cloud details in clouds.
The New Forest – XF90mm (ISO200 1/250th F14.0)
The New Forest – XF90mm (ISO200 1/250th F8.0)
After the trip to the New Forest, I wanted to put this lens though a little bit more of studio type shoot. It was very clear it was going to be awesome, but here are the shots anyway.
The set up we had was a twin Cactus RF60 set up using a Roundflash modified on one light then the other Cactus was modified using a cinewrap. This is like aluminium foil but jet black. Rolled up around the end of the flash it is a super fast way to shape light.
Stephie Rebello – XF90mm (ISO200 1/200th F5.6)
Stephie Rebello – XF90mm (ISO200 1/200th F5.6)
As a quick round up of this lens, in the short time I have had it, it quickly provided a very reassuring, fast, clear and sharp lens that will be useful for many types of shoot. The focal length is perfect for portraits but capable of so much more. This is one of those lenses that will be on the wish list for everyone shooting the X-System.
Many people might be put of by the focal length and lack of any stabilisation, but the balance of the camera & lens are so good that as long as you keep your shutter speed where it needs to be there is no problem. It is also worth nothing that this lens is near perfect optically but near half the cost of the bigger XF50-140mm.
For further reading on the XF90mm F2 – check out Lovegroves blog where the lens is compared with the XF50-140mm, which is a pretty amazing lens. If you are a prime shooter – the 35mm, 56mm and 90mm will be the backbone of any photography kit.
Click here for the latest WEX prices for the lens – XF90mm F2
Stephie Rebello – XF90mm (ISO200 1/200th F5.6)
Stephie Rebello – XF90mm (ISO200 1/200th F5.6)
For more info about Me & my Fuji kit click here – https://ideasandimages.co.uk/fuji/
The post The XF90mm f2 + X-Pro2 (NSFW) appeared first on Photography by Dave Kai Piper.
]]> https://ideasandimages.co.uk/the-xf90-fuji-x-pro2/feed/ 3 X-PRO2 – quite the landscape camera. Again.. this is not that ‘big’ review this will be coming soon but a high res colour image & some images taken on the South Coast of the UK. I am currently writing two longer more indepth reviews of the camera, in the meantime check out this link if […]
The post The South Coast with the X-Pro2 appeared first on Photography by Dave Kai Piper.
]]> X-PRO2 – quite the landscape camera.Again.. this is not that ‘big’ review this will be coming soon but a high res colour image & some images taken on the South Coast of the UK. I am currently writing two longer more indepth reviews of the camera, in the meantime check out this link if you are looking for the tech specs on the camera check out the blogs from these guys, Lovegrove, Kevin Mullins & FlixelPix. Also do check out the official blog from FujiFilm http://fujifilm-blog.com/
During the recent holidays we found ourselves working a lot and didn’t find the time to get down to Southampton to see family, however last week we did. We had the XF-90mm to shoot with as we had to shoot some images for Bright Publishing who are making some new Fuji Adverts. After we did these we jumped in the car and headed to Portland, stopping at Lulworth Cove & Durdle Door on the way.
The images are shot on a mix of the XF 90mm & the XF16-55mm lenses. If you want to check out our other FujiFilm blogs – check this link: https://ideasandimages.co.uk/fuji/
First thing you might want to have a look at is the HIGH RES image – 1:1 size from the camera
Lulworth Cove- click for FULL RES
This image has had nothing done to it – right out the camera then uploaded to dropbox. Click the image to see the full file. It was shot using the ARCOS film sim mode @ iso 200
This if you click this link you can see the image below FULL SIZE also
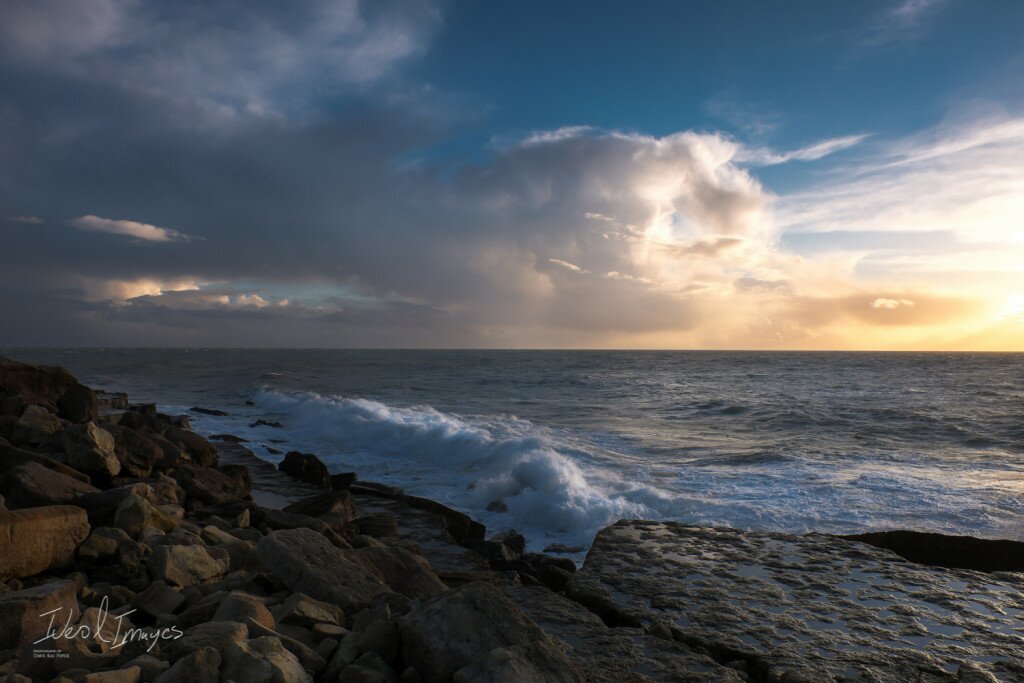
Lansdcape image by Dave Kai Piper – Click for FULL RES
The rest of the images can also be seen on my Flickr page which is here. Feel free to check out my work on there and remember to subscribe. You can also see all of my landscape portfolio in high res via my SmugMug page here:
Lulworth Cove Sht in Arcos Film mode
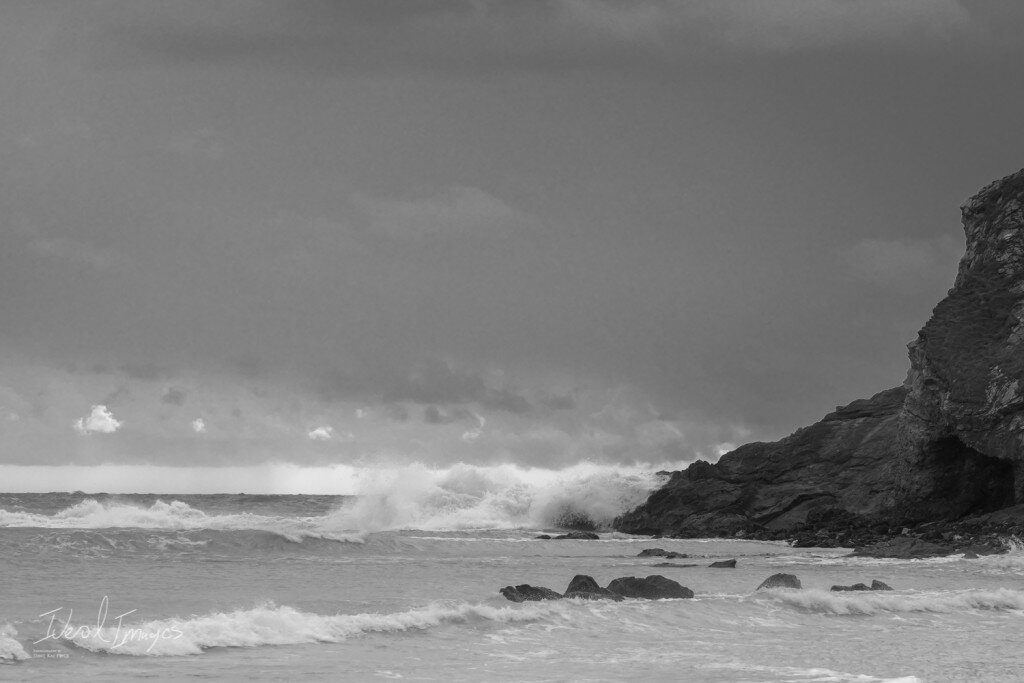
Lulworth Cove
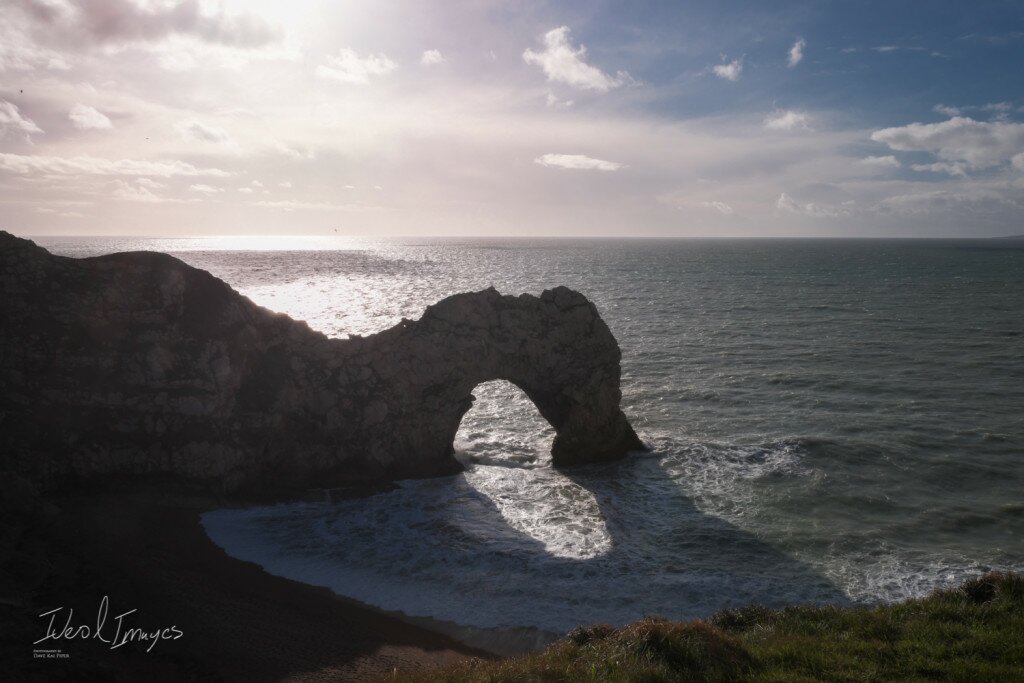
Durdle Doot at Sunset
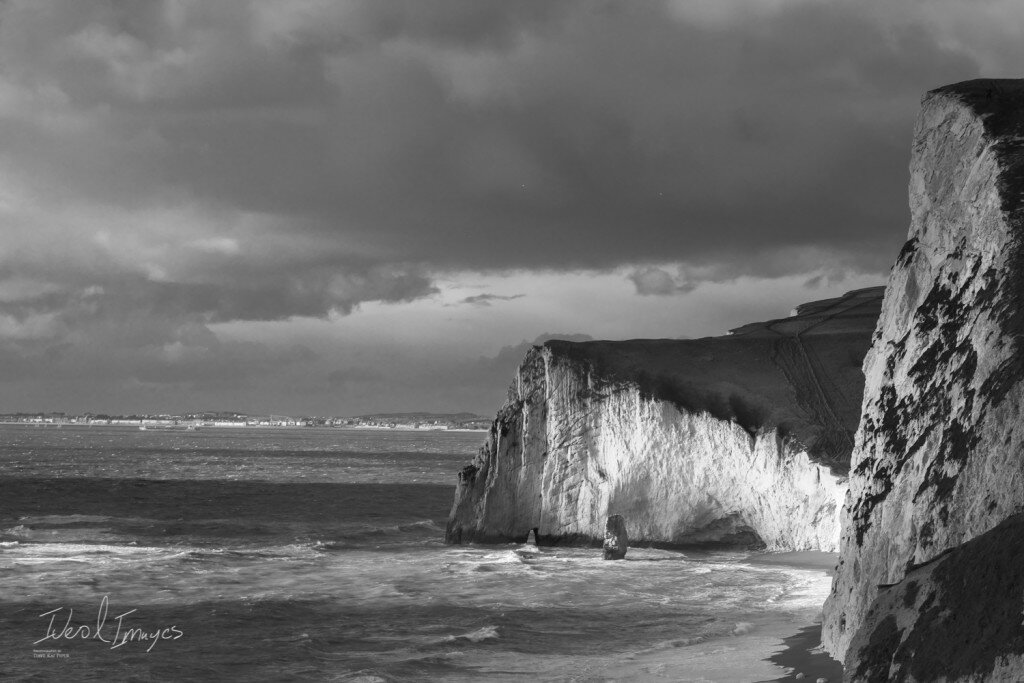
Durdle Door – looking west along the coastline towards Portland & Weymouth
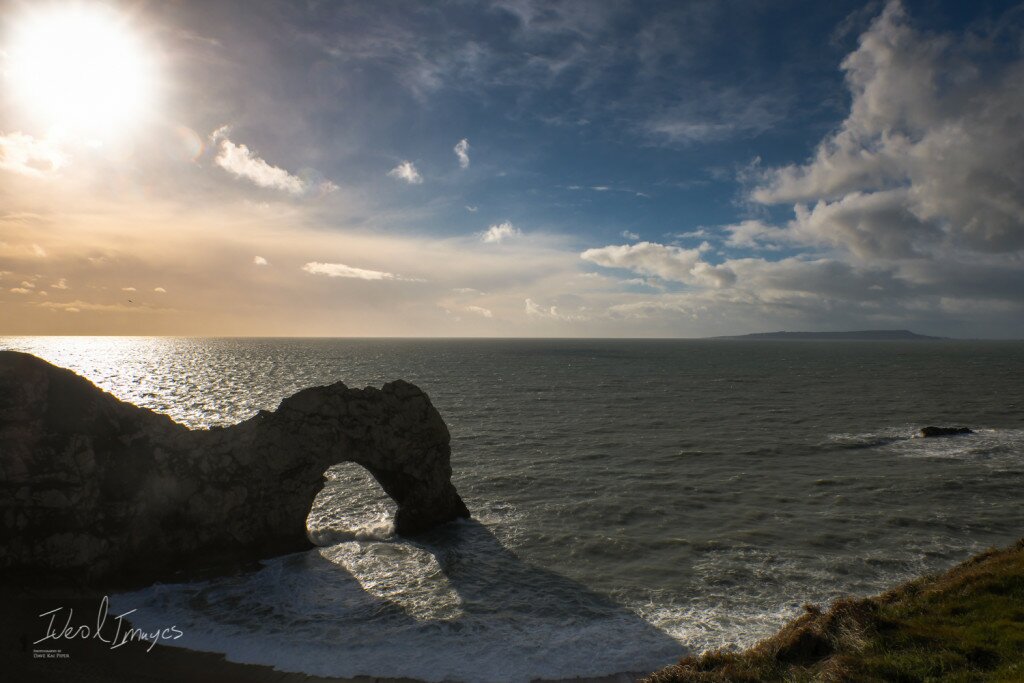
Dudrle Door at Sunset
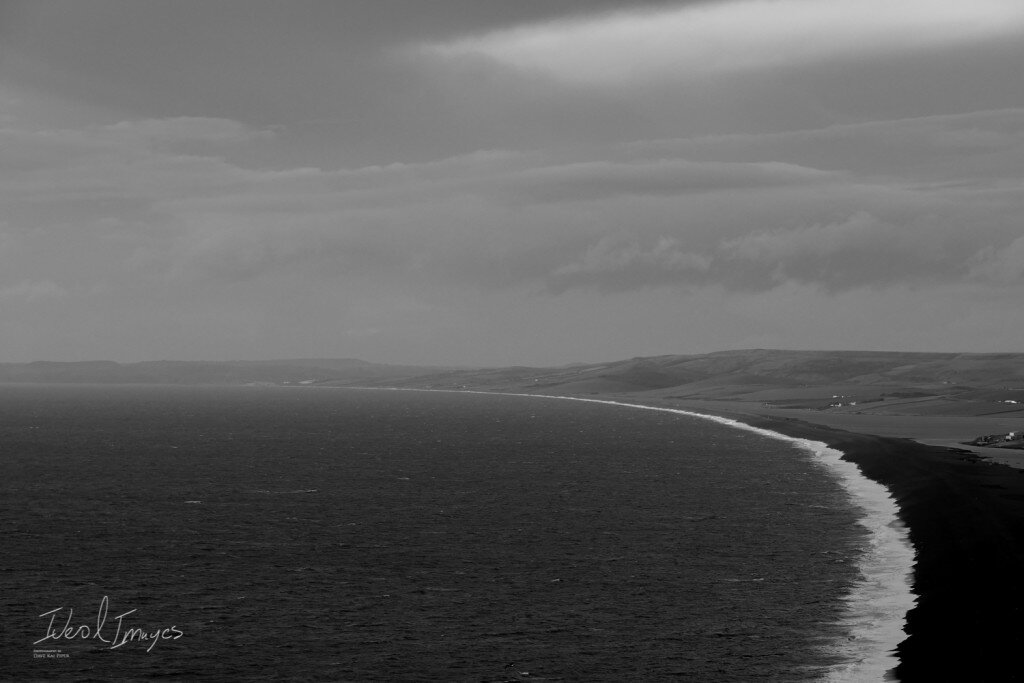
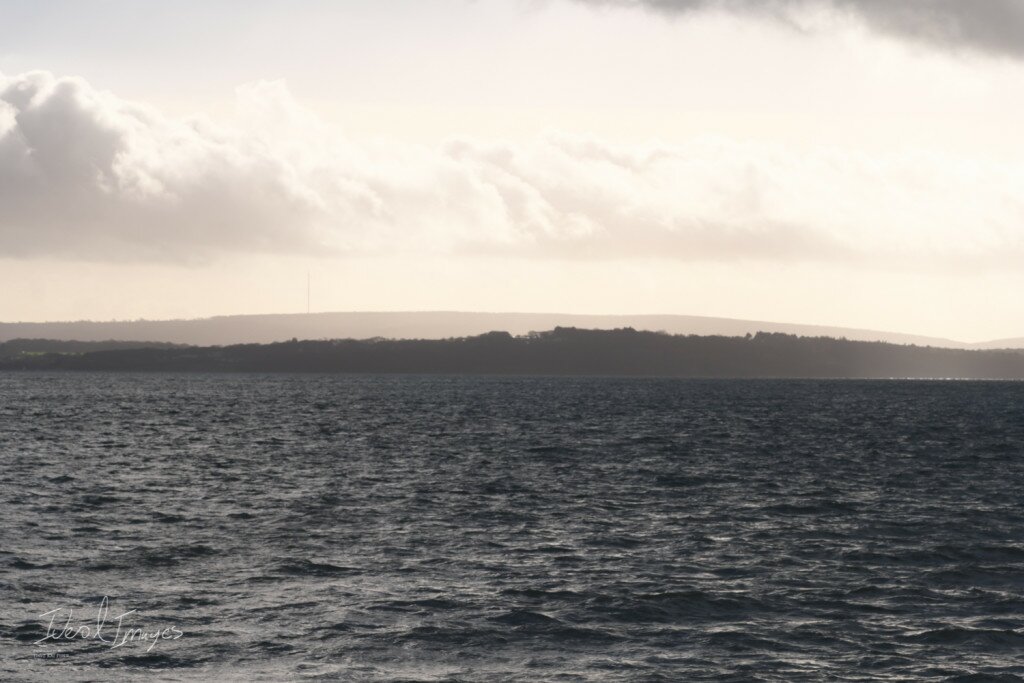
Looking North from Portland to Weymouth
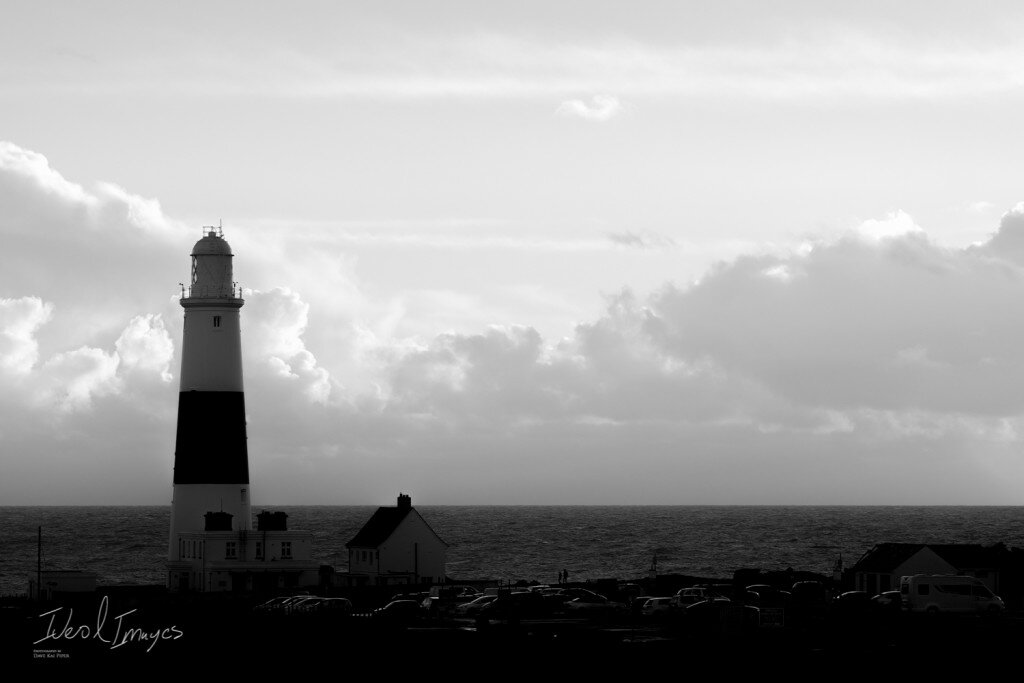
Portland Lighthouse
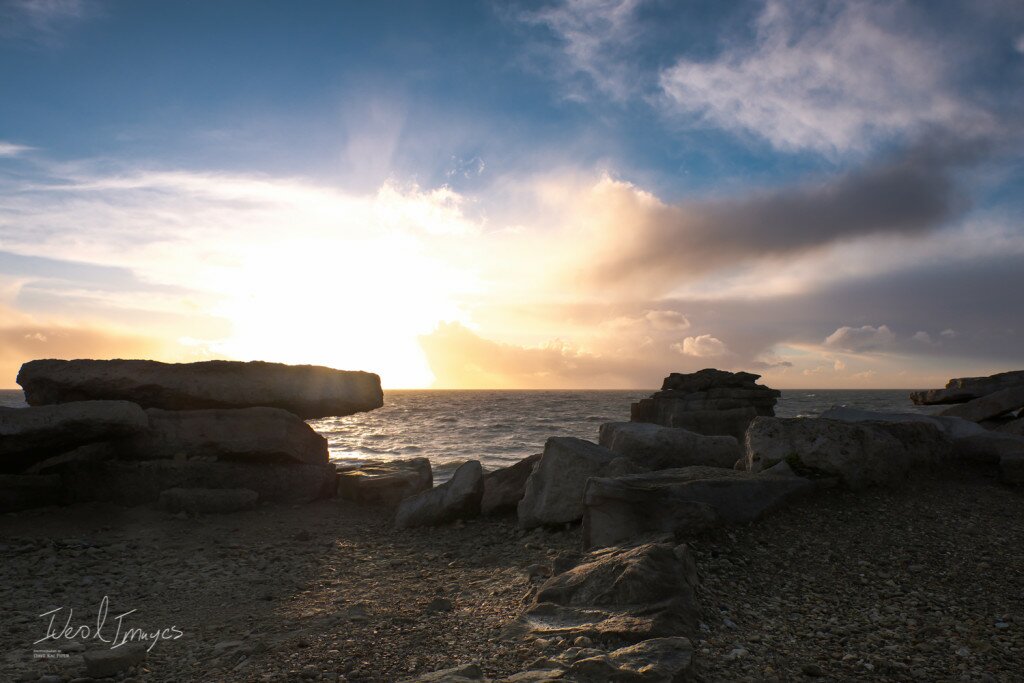
Portland
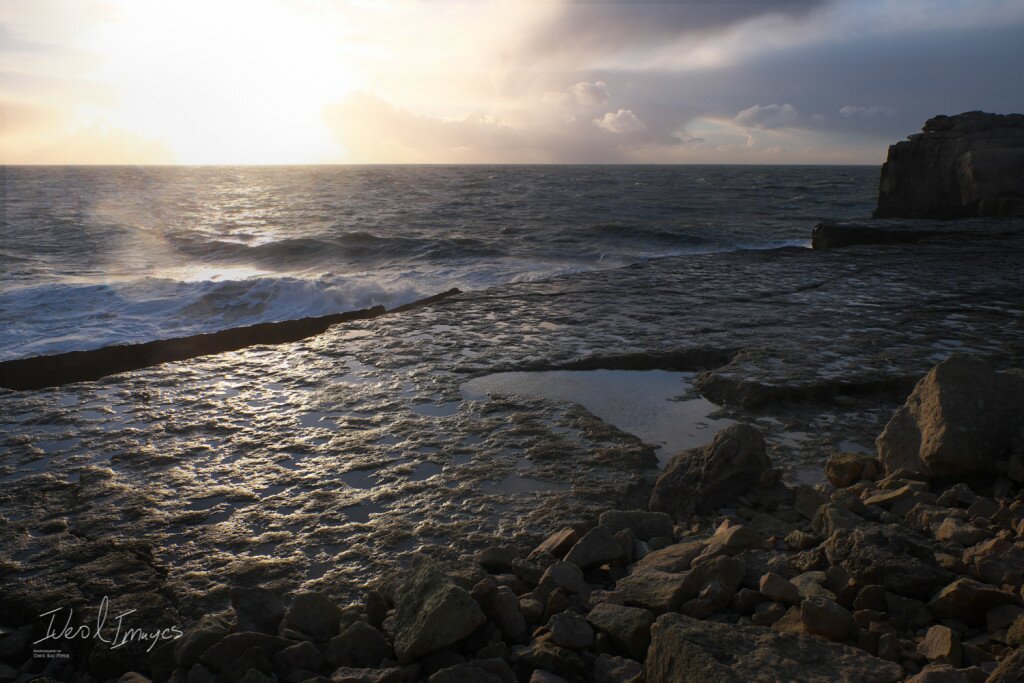
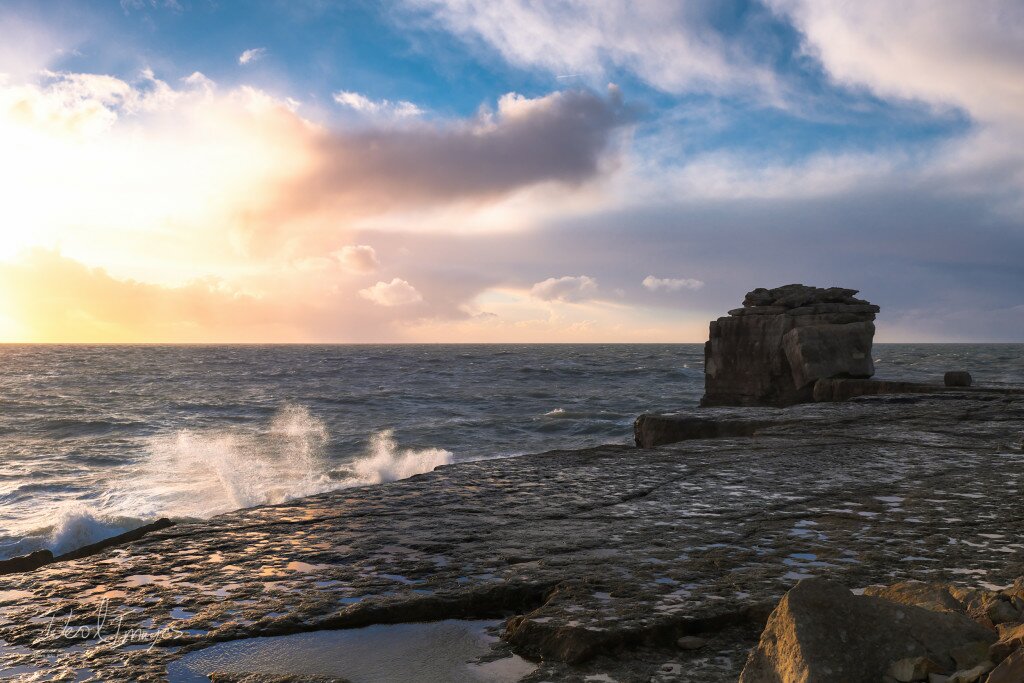
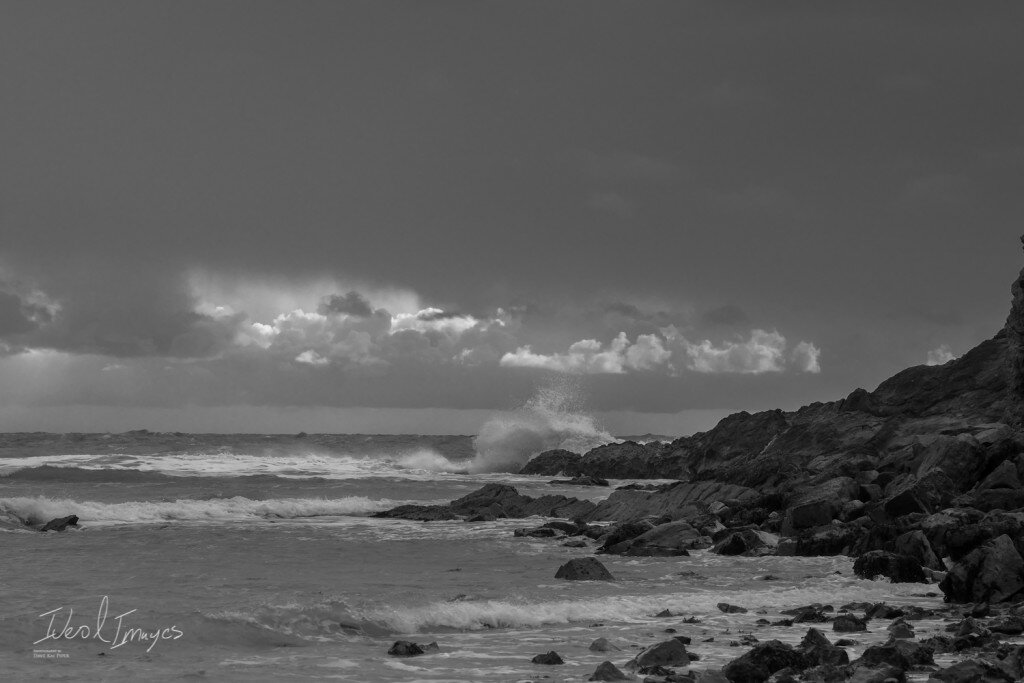
The sea hitting the headland at Portland
The sea hitting the headland at Portland – looking west.
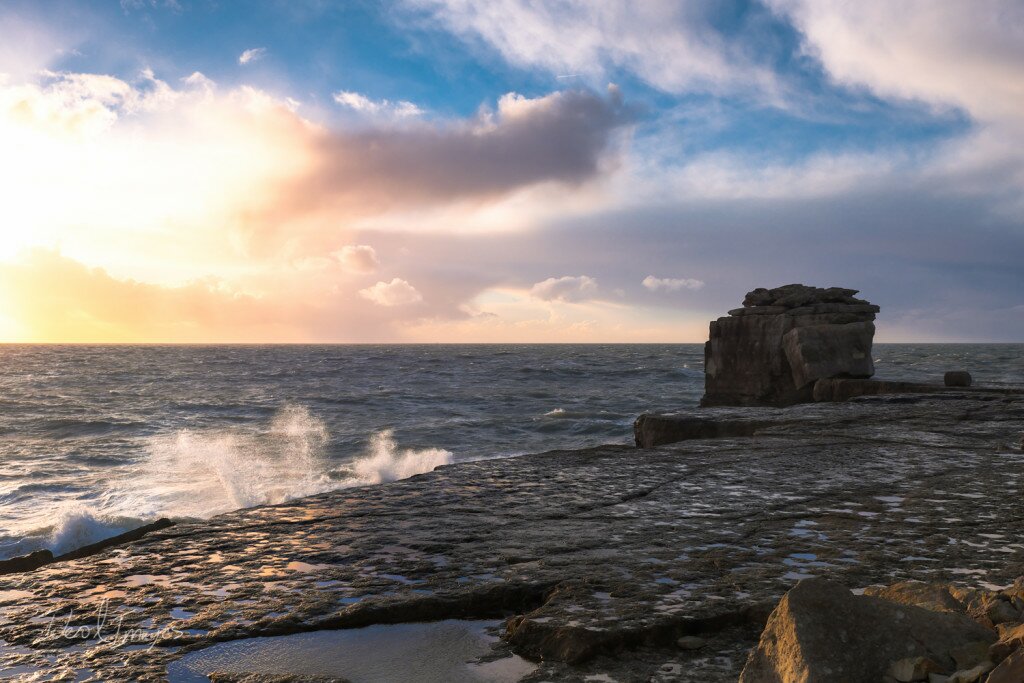
Looking South from the Portland headland
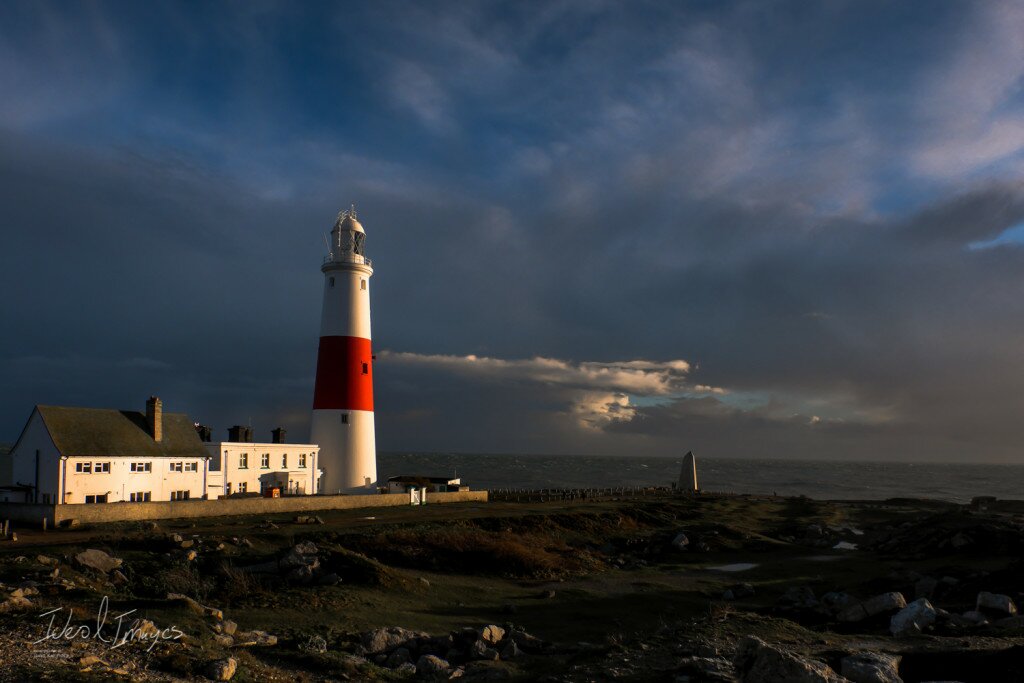
The Portland Lighthouse
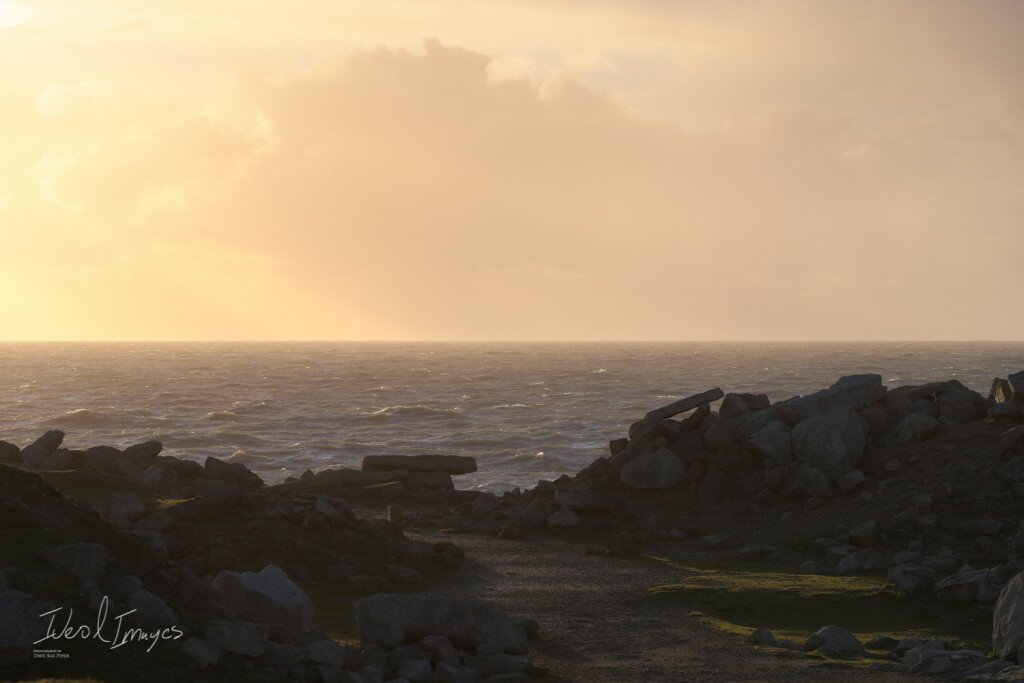
Golden Cloud Cover – looking south from the Portland headland
If you want to check out our other FujiFilm blogs – check this Link:
https://ideasandimages.co.uk/fuji/
The post The South Coast with the X-Pro2 appeared first on Photography by Dave Kai Piper.
]]> https://ideasandimages.co.uk/the-south-coast-with-the-x-pro2/feed/ 2 When you have a new camera to play with, there are few better people to ring up, invite over and shoot than the wonderful Rachel Bowler. By no means is this a camera review of the FujiFilm X-Pro2 – just a first impression of the camera during a shoot and files from it. There will […]
The post My first shoot with the FujiFilm X-Pro2 appeared first on Photography by Dave Kai Piper.
]]> When you have a new camera to play with, there are few better people to ring up, invite over and shoot than the wonderful Rachel Bowler.There will be one coming in a day or so, but I wanted to just document my first hands on shoot with the new camera. Please note that the camera I that I’m using in this is a prototype that I received directly from Fujifilm Japan. I received this camera in October 2015.
Firstly, I love and still love my X-Pro 1. It was the first Fuji camera I had and if this updated version is going to come close to being a more loved thing in my camera bag it has some pretty big shoes to fill.
Stuff will want to know:
Was it worth the wait ? Yes.
Sensor: A new 24.3mp X-Trans Sensor called the X-Trans CMOS III
New Processor: New high-performance X Processor Pro image processing engine.
Better than the X-T1 ? – it’s a different camera, but.. for me…. yes… 100%
Focusing: Fast and smooth.
Things I like: Size, weight, feel, handling, speed, duel SD cards & image quality.
Speed: top speed of 1/8000 sec. and flash sync up to 1/250 sec.
Video: 1980×1080 @ 60p – Rolling shutter sorted……
Film simulation: New Arcos mode – Great Monochrome
ISO: I used an image at ISO51200 the other day….
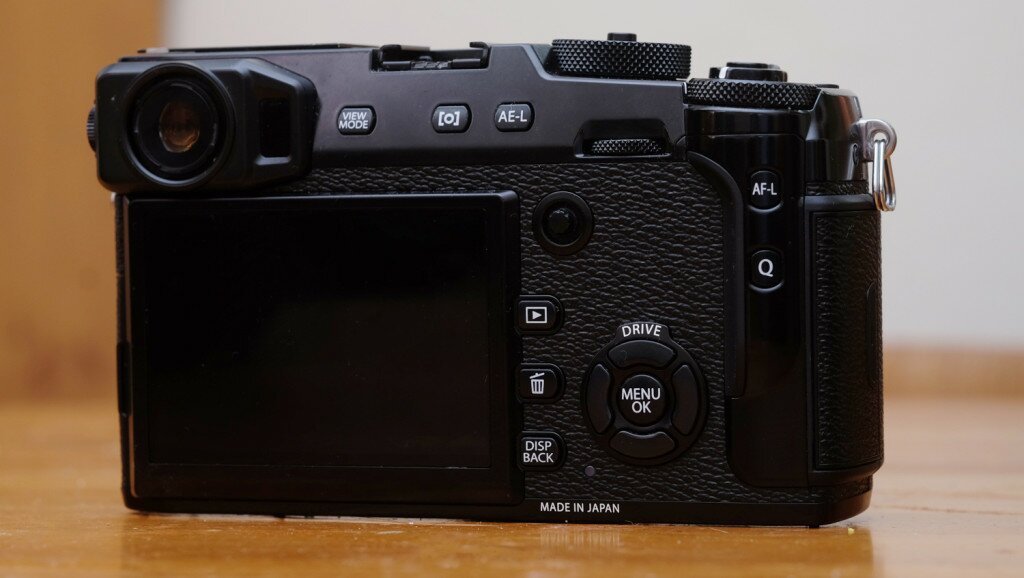
Video with the new X-Trans 3 is far better than the sensor in the X-T1. There seems to be much less rolling shutter and far higher bitrate coming off the sensor. Although the GH4 can film at 4k, the full HD footage of the Fuji seems to match the full HD footage coming off the GH4. When it comes to shooting the footage the GH4 is still so much easier to use but video is just not what the new flagship Fuji is all about. The stills from this camera are just what I have come to expect from Fuji. They still have the tones and feel that Fuji fans have come to love but with the new 24mp sensor there is just more to love.
As stated – I will be doing a fuller blog & some deeper thoughts about this new camera, but for now – check out this video shot part on the Panasonic CH4 & part on the FujiFilm X-Pro 2
The way skin tones come off the new sensor is wonderful. When ever I get my hands on a new camera or a new sensor the litmus test for me is always how well the pixels stand up to editing. The Megapixel count does not always translate into bigger being better, so I was quite interested to see if the higher pixel density of the X-Pro2 over the X-T1 was going to really translate into better IQ & if this would present any differences during the editing phase.
In real life the X-Trans 3 files are a joy to edit. I had to use a Japanese version of SilkyPix to convert the files into TIFF as I was using a pre-release camera. From there I took the 16bit TIFF into Lightroom then Photoshop.
The raw RAF files are approx 18mb to 28mb.
Full Size JPEG’s are about 8mb to 12mb
Converted 16bit TIFF’s got to about 60mb
If you want to see a FULL RES IMAGE – click the image below. It was shot on a 90mm lens at iso200. 1/150th + f9.
I have an on going towel project which is just the simple concept of photographing people wearing simple white towels. These images worked so well in colour I wanted to show them before I have converted them and added them to the gallery.
If you want to model for part of this project – send me a message via my Facebook Page.
These images were taken on the X-Pro 2 using the XF50-140mm
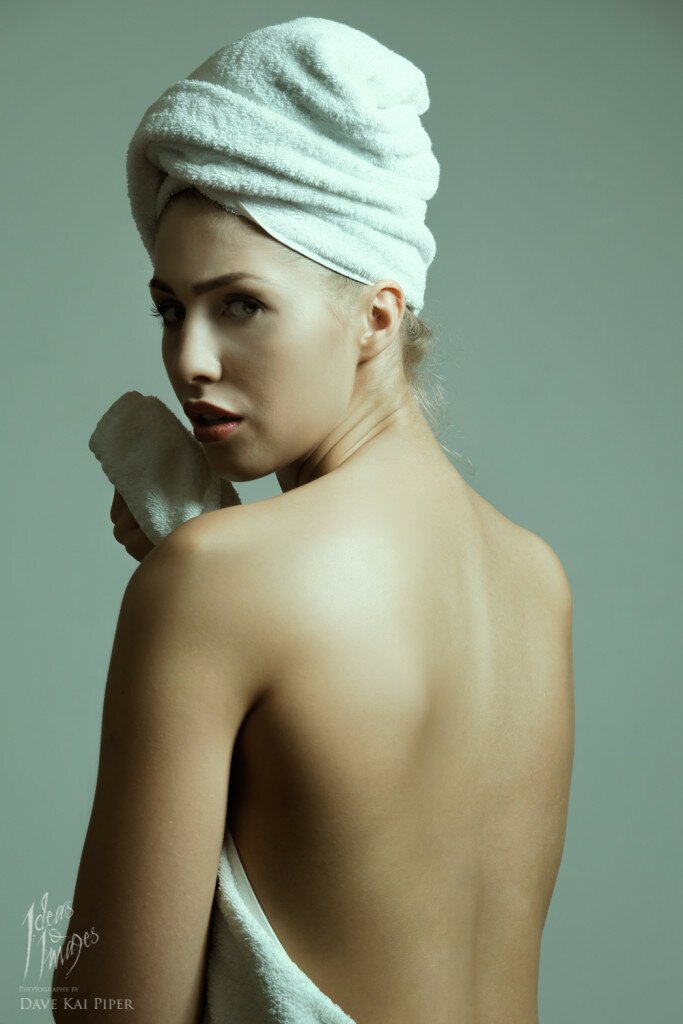
Image of Rachel Bowler
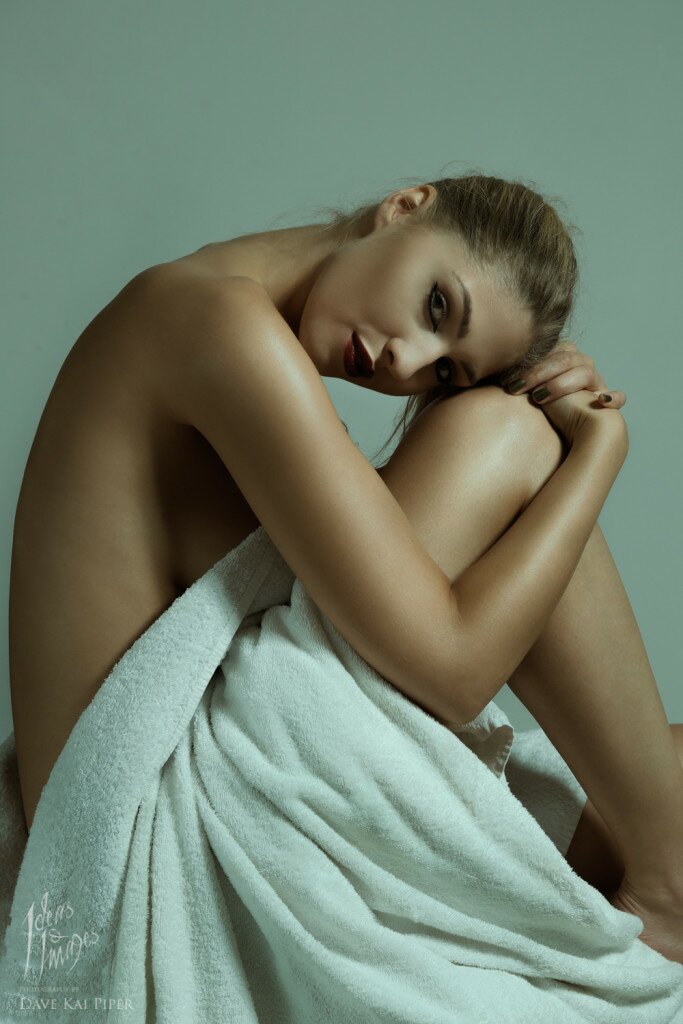
Image of Rachel Bowler
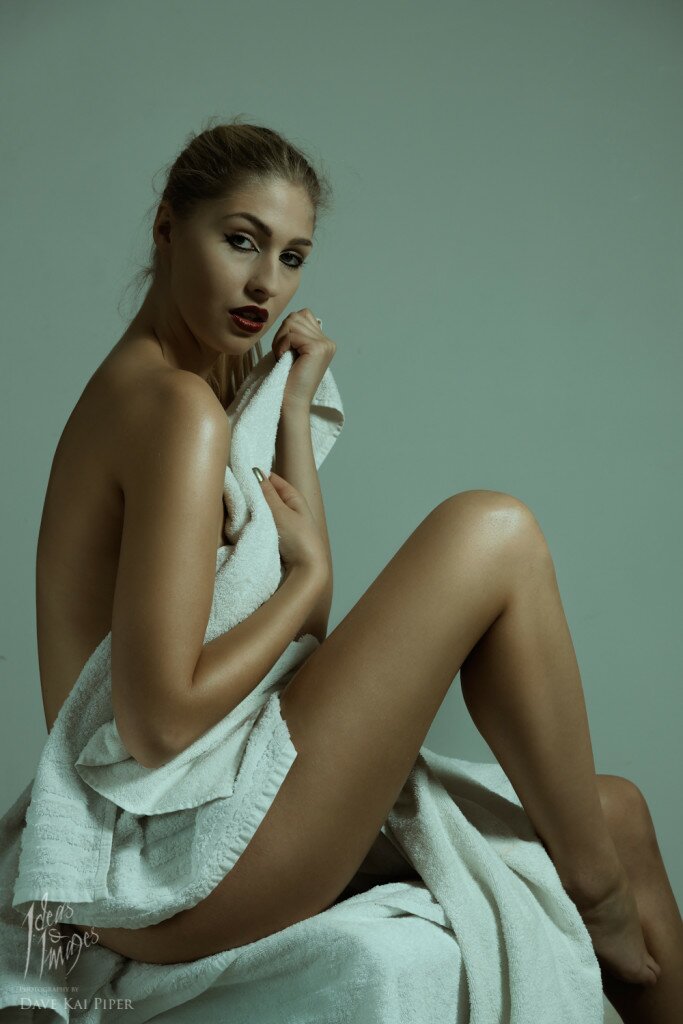
Image of Rachel Bowler
Image of Rachel Bowler
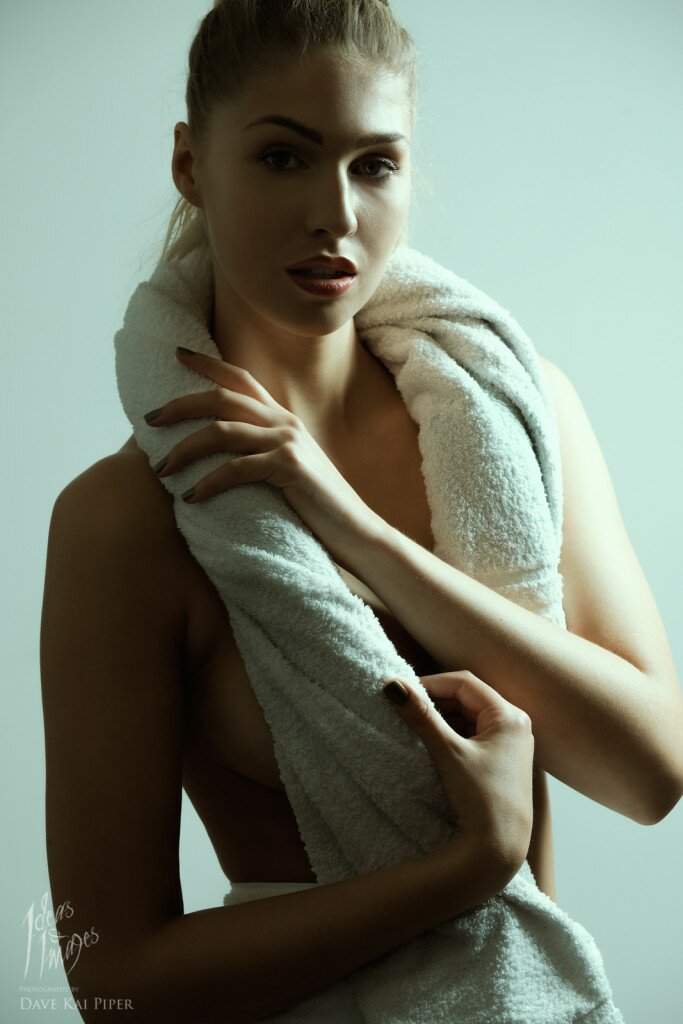
Image of Rachel Bowler
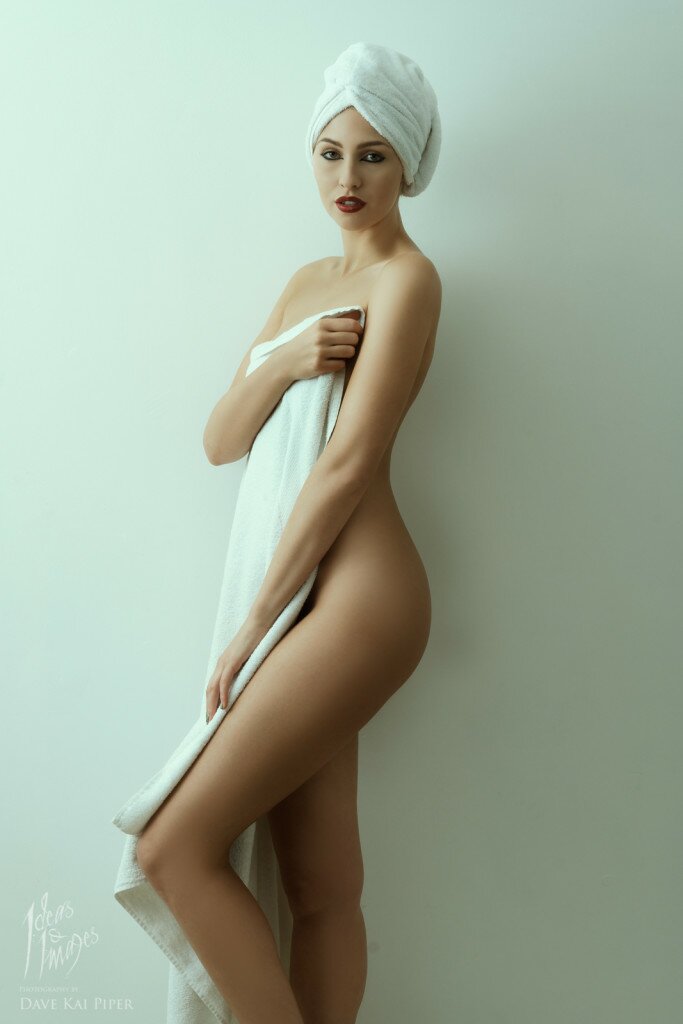
Image of Rachel Bowler
The images below are all taken on the FujiFilm X-T1 on the XF 50-140mm
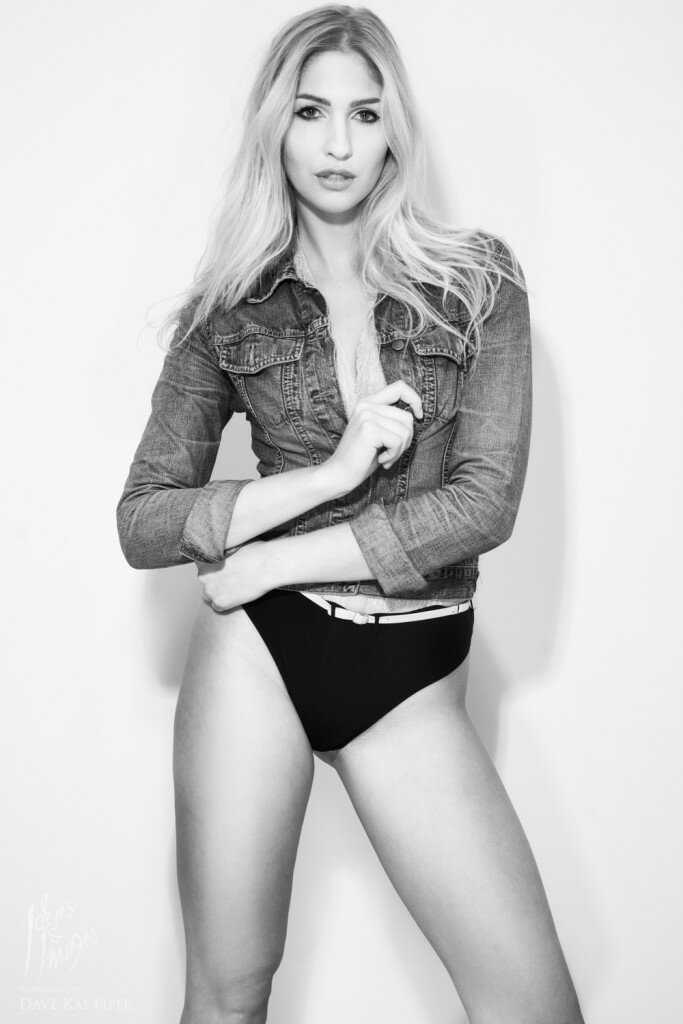
Image of Rachel Bowler
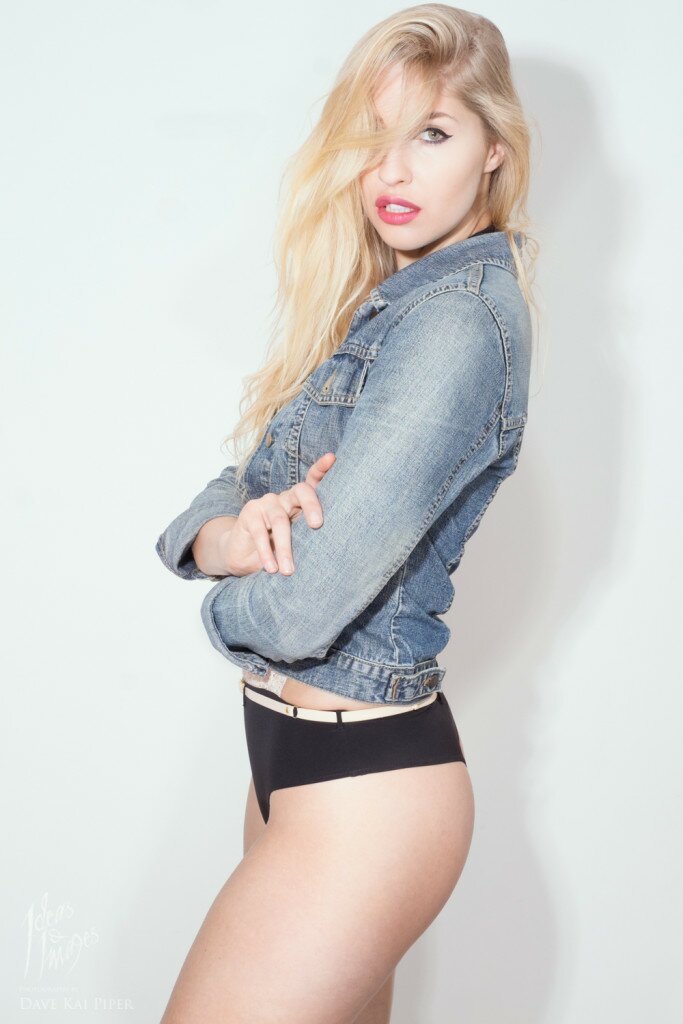
Image of Rachel Bowler
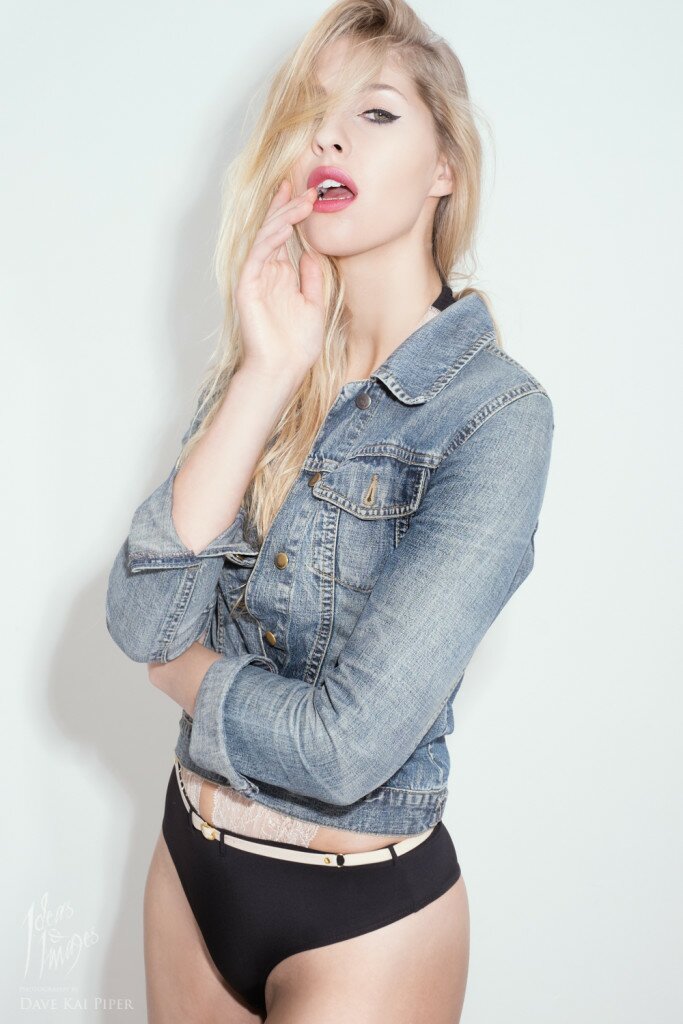
Image of Rachel Bowler
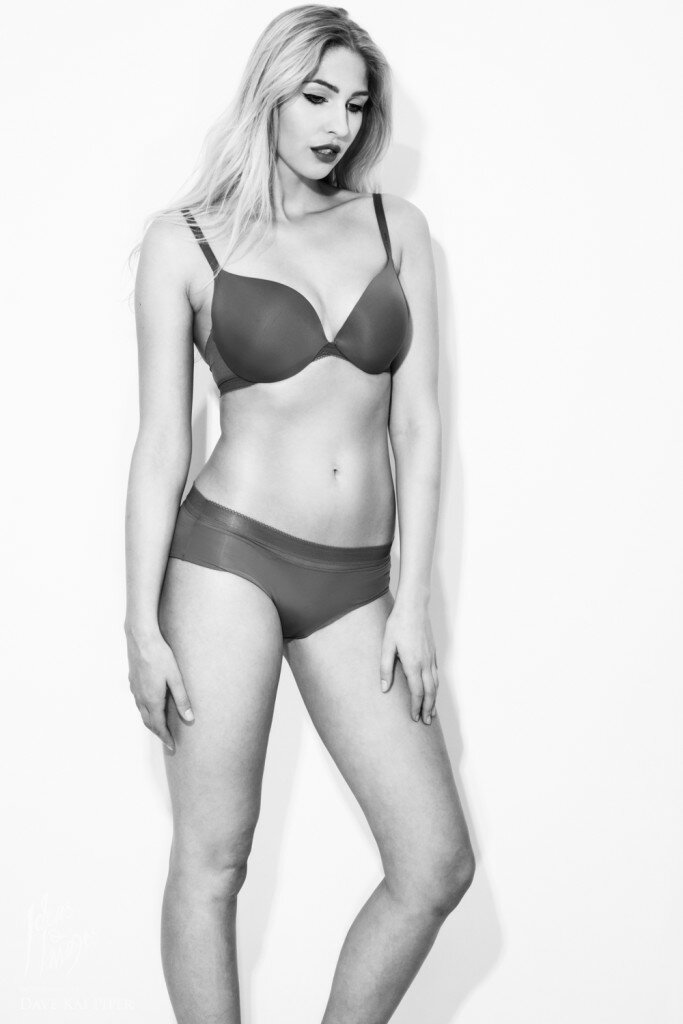
Image of Rachel Bowler
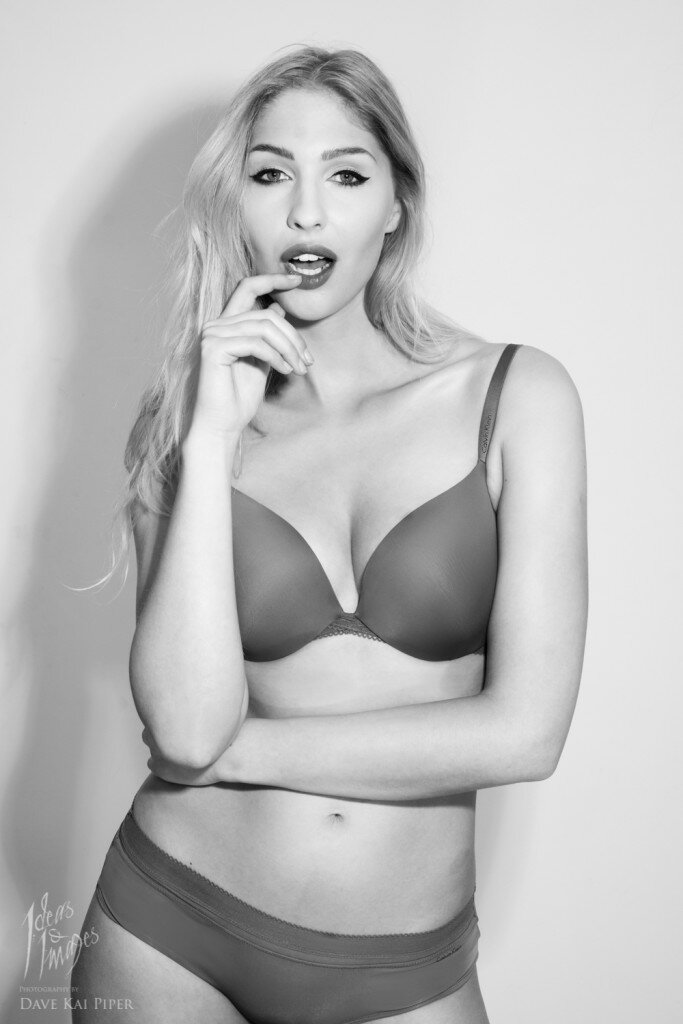
Image of Rachel Bowler
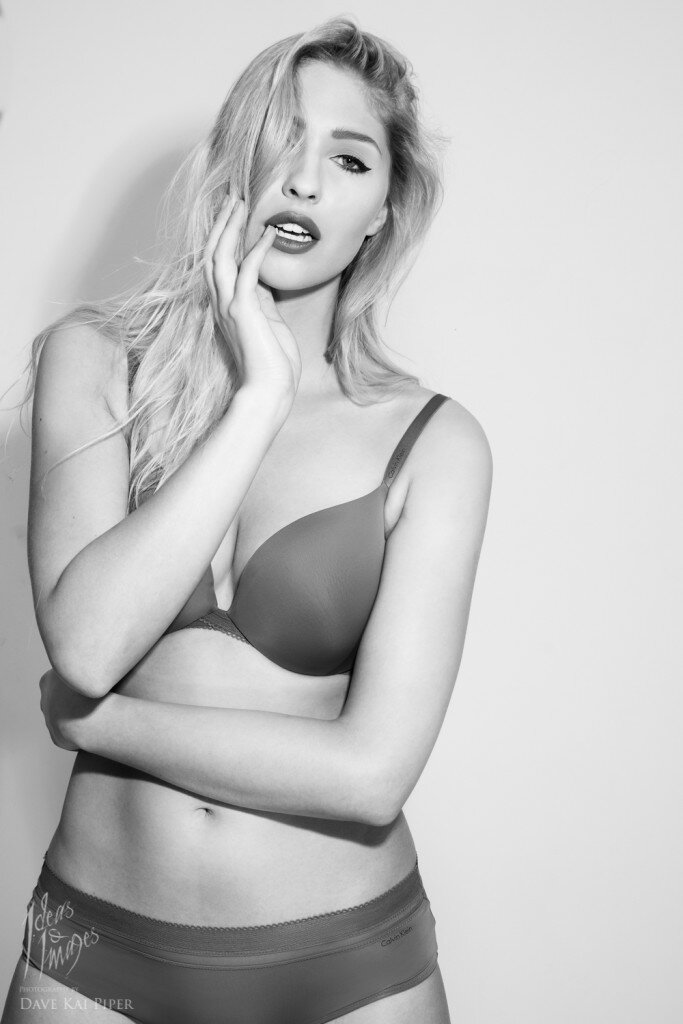
Image of Rachel Bowler
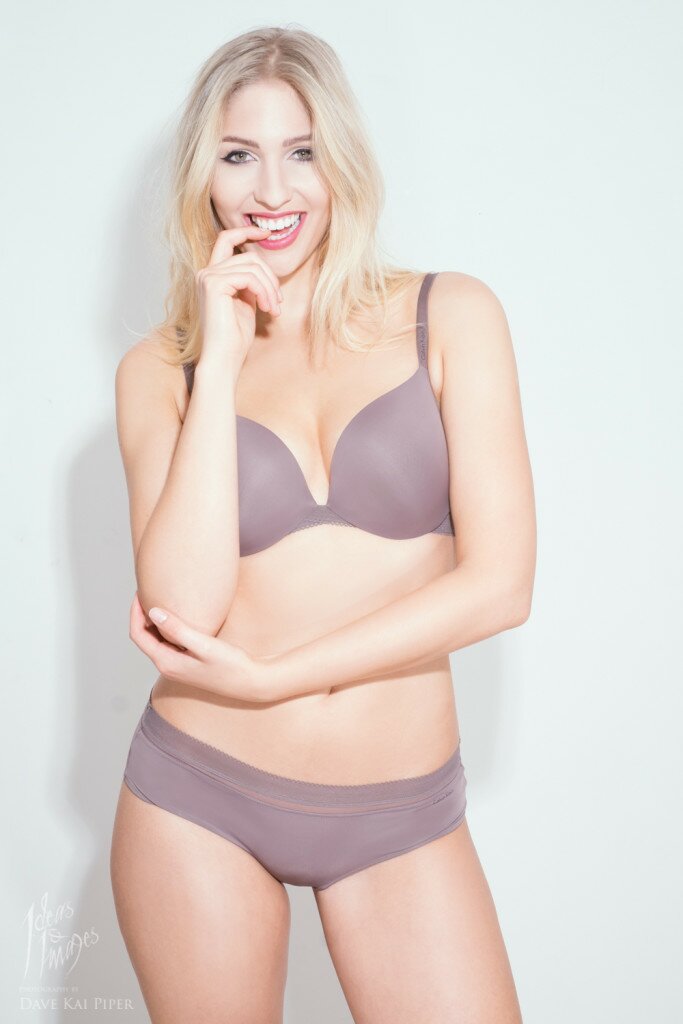
Image of Rachel Bowler
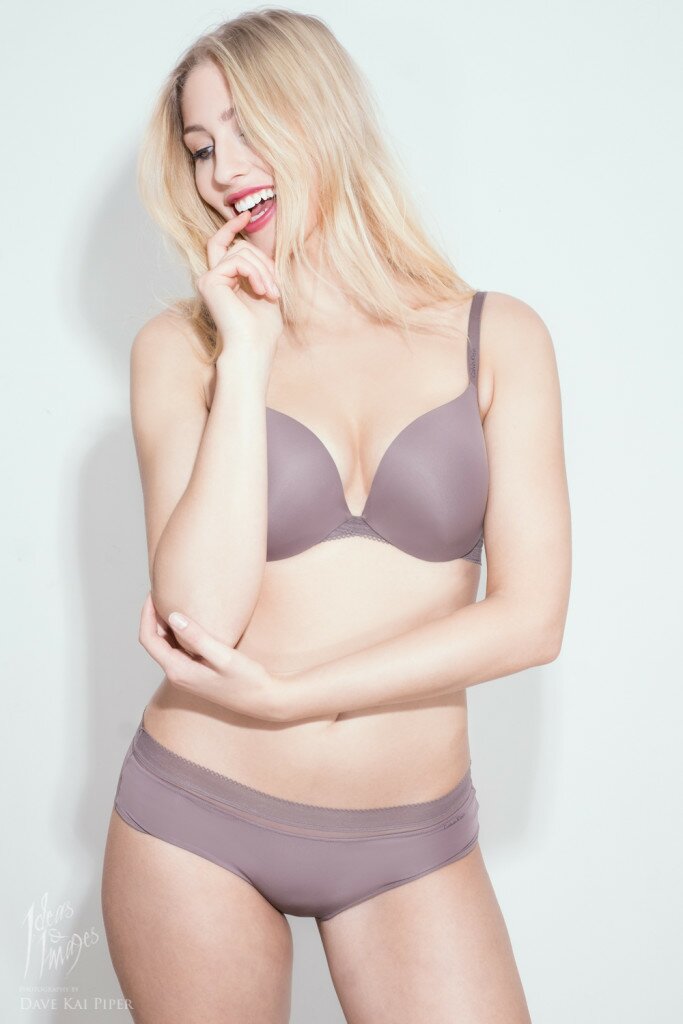
Image of Rachel Bowler
My good buddy Matt Hart also has a blog about the launch of the new camera & do check out his blog here: https://matthewhartphotography.wordpress.com/2016/01/15/fujifilm-xpro-2/
Kevin Mullins also has a blog and video about the new camera – you can find that link here :http://f16.click/gear/fujifilm-x-pro2-review.html
The post My first shoot with the FujiFilm X-Pro2 appeared first on Photography by Dave Kai Piper.
]]> https://ideasandimages.co.uk/fujifilm_x-pro2/feed/ 1 Part one of my 2015 retrospective & 2016 plans blog. First published for : http://www.thephoblographer.com/2015/12/13/how/#X5zp5WxwZbwe3RWl.99 So, last year Chris Gampat over at The Phoblographer asked me to write up a small that that wrapped up the year, this year Chris asked ‘Over the next year, how do you plan to become better as a photographer […]
The post Part one of my 2015 retrospective & 2016 plans blog. Better Photographer ? Better Person ? appeared first on Photography by Dave Kai Piper.
]]> Part one of my 2015 retrospective & 2016 plans blog.First published for :
http://www.thephoblographer.com/2015/12/13/how/#X5zp5WxwZbwe3RWl.99
So, last year Chris Gampat over at The Phoblographer asked me to write up a small that that wrapped up the year, this year Chris asked ‘Over the next year, how do you plan to become better as a photographer and business person? What’s your overall goal, and how do you intend on getting there?’
2014 & 2015 have been wild ones – seriously, you could not of made it up if you tried. Both in good and bad ways. I got my teaching job at Wolverhampton Uni. Guest Lecturer on a Wednesday afternoon – it was and is a massive step for me. More than anything it was somewhat of a personal achievement to myself. Lacking in confidence and direction is something I have been guilty of for long time now and this was one of those things I used to get over the invisible hurdles that was in my way. I did it, I set the challenge and I did it.
Personal work – that is my 2016. I still don’t have much spare cash in the bank but I have a little more confidence, and in this game – that can be worth it’s weight in gold. Watching photographers like Ben Von Wong, Lara Jade, Felix Kunze and to some extent Joey L grow is a daunting prospect. It’s hard to not self blame when you see people grow at such an increasing rate, do all the things that you want to do yet make it so look so easy. It seems so effortless for them, but I seem to get stuck in the mud whenever I try and just live day to day. I have had shoots where I just was not able to get the camera in focus this year. So – in 2016 I am going to try something, total 100% positivity. Yup, everyday…. no more self blame and no more self pity. I am going to finish my two projects – both are small things and nothing major – but I need to finish them. For my own needs, I need to finish this chapter in a positive way and move forward. I am going to get my new portfolio finished and up before the end of February.
Don’t get me wrong – 2015 was not a bad year, by far it was the most successful year I have ever had, I have created some of my personal favorite images this year and after January will see me hit a target I have been working on for 5 years. That’s FIVE years ago I said something to my self and it will happen, just a few days away from my 33rd birthday. But all year I still had that feeling that I was going at full steam, 2016, I want to take that step up and mentally shift into another gear.
In 2016 will see the start of another element of my photography kick in. Ideas & Images have been working with a printing company called Fotospeed under the radar for a couple of years on a few small projects. Next year, with Fotospeed’s backing I am going to exhibit more and more work into gallery spaces. This is, for me, a nerve wrecking thing. But as part of my new move towards a fearless approach – getting my work out and showcased has to happen. For a long time the idea of being judged did worry me and put me off.
Business wise, we have been working very closely with Simon Ellingworth and his new project Amersham Studios along with strengthening ties with companies like FujiFilm. In 2015 we did both the 16-55mm and the 35mm lens sample images – as a fan these jobs are pretty much the best jobs I could dream for. We have just finished a job for Peli in the UK too – that was pretty cool as we shot it in Wovlerhampton Uni with the students as my team. Growing and strengthening the brand is always the key goal and if we can help educate along the way then that is going to be amazing for me. I was not working on the Photography show this year, but was invited to talk for a couple of companies – which was just as amazing. We did a couple of talks for Smug Mug & Fotospeed & a FujiFilm walk around Birmingham. Next year for the show, we have already had a number of requests from even more people. I guess everything is building day by day. Personally for me, the show each year is a interesting thing. It’s a way I can work out how well I am doing year to year – in regards to my photography profile. A few years ago I was that young kid looking up and dreaming of working with Fujifilm or some camera company. And now I am that person. It’s pretty bonkers really. This neatly takes me on to another thought….
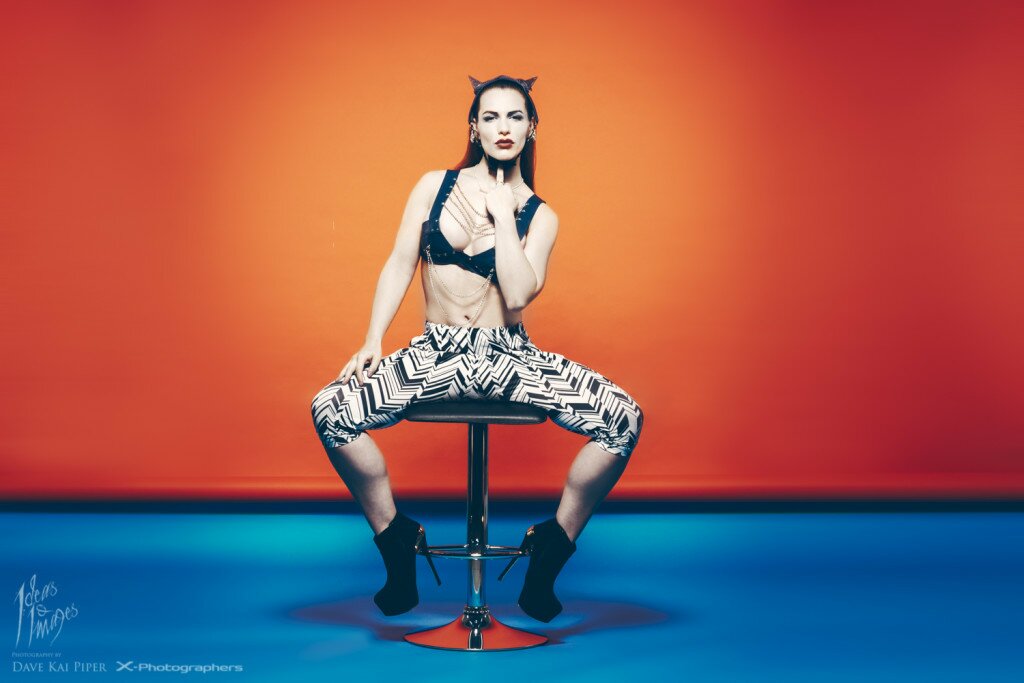
Photographers and Social Media. Still don’t understand it all. I know for a fact I am loosing money as my social stats are not that big. Like, nothing compared to the people around me. I am VERY sure I loose money these days when companies look at my social stats before my portfolio. The idea that I need to put more time into ‘social’ is something on my mind daily. In 2015, I did make a noted difference in the way I used FB. I do the – never post anything negative thing. It worked a little bit but the, not posting anything personal was too tough and I caved in. I noted that most of the people with big followings ONLY post directly about what they work wise and strictly keep to it – it seems to work for most people but I like to Instagram my life as well as my work, it seems to hold back my social stats from growing. I dunno – maybe my work is just crap and no one likes it… the most simple answer is usually the right one. Either way… growing the social awareness of my work has to be one of those things I tackle in 2016.
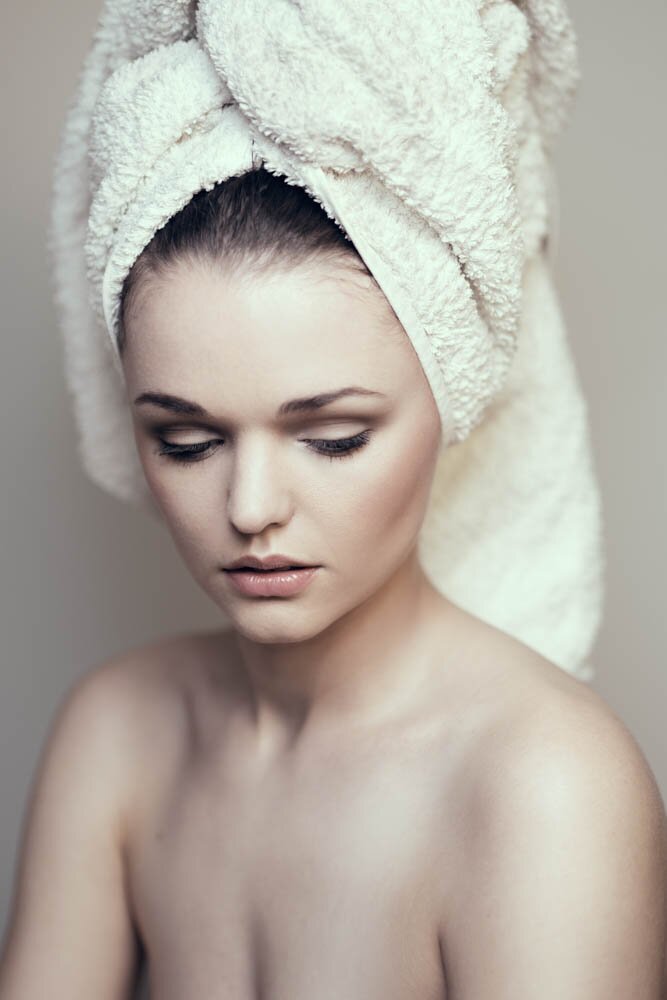
I have just been reading back on what I wrote last year too. I mentioned the work / life balance – and shooting less. Still firmly agree with both of points. And I still think that the work you turn down is just as important as the work you take. This year has been filled with better jobs and better paying jobs too. I did put more time into personal projects but in some ways failed to do what I really wanted. I didn’t do enough on this front. There was another thing I wrote last year and it’s odd because it seems way more relevant that ever –
The personal things that have happened around me this year and the people who known me personally might really of noticed this more but, yeah. I have been stubborn, selfish and tempestuous. I have been arrogant and at times less respectful of the help given to me. I have got a few things wrong this year and I have been bitten. Quite rightly in hindsight.
We are photographers. We document. We see. We observe. We create happiness and capture sadness. We are all human and many of us wear our hearts on selves. We are emotional people and react as such. We are not perfect and we need to look after our minds just much as we look after our wallets. That is what I have learn’t this year.
The silly thing is , I don’t really think I did learn it. I feel like I have now, but maybe that is the point. As time moves along, our view points do too. We never stop learning and we can always look back and see better ways to be human. The other thing that this makes me think is that, no matter what happens, stand up, dust yourself down and get back up. It’s not how many times you fall over that counts, it’s how many time you get back up again that counts.
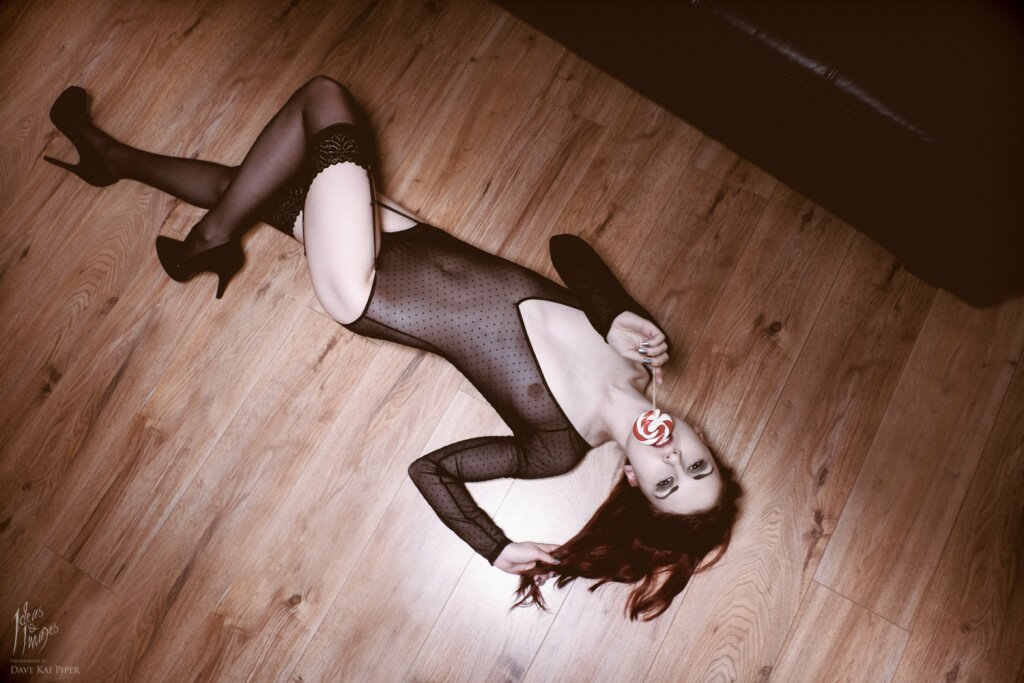
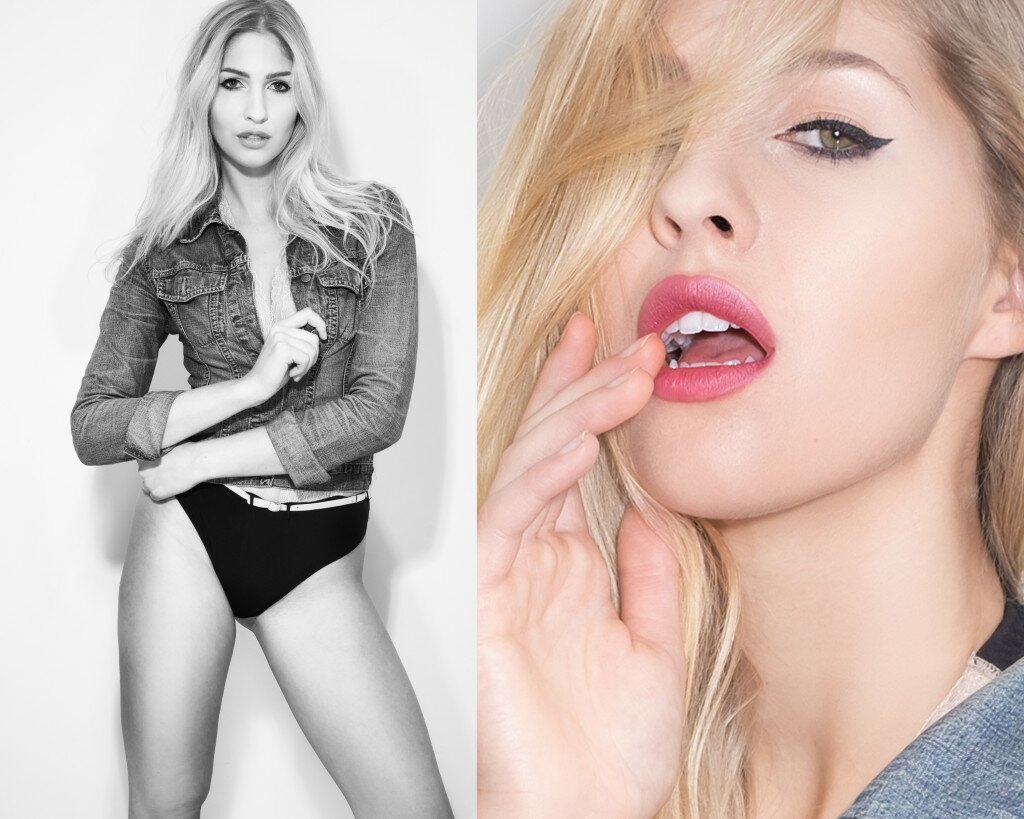
As to overall goals, I should really make some I think. Proper ones, So lets see, by the time Chris sends me another e-mail next December. I hope to of ….
• Had my first tattoo.
• Been to Japan.
• My first Kitten.
• Finished both my personal projects and have a blurb book made.
• Shot a major global advert for Fuji.
• Had a gallery exhibition in London & NYC.
• Dinner with Chris Gampat, Ben Von Wong, Joey L, Lara Jade, Sylivie Blum.
• Shot a cover for a Major music artist.
• Shot a major advert for an airline.
• Cover of Rolling Stone.
There we go, in public, that’s my 2016…. hummm I better bet busy.
Read more at http://www.thephoblographer.com/2015/12/13/how/#s8M1YjDbud7QjRLu.99
The post Part one of my 2015 retrospective & 2016 plans blog. Better Photographer ? Better Person ? appeared first on Photography by Dave Kai Piper.
]]> https://ideasandimages.co.uk/2016-part-one/feed/ 0 I am sure we all know the…. if it is not in three places thing… but.. I have always been a little more relaxed and almost been caught out a few times. These days, I have a little more of an advanced 100 foolproof system when it comes to work and the digital pathway of […]
The post Storage – Whats your plan ? appeared first on Photography by Dave Kai Piper.
]]> I am sure we all know the…. if it is not in three places thing… but.. I have always been a little more relaxed and almost been caught out a few times. These days, I have a little more of an advanced 100 foolproof system when it comes to work and the digital pathway of my images.For a start, everything goes on to a hard drive direct on site, using tethertools cables my Nikon and Fuji cameras are, where ever possible, connected to my laptop. Images go on to my portable SSD and stay on my SSHD hard drive on the laptop. This section is pretty normal, but next I upload ‘safety files’ to SmugMug. This means that what ever happens I have files. If the worst of the worst happens I have the most important files to work from. ( Check out the EE wifi Dongle. We use the Osprey 2. If I have fiber or a fast WIFI then I will try and get as many online. As I shoot the images go into Lightroom then will be uploaded to my Smug Mug account using the SmugMug Lightroom App & Smart collections. This means that I have ‘realtime back up’ to an online source. Each time I ‘5 star’ an image it gets backed up. The other side to this is that though the Client login end on my website, my clients can also see these files real time via the web. Backed up, safe, and where they need to be. Happy Dave, happy clients. Everyone is a winner.
As for making physical back ups. I don’t tend to use RIAD storage. I have a couple of drives that are linked in such ways, but most drives are stored in Buffalo’s DriveStation Duo™ – HD-WIU2/R1.* I have not any any major reason as to why these units aside from the fact I have never had a single problem with them and 2 units have been running now for 6 years pretty much not stop.
The last two times I have had a problem and in-fact every time I have had a problem it has been with smaller portable drives. Problems have ranged from ‘stiction’ or static friction as it is also know to mostly troubles with software controllers & PSU problems. To fix my last drive, which was a small portable drive that suffered from stiction I used a wonderful company called Data Wreck**. They saved my bacon. The last time I had a problem it was another drive but still a PC World type off the shelf job. Not sure what the problem is this time but I have a rough idea that it is a software problem this time. At some point I will get round to getting the data off it when I have the spare cash. Most of the important stuff was backed up on the other drives but there was some stuff which I have edited versions of online & high res and I am not sure if I need the 2tb of images not used or not. I have the important stuff online and that is never going anywhere.
This leads me away from the storage but, the concept of what really needs to be stored. I have a feeling I might loose all those unedited images, I have the ones I want to keep, why should I pay money to back up the odd shot I might never ever look at again. I don’t need them, I just like that they are there. I think I need to re-think my storage… I have over 53 drives now. Some old, some new, some portable drives and the like. I wonder, how much of this storage I can not have backed up 3 times. Am I being to precise about files I will never use again? Maybe my idea of backing up and storage is going to change. The other day my partner and I went to see her mum, we ended up looking for a single old family photo and proceeded to spend the rest of the day laughing and giggling at baby photos and such. I liked that, that to me is photography and what it is about. I think, from now on I am going to have a drive that I store all my edited files in each month then print them, when they arrive I am going to get box and put them under the stairs. That way I know they will last for ever and at some point in the future someone will be looking for something and then proceed to spend a day laughing and giggling like we did.
A photo posted by Dave Kai-Piper Photography (@davekaipiper) on
The next thing my mind lent me to, and this is a more morbid thought… but something that does play on my mind. At some point I am going to die, not to soon I hope! But… when that happens, what is going to happened to my neatly arranged back up drives and who is going to remember not format that drive, if they are still using drives in the future. Who is going to know my password to be able to look at the files. I know what will happen and that the drives, my work will be lost. Gone. Again… I urge you to print. Make books, use paper like in the olden days. This is ONLY way to really safe guard your photography.
My new printed portfolio is here !! Thank you so much to all the lovely people at @fotospeed for hard work getting this book together.
* http://www.buffalotech.com/products/desktop-hard-drives/drivestation/drivestation-duo-hd-wiu2r1
** http://www.datawreck.co.uk/
The post Storage – Whats your plan ? appeared first on Photography by Dave Kai Piper.
]]> https://ideasandimages.co.uk/storage-whats-your-plan/feed/ 0 First written for Hungry Eye Magazine: Over the last few years it’s safe to say that there is no company making bad lenses or cameras. From Sigma to Canon to Nikon – there are some amazing new things coming out at a seeming weekly rate. Few brands have been doing – for me at least […]
The post Fujifilm & the ‘Red Label’ Lenses appeared first on Photography by Dave Kai Piper.
]]> First written for Hungry Eye Magazine:Over the last few years it’s safe to say that there is no company making bad lenses or cameras. From Sigma to Canon to Nikon – there are some amazing new things coming out at a seeming weekly rate. Few brands have been doing – for me at least – what Fujifilm has been doing. The pairing of outstanding innovation and exceptional lenses wrapped up in retro, easy to use styling is just the ticket. Yes, it is safe to say I am a Fuji fan.
Over the last few years I have had the wonderful opportunity to build up a great relationship with the ‘Green’ team and I am very proud to be an ‘X-Photographer‘. During the time I have been shooting with the Fuji System there have been a number of updates and developments and just as another big firmware update arrives we look at the current line up of lenses to see where we are as the ‘glass’ stands.
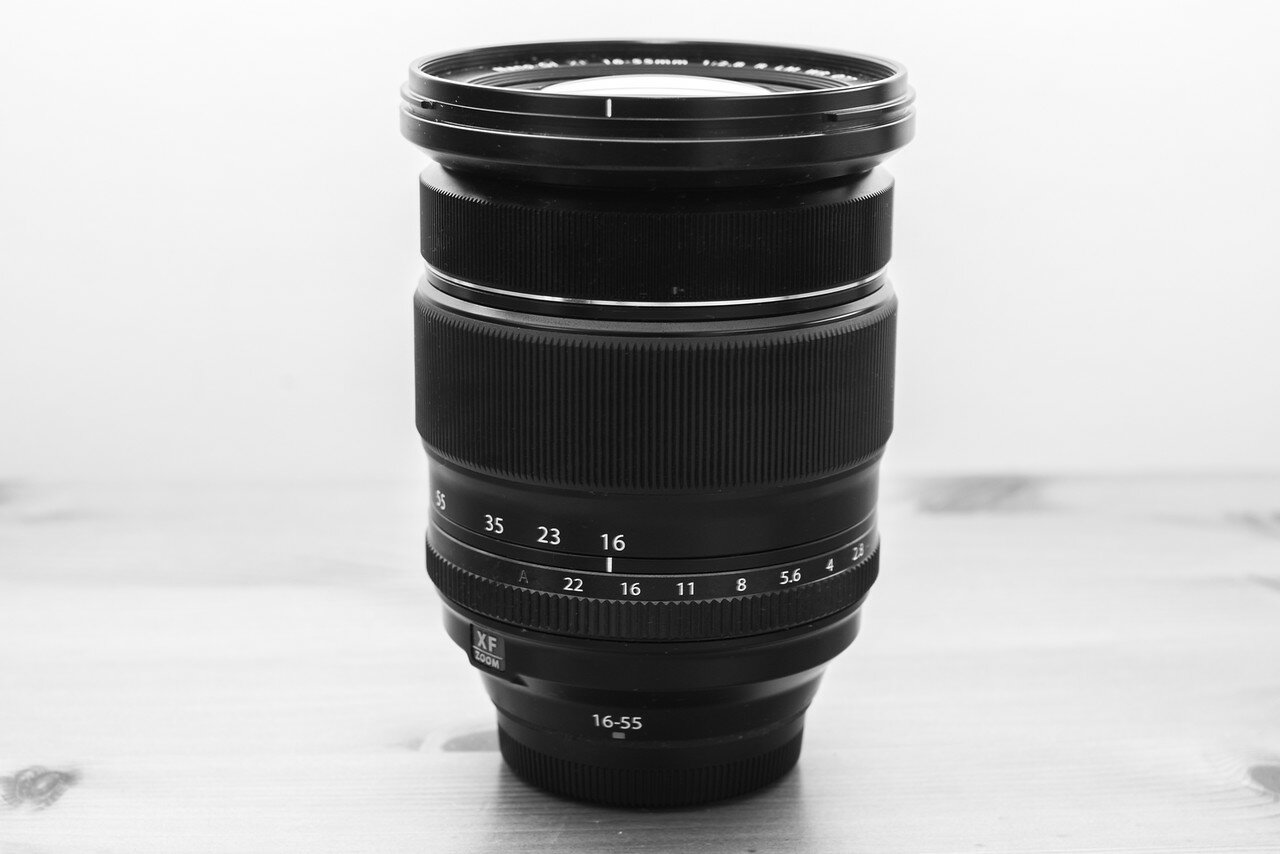
When the system was first announced , I started shooting with three main lenses, these were the 60mm, 35mm, and the 18mm. All fantastic things and still wonderful items to have, but, in 2015 my Peli case contains a few other slightly more exciting additions. The 60mm, 35mm and 18 all have something in common. They are small, light and built to be simple. Hard wearing and basic could be another way to put it. This is not saying they are not good, on the contrary, these are utterly wonderful lenses, but they are lacking in a few things which Fuji have addressed with the newer generation of lenses such as the 56mm APD. More than anything this shift towards an ‘even more’ acute sense of quality that seemingly is squeezing out every ounce detail from the X-Trans sensor is driven by demand. When people first started buying the X-series system, I am pretty sure they were not buying a camera to work on. This is the pre-switch from DSLR to CSC era. The X-T1 was a while away and X-Trans didn’t have phase detection. People ‘like me’ were using the cameras for two reasons. Firstly, they looked damn sexy. In contrast to my other DSLR’s they looked refreshing and something I wanted to use. Secondly they worked, they worked very well. They were small, light and gave us our hobbies back. They let us be ‘cool & hip’ taking photos, no longer did we have to use our iPhone. There was a middle ground. Not many ‘Pro’ photographers had second cameras as the choice was either a bridge camera, a compact camera or a film 35mm aside from the already mentioned iPhone. Fuji – among a few others I should mention, changed that and gave us the ‘pre minim’ compact that was so good people also started taking them to work as backup cameras, then they became additional cameras and now, with lenses like the XF16-55mm & XF50-140mm the DSLR is the back up.
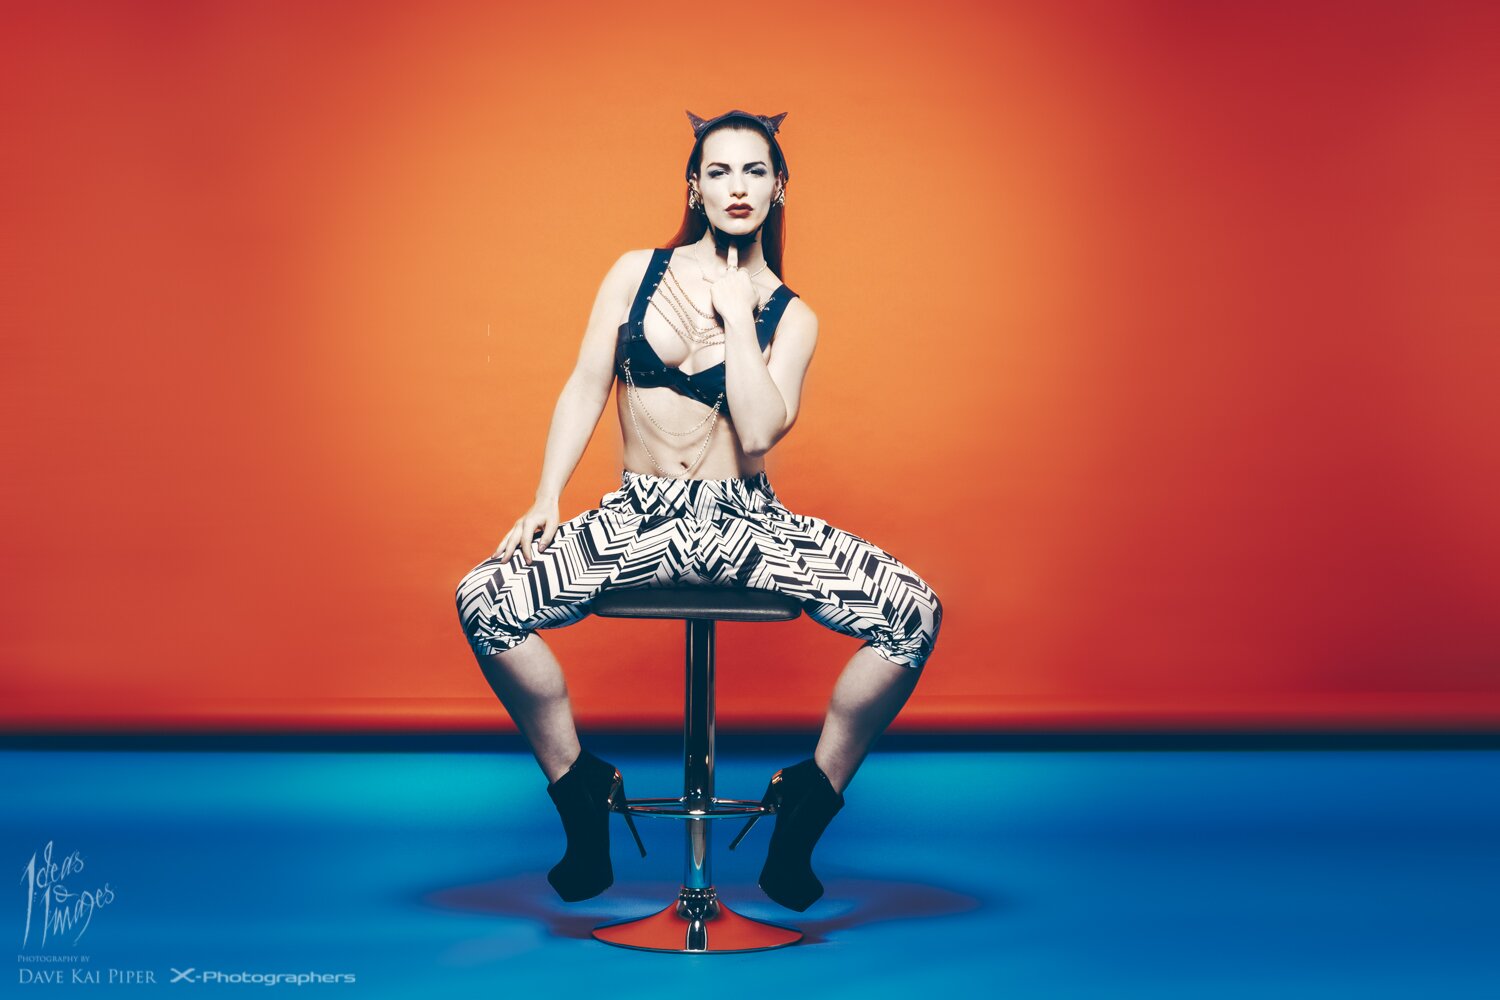
In my eyes, looking at the roadmap for the Fuji XF lenses now, they are seeing that people want to work with these cameras. The new lenses are bigger, in everyday. The XF16-55mm has a massive 77mm filter fit which is almost as big as the X-T1. The XF90mm is beyond sharp in every way. The 50-140mm is so stable at the longer end while being fully internal and 2.8 constant. The new range of lenses are being designed with the professional photographers working needs in mind, in my mind this is departure from the first generation of Fuji lenses. Also, all the time, Fuji continue to give us free firmware updates to the cameras and lenses with the only exception being the tethering software having a charge.
Portraits are my thing, I shoot people in a commercial and art based genre, thus my kit is set up this way. If you are shooting street photography or landscape you are just as well looked after with the new 16mm offering. If you are a wildlife photographer or need something longer, there is also good news as a massive XF100-400mm on the roadmap for 2016, but until then you still have the XF55-200mm or the slightly slower XC 50-230mm which offers f6.7 at the longest length. There is also a 1.4 tele-conveter expected at some point in 2015.
In short, the way Fuji are going seeming is as a response to the demand that people want to and actively are seeking to use the cameras in a more professional standing. From the working set up of lenses I have and work with at the moment, there is just the 120mm Macro on the roadmap that is the only thing that in my eye, would make the system complete. After that maybe an update to the X-Pro camera would be something I would like to see. But, the X-T1 has little wrong with it, after adding a arca mount plate and grip plus a purchase of SDHC II cards which the X-T1 can use (transfer speeds of 280mbs).
Quick overview of the new lenses:
Fuji 90mm f2 R LM WR XF Lens
Tack sharp and wonderful lens, great for longer portraits when you really want to explore low depth of field of low light conditions. Perfect portrait length or for getting that ‘down the aisle’ bride and groom shot when you have darker lighting conditions. Good weight and balance + large focus grip. So far I have only played with a pre-production model but this is an astonishing lens.
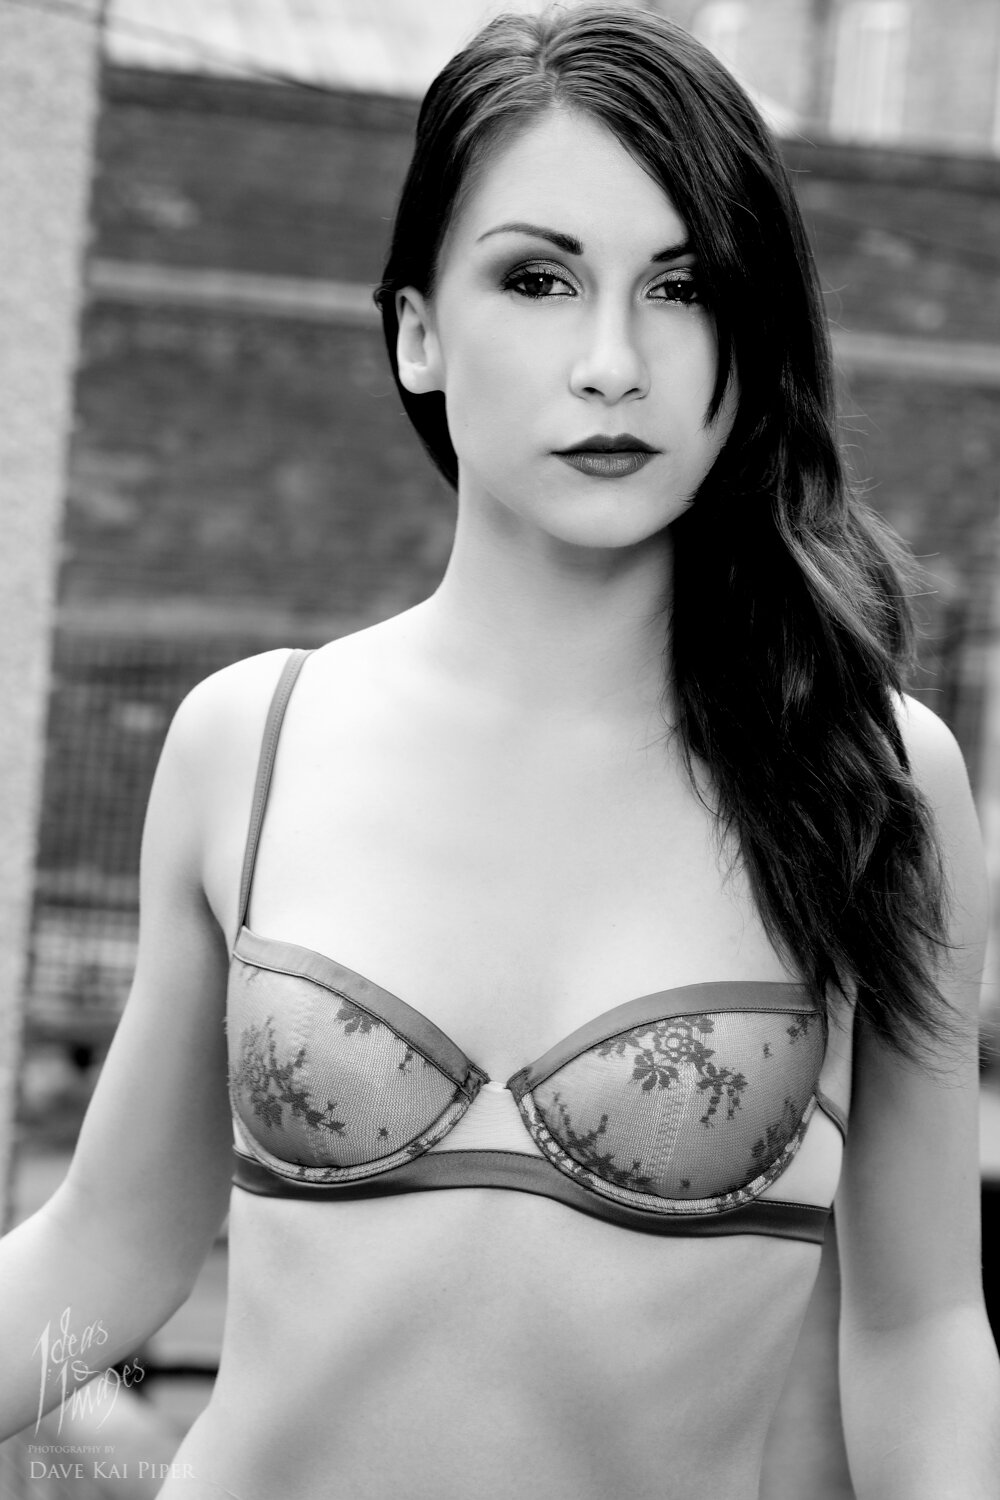
Fuji 56mm f1.2 APD XF Lens:
This is something new and little complex, in short, there are two versions, this version of the lens is basically optimized for shooting at f1.2. So … If you want low light over sharpness at f1.2 you want the normal lens, if you want sharpness over low light performance you want this lens. On the lens you will note two f-stop marks, one in orange and one in white, these are to show the difference equivalent f-stops with or without the APD filter. This lens is pretty much an f1.7 but hyper sharp version of the ‘R’ lens. ‘The FUJINON LENS XF56mm F1.2 R APD offers brilliant levels of sharpness even when shooting with the aperture at F1.2. In addition, the apodization filter smoothes the bokeh’s outlines. This combination of image sharpness and beautiful bokeh delivers portraits with a three-dimensional feel.’
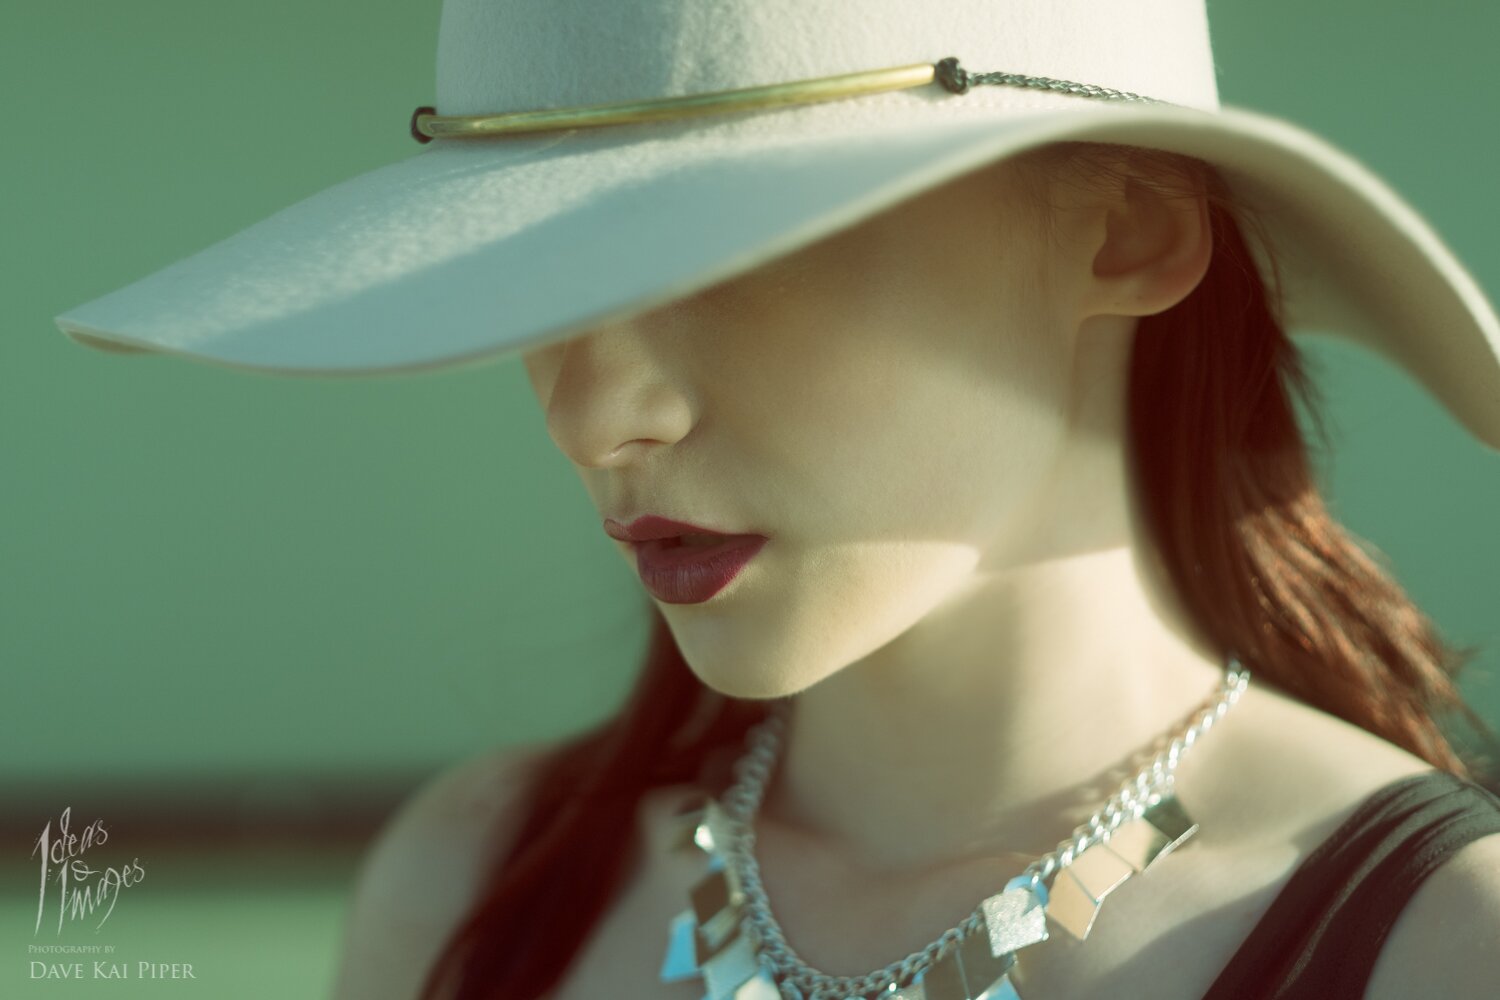
Fujifilm 16-55mm F2.8 R LM WR
Of all the new lenses, this one is the most ‘all around’ and ‘go to lens’ of all the new lenses in my eyes. By far and away of the of the most versatile lenses Fujinon make and have made to date. If you are looking at buying into the system, this is very good lens to look at starting with if you are going to only have one lens, also, if you are a wedding photographer – this lens should be on your ‘must have’ list. Packed with all the Nano Gi coating, ED lenses, aspherical lens elements while Nine rounded aperture blades look after the blurry bokeh bits.
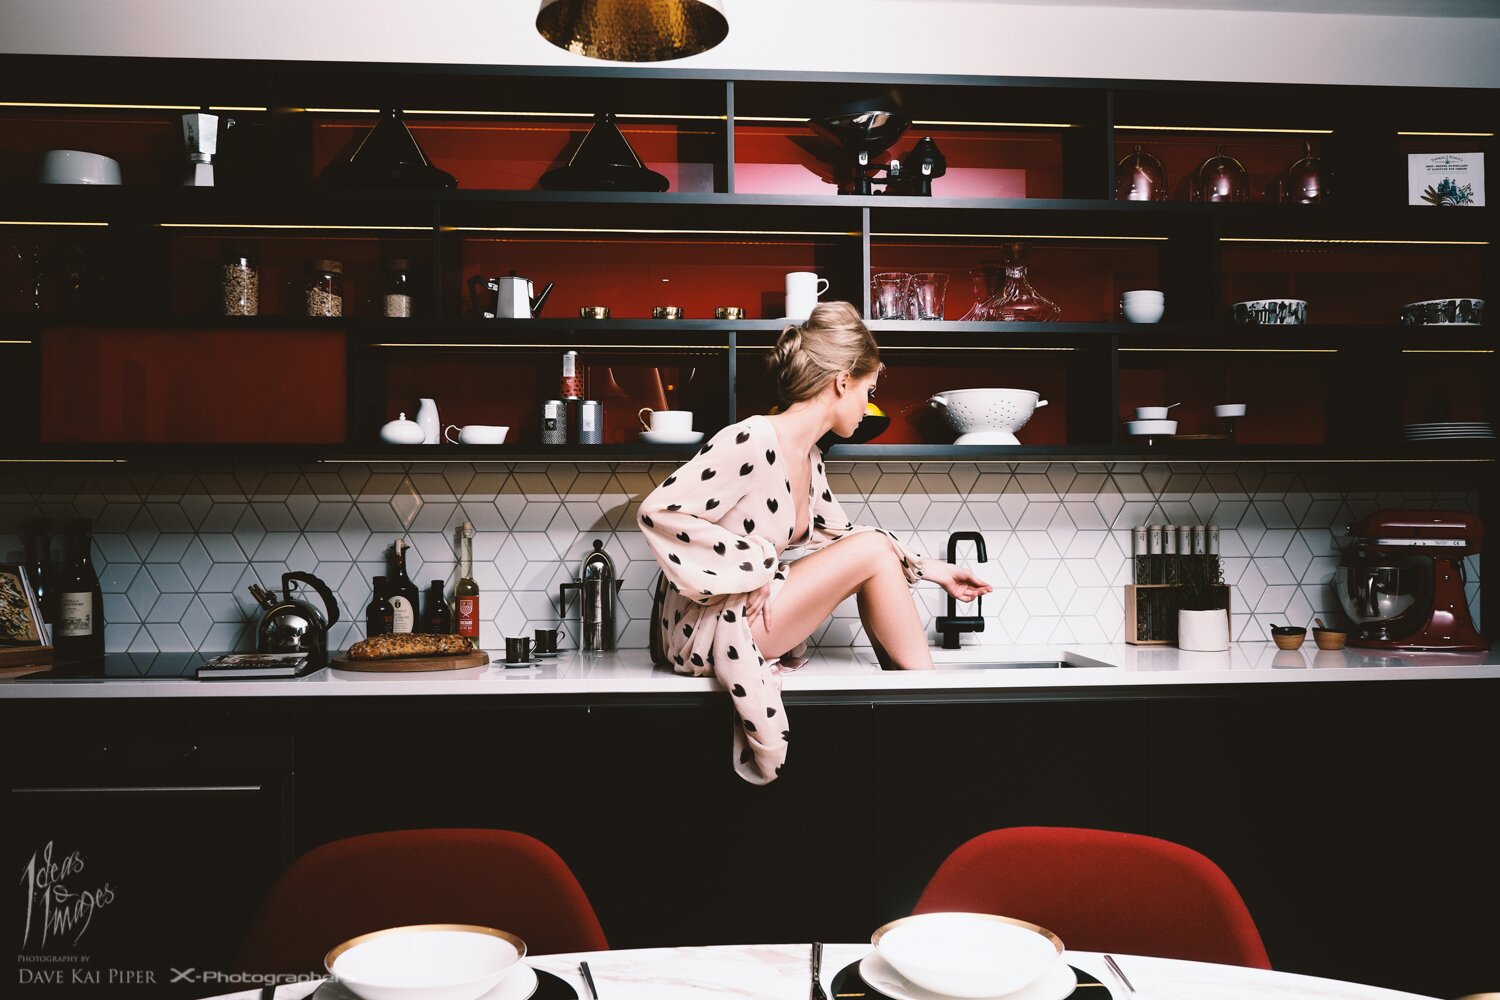
Fuji 50-140mm f2.8 WR OIS XF Lens
If the 16-55mm is the wide to mid ‘must have’ this is the f2.8 constant 70-200mm equivalent of the range. Sharp and clear edge to edge and though all the focal lengths. Packed full of all the latest and greatest tech Fuji could find such as nano Gi coating, LMO (corrects for diffraction), HT-EBC Coating ensures ghosting and flare are controlled, five ED lens elements and one Super ED lens, 23 glass elements in 16 groups then seven rounded aperture blades create a smooth, circular bokeh. The worlds first triple Linear Motor and a massive 5.0 stop stabliaztion. Oh… it’ the lens is weather-resistant, dust-resistant and will work in -10°C low-temperature too.

Here are a few links to help you find some of the stuff mentioned in this blog post, also remember to sign up for the newsletter which can be found here.
The post Fujifilm & the ‘Red Label’ Lenses appeared first on Photography by Dave Kai Piper.
]]> https://ideasandimages.co.uk/fujifilm-the-red-label-lenses/feed/ 1 5 Highlighted things from my camera bag. First written for AP magazine It should be clear that I don’t always travel with this much stuff. There are clearly times when I just put a Fuji in something like a Domke Hearld and head out for the day with some spare battery packs and a single […]
The post 5 Highlighted things from in my Peli case appeared first on Photography by Dave Kai Piper.
]]> 5 Highlighted things from my camera bag. First written for AP magazineIt should be clear that I don’t always travel with this much stuff. There are clearly times when I just put a Fuji in something like a Domke Hearld and head out for the day with some spare battery packs and a single lens. But, if I am working, this is my normal set up. Having three cameras and the Go-Pro mean I can shoot with a back up camera and have a camera to film BTS images for a blog. Normally I tend only carry a 35mm and a 105mm for the Nikon if I taking both the X-Pro and X-T1. If just two cameras are coming a 50mm Sigma replaces the X-pro.
Peli 1510 case with custom Trek Pak inserts.
I love this case. Since I tend to carry quite a bit of kit, I need to know it is safe. The Peli cases are the the only case that offer a total solution to looking after you kit when traveling. I love mine in yellow. It is clear and distinctive. On shoots this case is my office in which I set up the laptop & tether into using Teather tools cables.
Fuji Kit.
The X-T1 is the main go to Fuji camera when working with the X-Pro being more the camera I like to play with. These days the X-T1 is paired with the XF 16-55mm & XF 50-140mm zooms and the X-Pro with the 56mm & 35mm. All the cameras have got acra swiss plates & extra hand grips. Each lens has a an adapter ring to fit my Lee Filter matte box.
Nikon Kit.
The dual system of the small fast Fuji’s are balanced by the D800’s raw power. The sensor in this camera is amazing but is a slower system to use overall. At the moment I am using the global vision range of Sigma lenses on the Nikon with the exception of the 105mm which is yet to be re-released into the new range. As a rule though. The combo of a 35mm & 105mm is pretty much perfect for everything I do.
Lee Filter Kit.
My matte box & grad filters are fast becoming a vital element in my workflow. I love the way I can control the ambient light with the grads. I carry 4 filters when normally. Two 0.6 soft ND grads and two 0.9 hard ND grads. I also have a system which lets me mount all 4 filters and rotate them all independently, which is quite fun to shoot with !!
Lighting Kit.
The Cactus RF60 Flash and V6 triggers with the Roundflash make up my simple lighting kit that lives in my camera case. I find it can be very useful to have a single strong flash that works across the Fuji & Nikon system in my bag at all times. I am the first to admit I really under use these amazing units as I don’t even us the TTL functions. The main reason Cactus are here is the reliability for me. The Roundflash is the smallest and most portable way to get amazing light out of a speed light. This combo is used on pretty much 70% of my portfolio.
Bag / Case –
A photo posted by Dave Kai-Piper Photography (@davekaipiper) on
Cameras:
Fuji X-Pro 1 in Lizard Yellow
Fuji X-T1
Nikon D800
Go Pro Black
Lenses:
Fuji XF 16-55mm
Fuji XF 50-140mm
Fuji XF 56mm APD
Fuji XF 35mm f1.4
Sigma 105mm
Sigma 35mm
Flash & Lighting:
Cactus RF 60
Cactus V6 Trigger
Roundflash
Filters:
Lee Matte box & 0.6 + 0.9 ND Grad Filters
Filter rings for all lenses
Uv and Polarizing filters
Computer:
Chillblast laptop
Wacom Pen & Touch
2tb portable storage
Tethertools
Small things – like cables, battery packs, chargers, etc.
Tripod:
3 legged thing : Steve
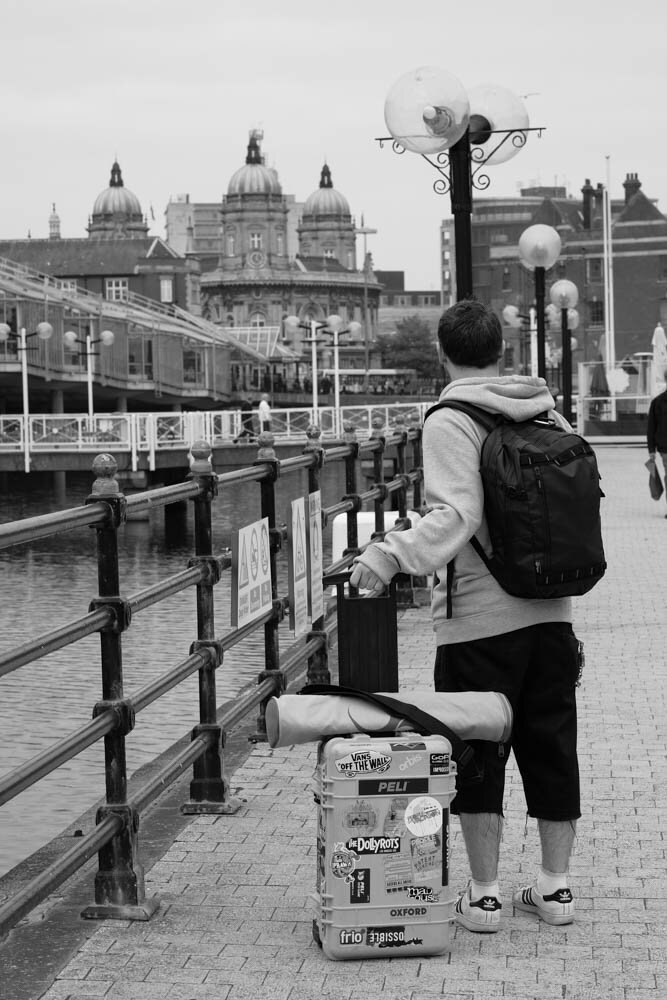
I wanna go travel @peli_uk
The post 5 Highlighted things from in my Peli case appeared first on Photography by Dave Kai Piper.
]]> https://ideasandimages.co.uk/5-highlighted-things-from-in-my-peli-case/feed/ 0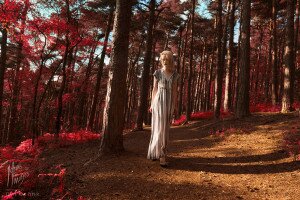 Huge thank you to both Pelioja & Katie. We set out with a few ideas in our heads but ended up with some quite fun images quite different from planned. Yes, if you are thinking, the woods were not blood red. Photoshop was used to transform the woods from green to red. I used the […]
The post An afternoon with Peliroja & Katie Green appeared first on Photography by Dave Kai Piper.
]]> Huge thank you to both Pelioja & Katie.We set out with a few ideas in our heads but ended up with some quite fun images quite different from planned. Yes, if you are thinking, the woods were not blood red. Photoshop was used to transform the woods from green to red. I used the Replace Colour function to quickly create this effect.
Everything was shot on the Fuji X-T1 + XF 16-55mm.
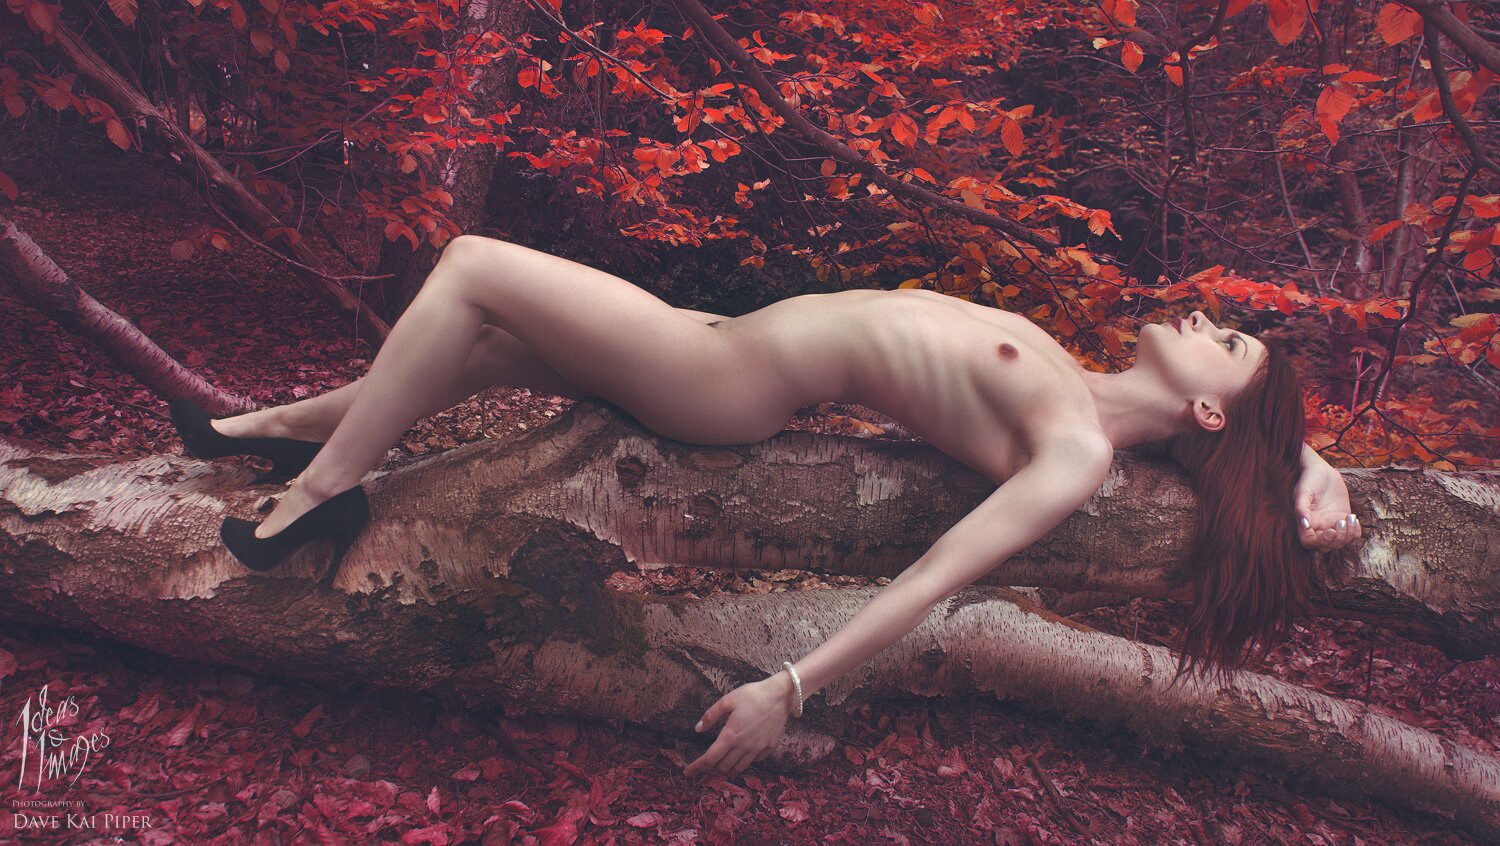
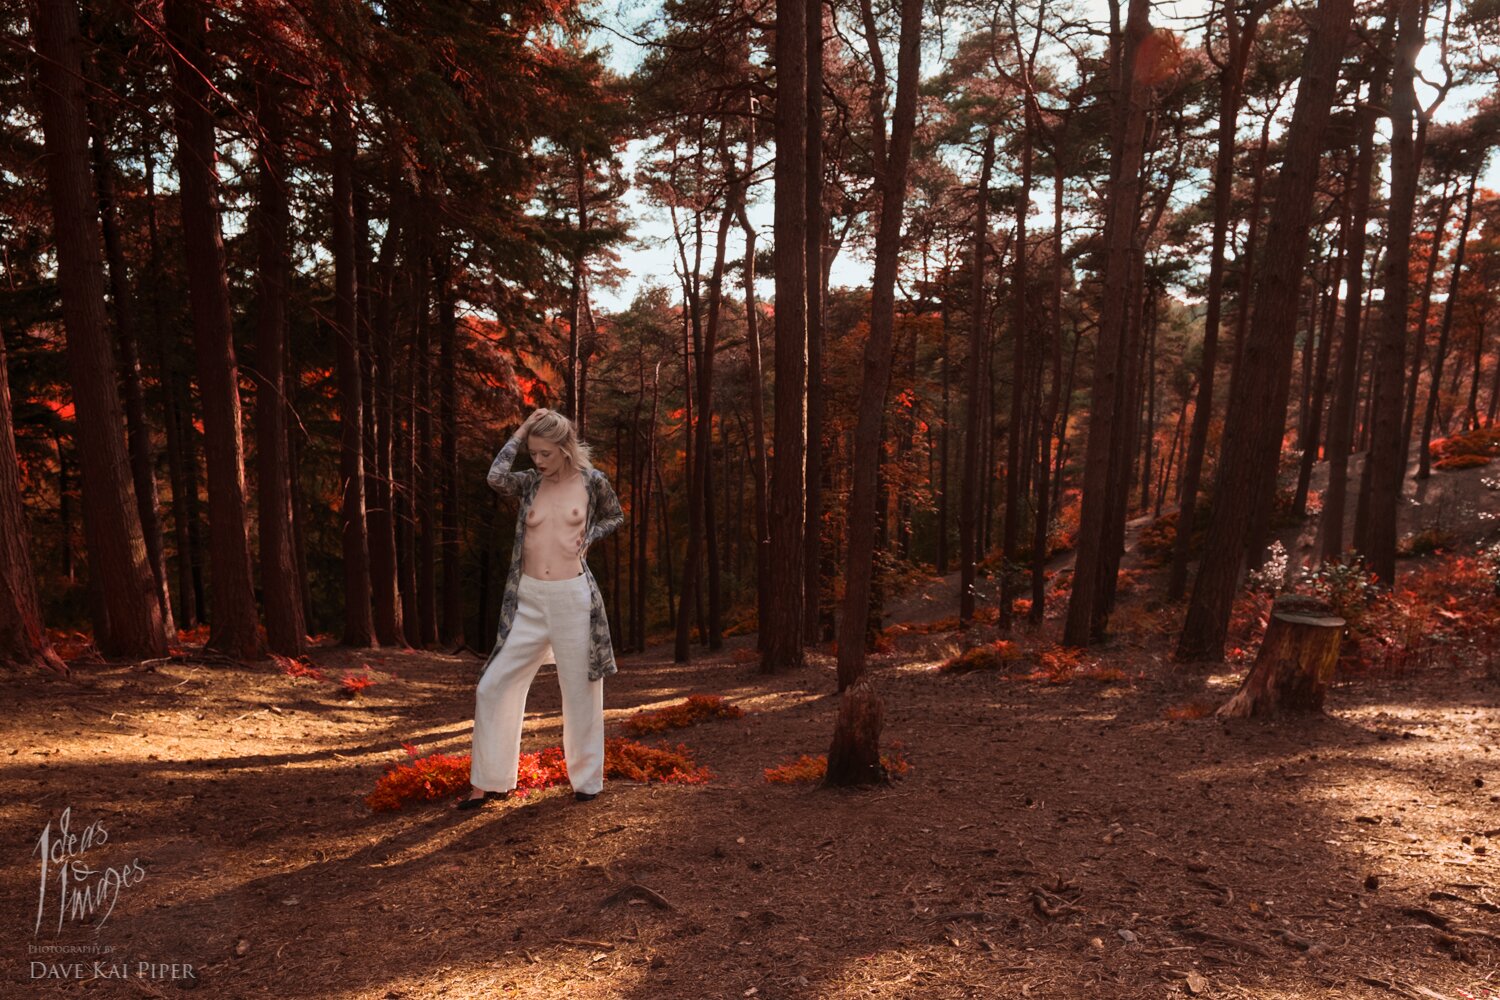
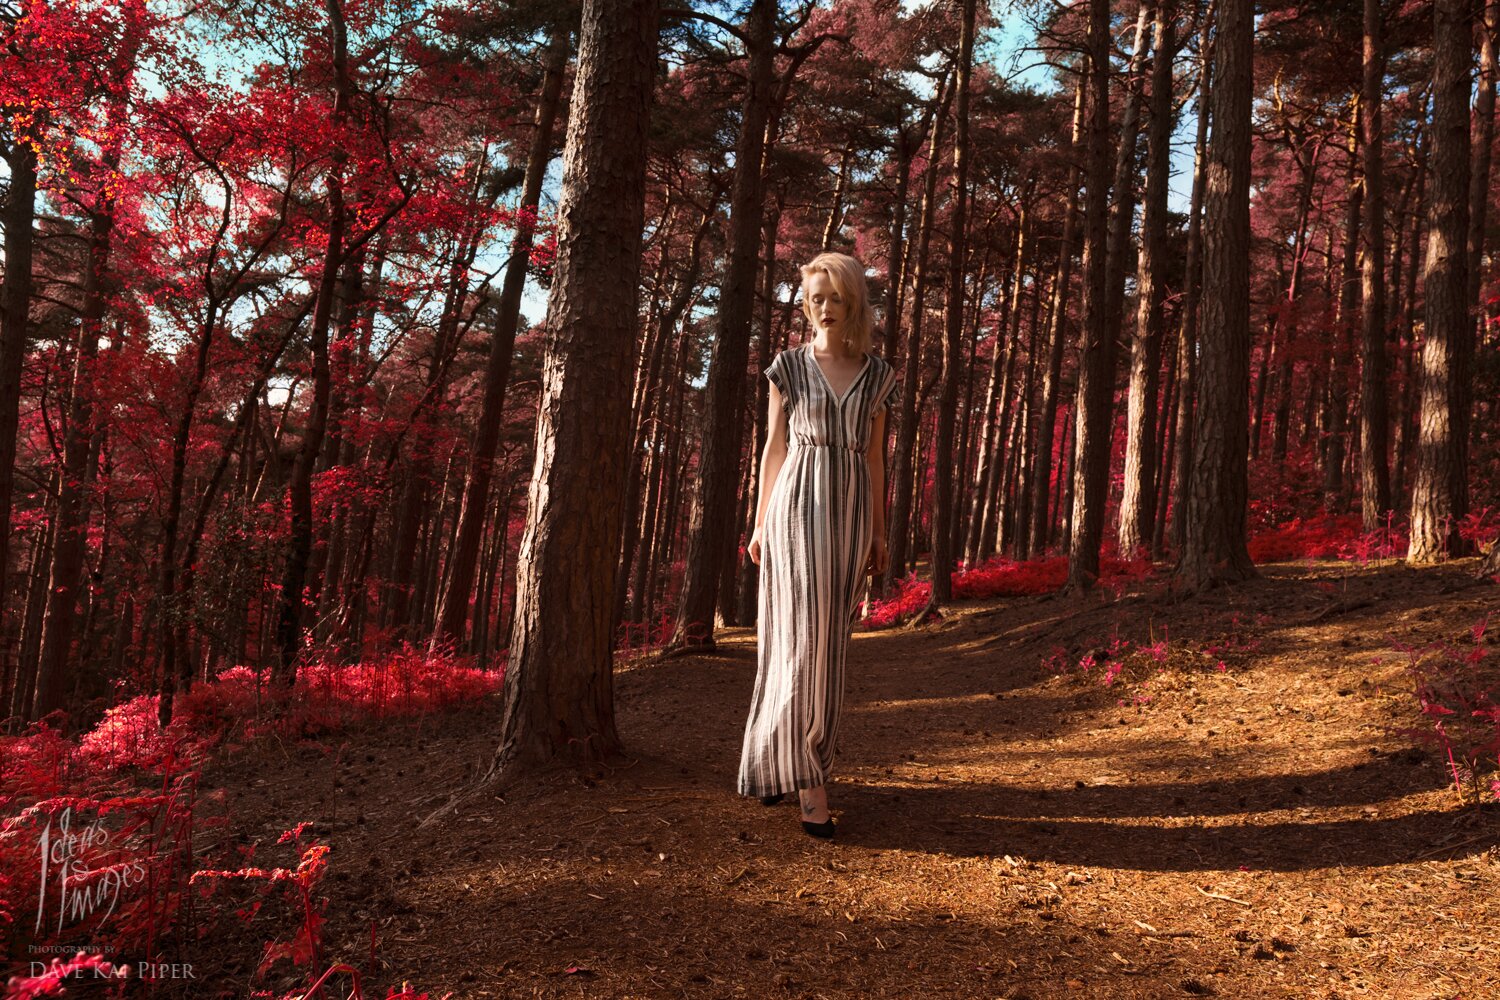
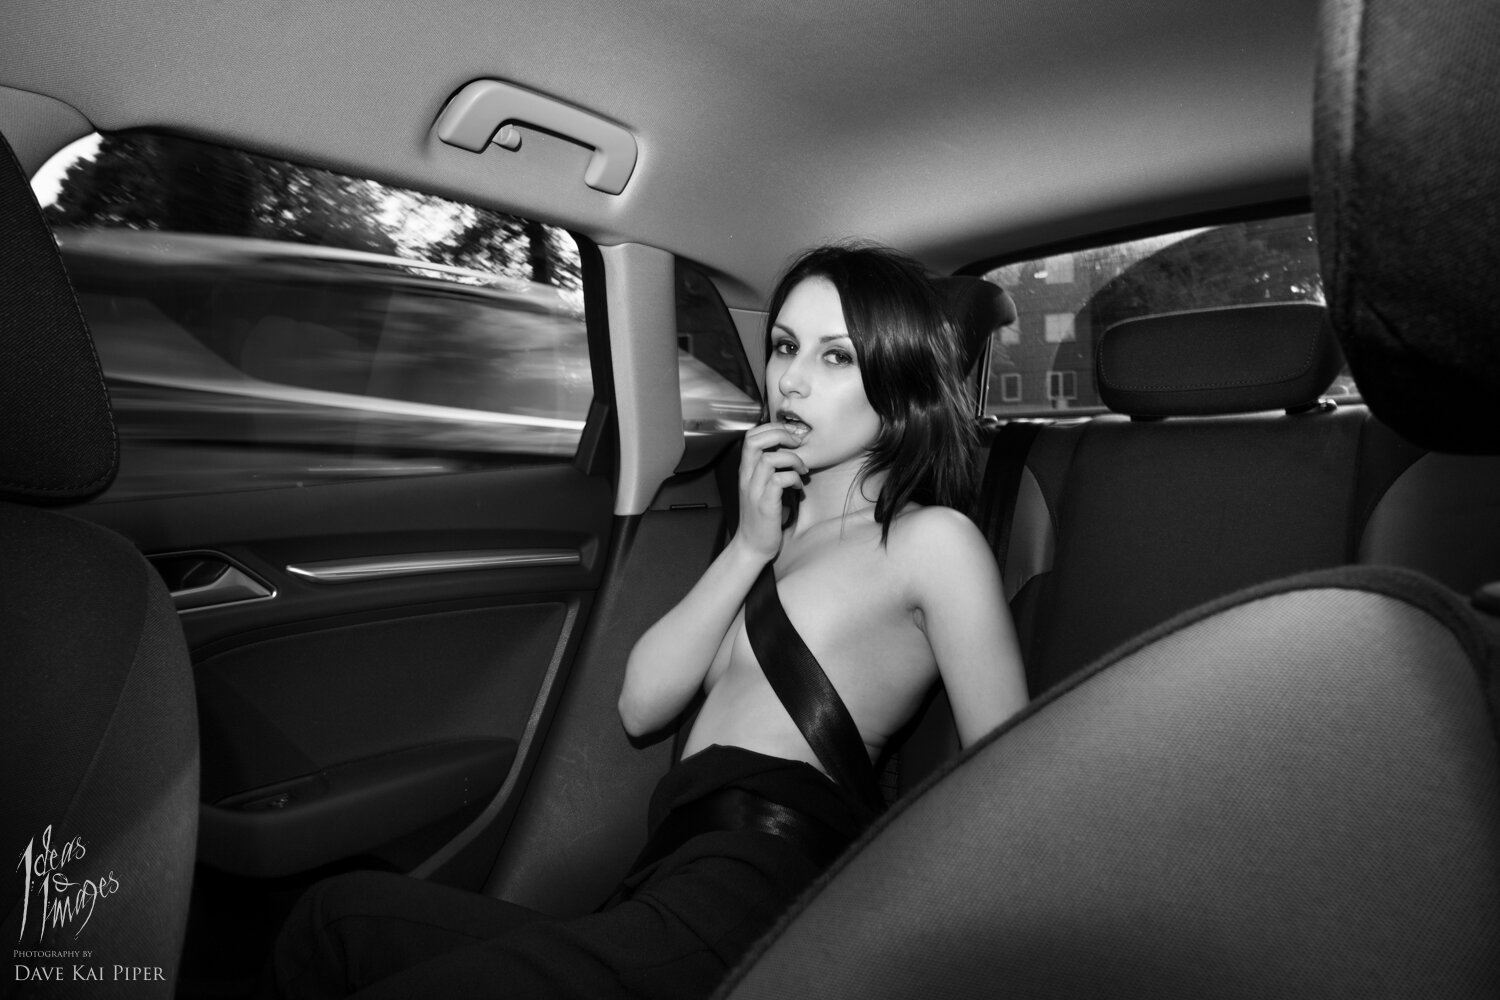
The post An afternoon with Peliroja & Katie Green appeared first on Photography by Dave Kai Piper.
]]> https://ideasandimages.co.uk/an-afternoon-with-peliroja-katie-green/feed/ 0 A few weeks ago, I was invited up to Nottingham to do a talk at the Nottingham Photographic Society. As we had the whole day off, we went up a little bit early to have a trip around Wollaton Hall. All the images below are taken on the Fuji X-Pro using the XF 16-55mm + […]
The post Nottingham’s Wollaton Hall appeared first on Photography by Dave Kai Piper.
]]> A few weeks ago, I was invited up to Nottingham to do a talk at the Nottingham Photographic Society. As we had the whole day off, we went up a little bit early to have a trip around Wollaton Hall.All the images below are taken on the Fuji X-Pro using the XF 16-55mm + Lee Filters.
A cool note about this stunning building is that is was also cast as Wayne Manor in the Batman film ‘Dark Knight Rises’. Which is pretty cool! At some point I will hope to get back and spend more than the 20 mins we had on the grounds – Google link –
If you would like to order any prints – either click the images or send me a direct e-mail.
The post Nottingham’s Wollaton Hall appeared first on Photography by Dave Kai Piper.
]]> https://ideasandimages.co.uk/nottinghams-wollaton-hall/feed/ 0 To kick off with – a massive thank you to Mike Browne for hooking up and letting us come down to make these videos. Thank you to both Stephanie’s for helping drive us about and modelling for the video too, in-fact Stephanie ended up doing a whole video for Mike too about modelling and tips […]
The post Fuji Fashion shoot at Calshot Beach with Mike Browne & Stephie Rebello. appeared first on Photography by Dave Kai Piper.
]]> To kick off with – a massive thank you to Mike Browne for hooking up and letting us come down to make these videos. Thank you to both Stephanie’s for helping drive us about and modelling for the video too, in-fact Stephanie ended up doing a whole video for Mike too about modelling and tips for photographers working with models – check that video out here.The last time Stephie and I went down to Southampton we went to see our good friend Mike Browne. We both have been big fans of his Youtube videos and we were both super excited to be able to spend the day filming with Mike. Mike shoots Fuji too, so that is an added bonus!
Everything started a few months ago when Stephie’s mum took us to Calshot beach, she we took some shots and mentioned that they had been in a teaching video by Mike. I remembered watching the video and it prompted me to send Mike an e-mail that very moment. After some quick ‘facebooking’ backwards and forwards we had a shoot planned and a few weeks later we ended up on the same beach at 4:30 in the morning to catch the stunning morning light.
All shot with the Fuji X-T1 with the XF 16-55mm except from the close up monochrome head shots which where shot on the X-pro using the XF 56mm APD. Lighting was all natural but a Cactus & Round flash was used to help fill in details as the sun was very low and super bright leaving with some strong shadows.
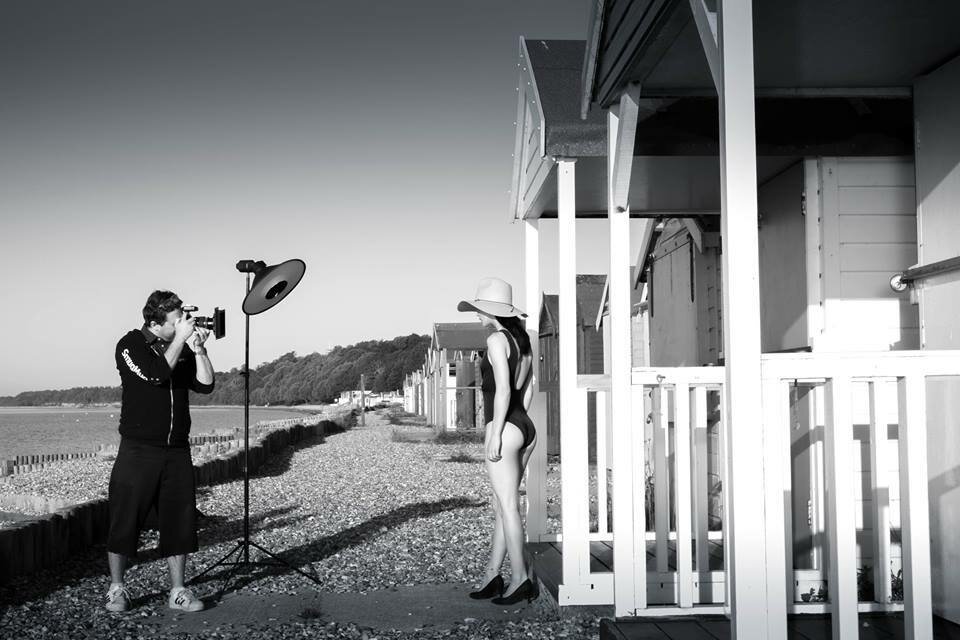 Thank you to Stephanie Lock for this bts images
Everything was edited using Photoshop & Lightroom.
All styling was by myself – mostly from ASOS.
Due to the amount of fun we had – we ended up shooting quiet a bit – so – Mike made a three part video.
Part One:
Part Two:
Part Three:
Below are the edited images from the day – They came out far better in colour than I had expected – so , since I was shooting in Raw – it was no problem to edit them how ever I wished. I even loved the yellow light so much that I made a yellow & black Duotone image to really pop. Might be one to get printed up for the living room I think !
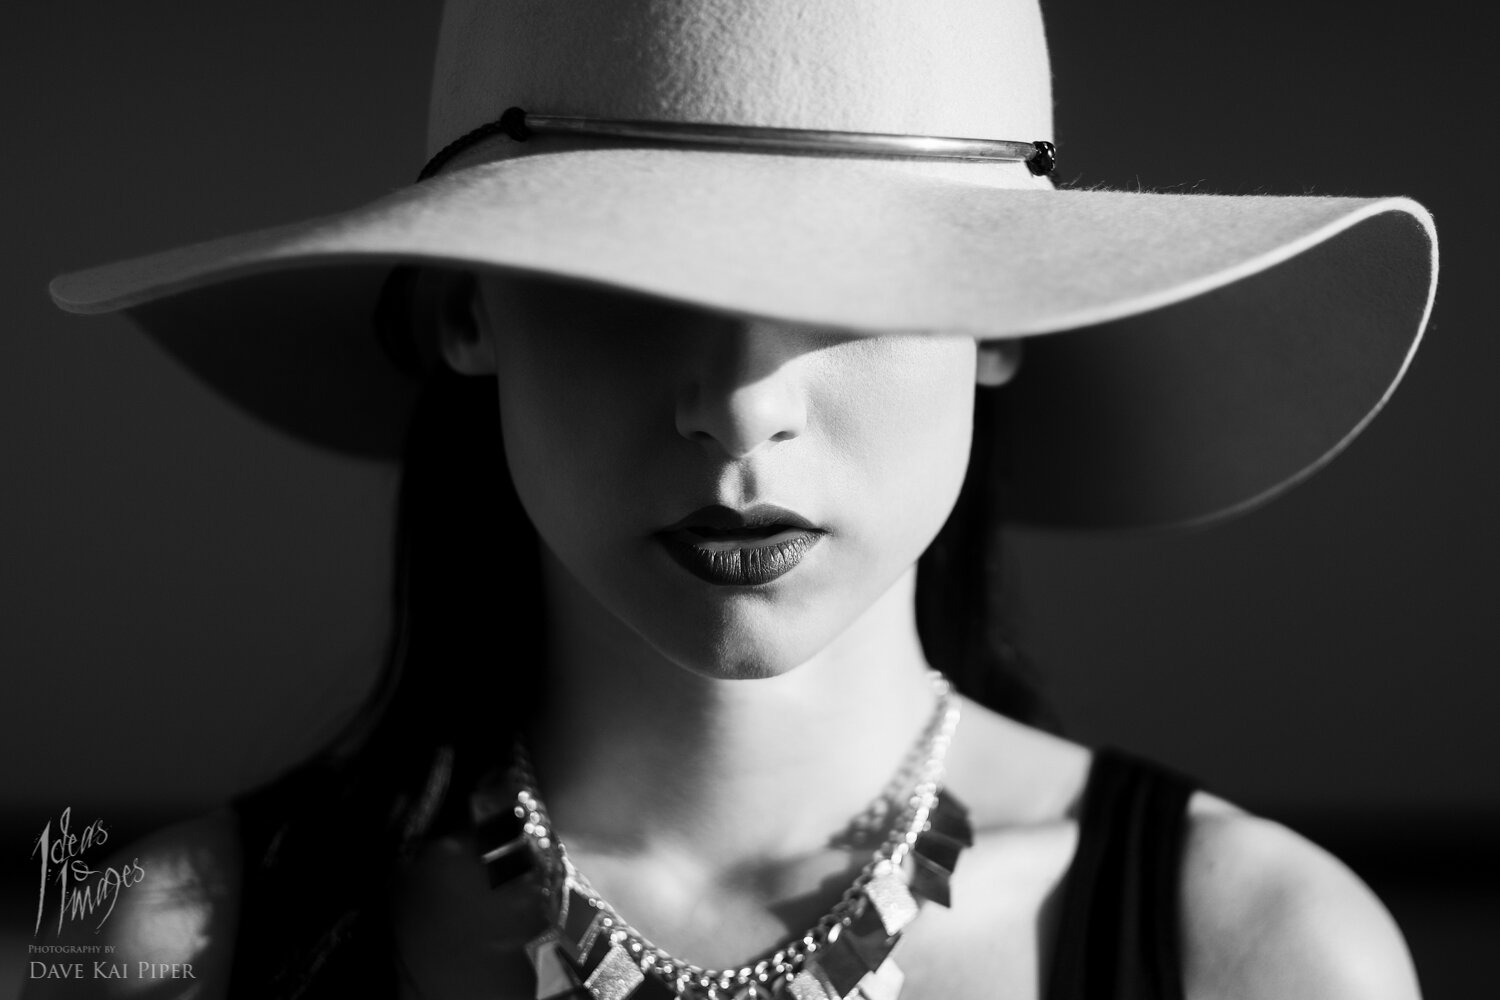
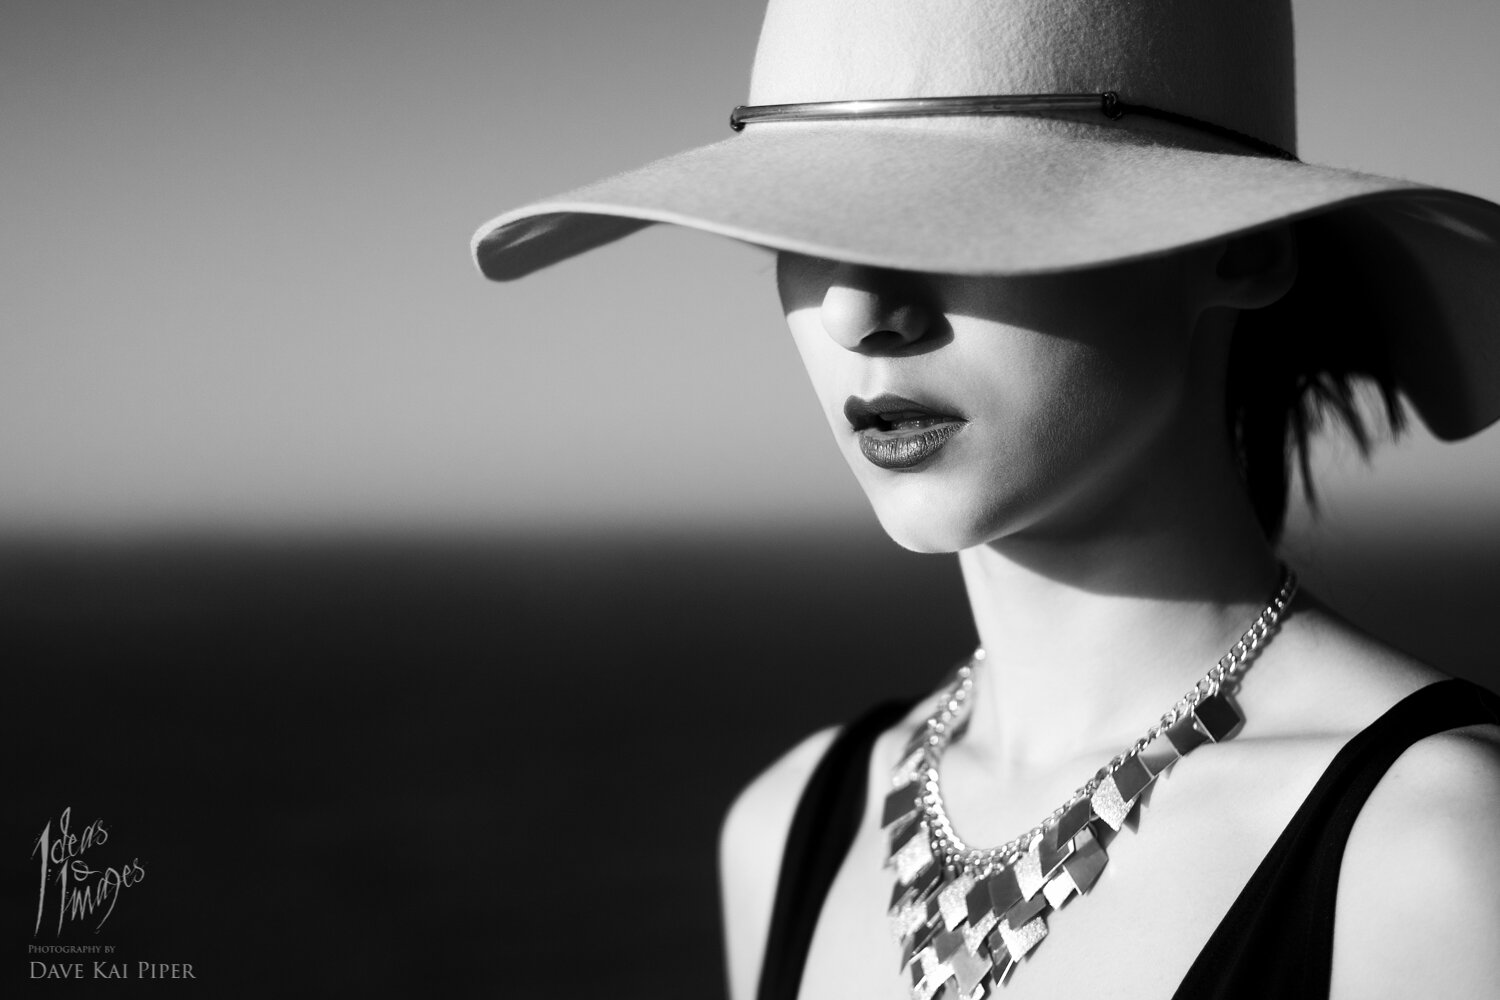
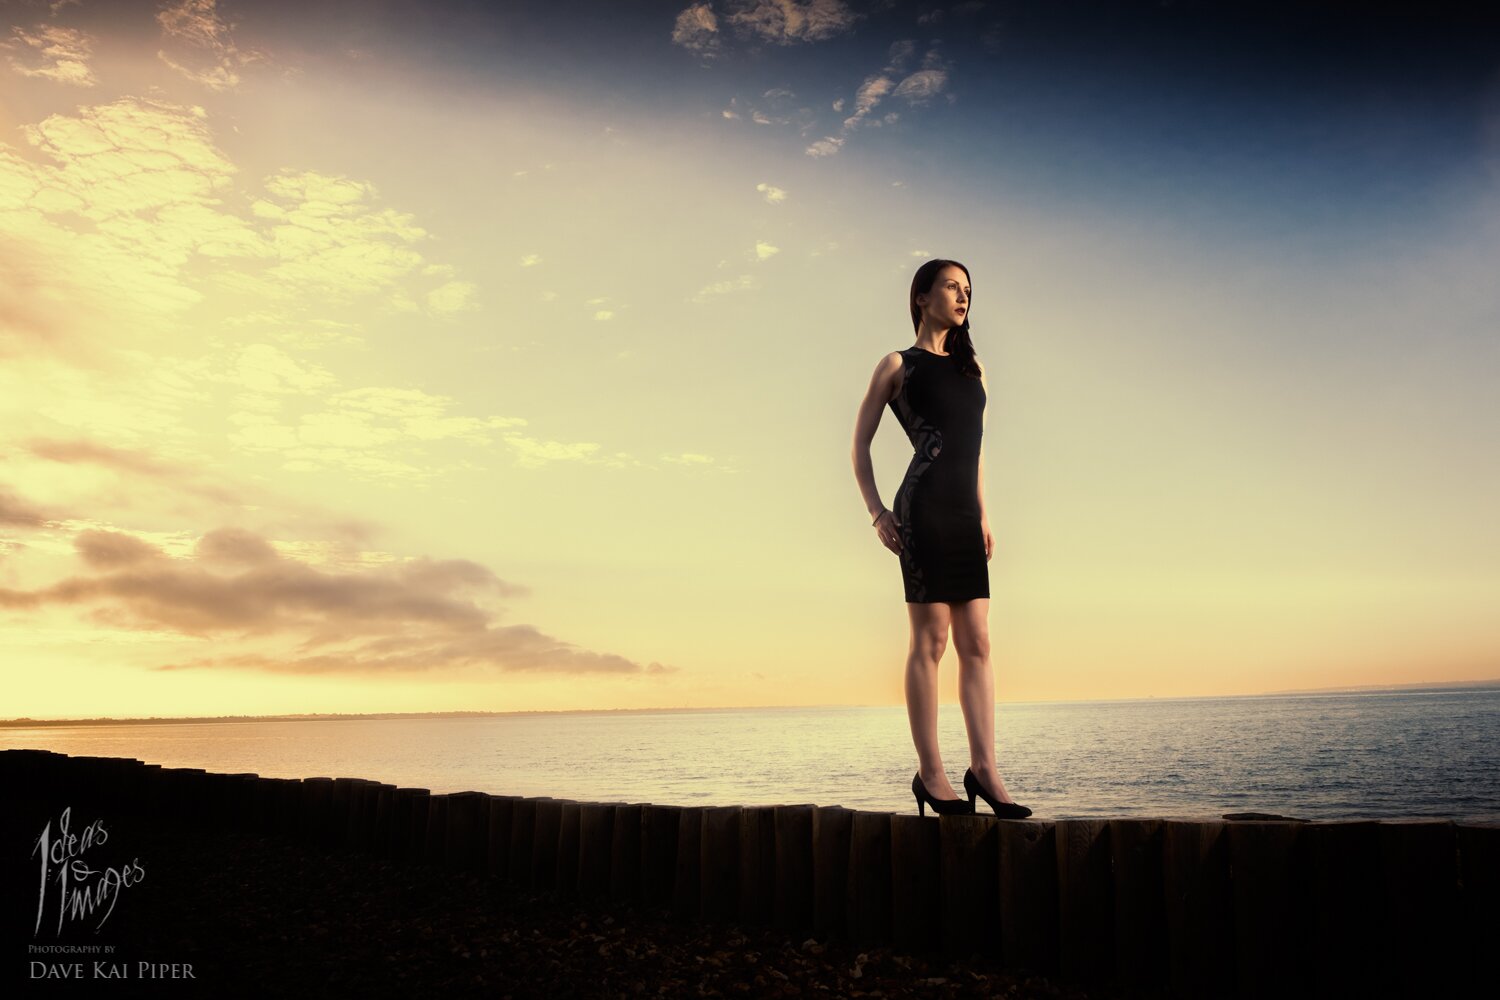
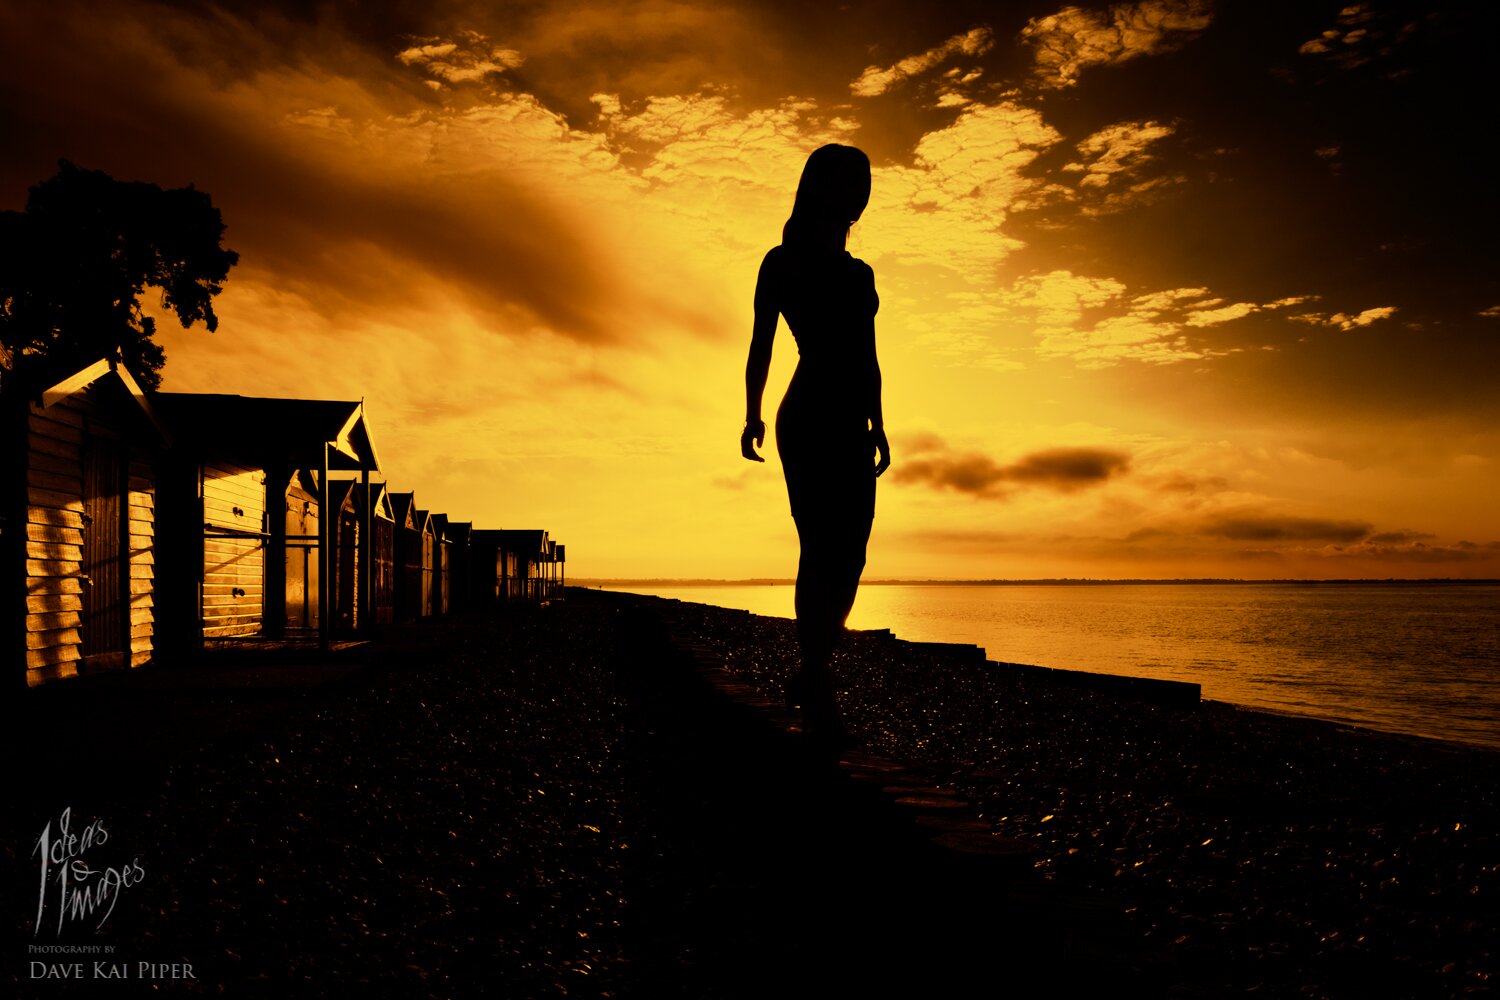
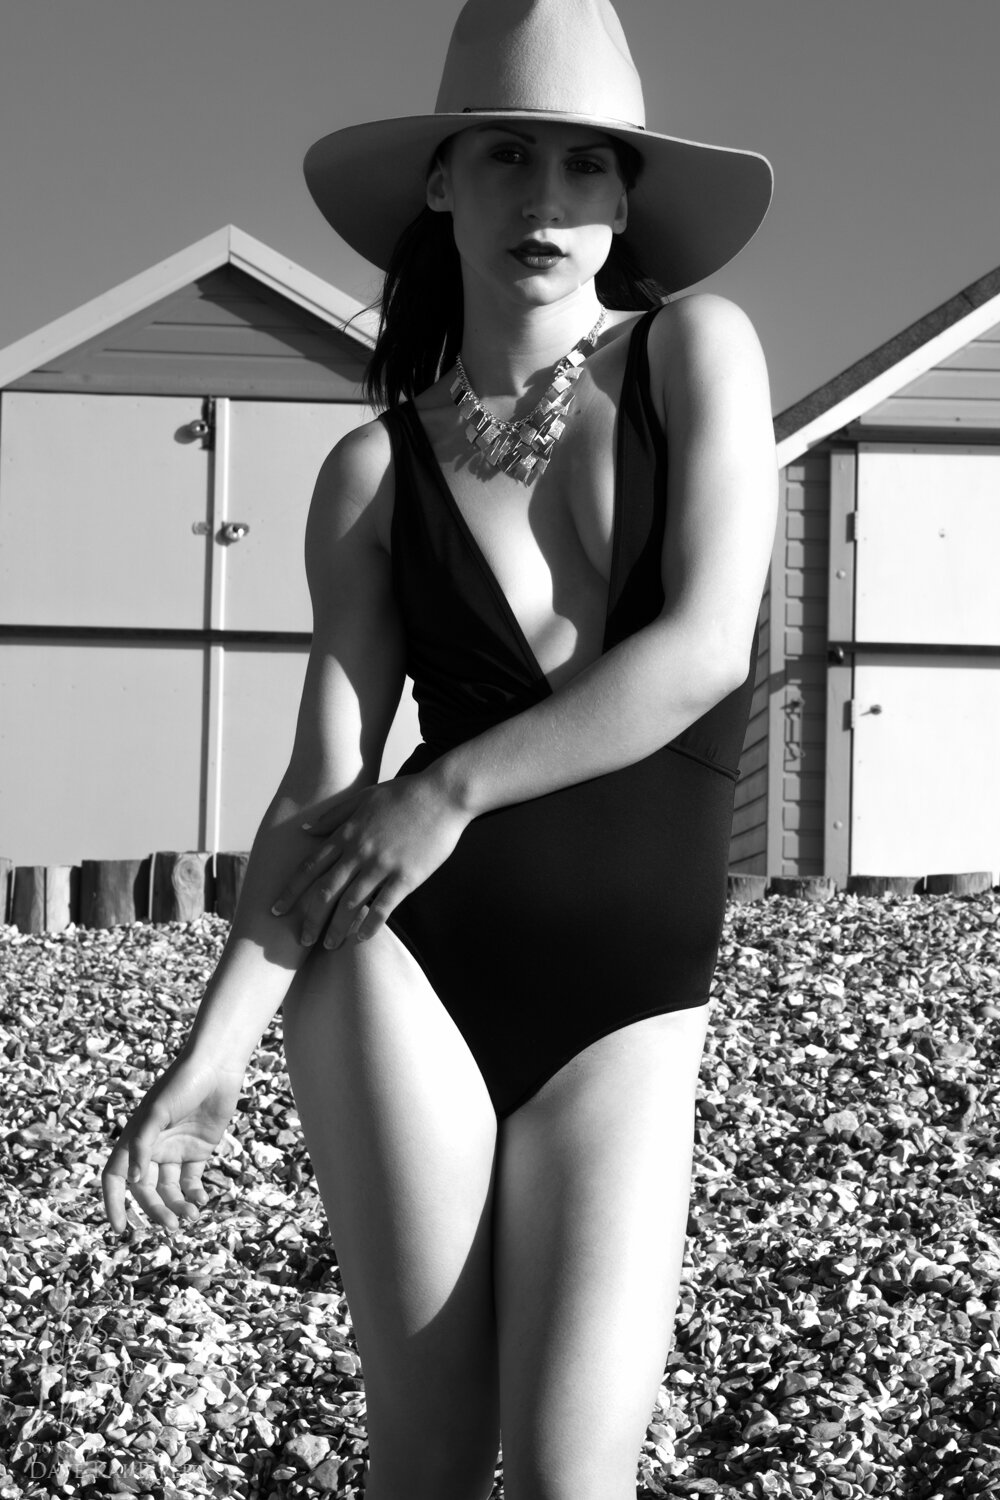
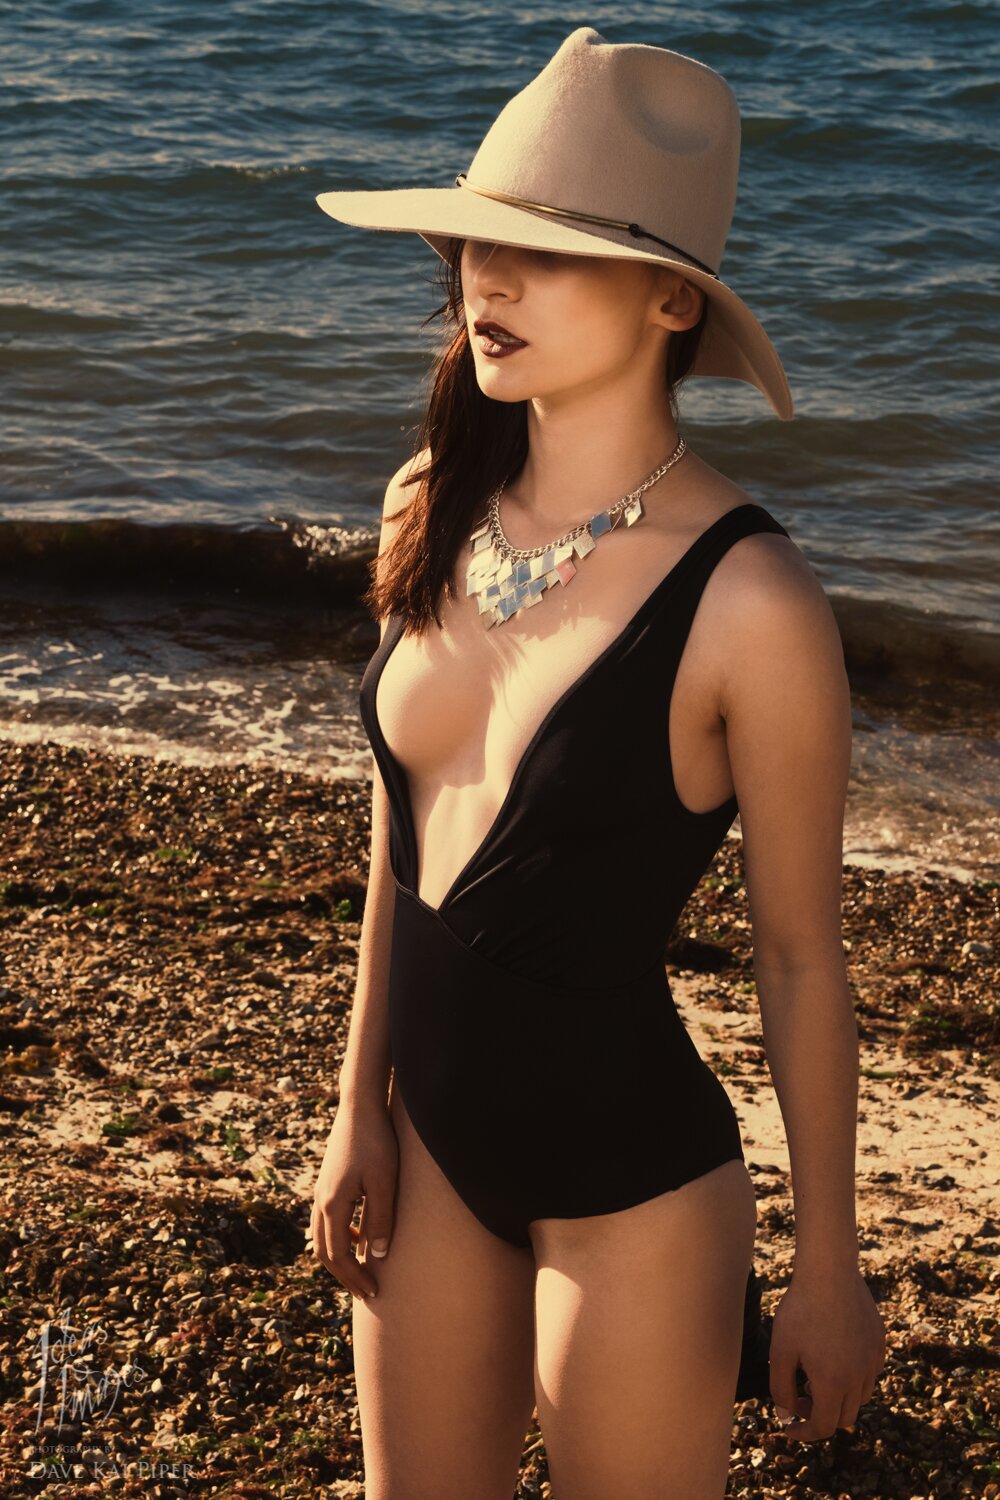
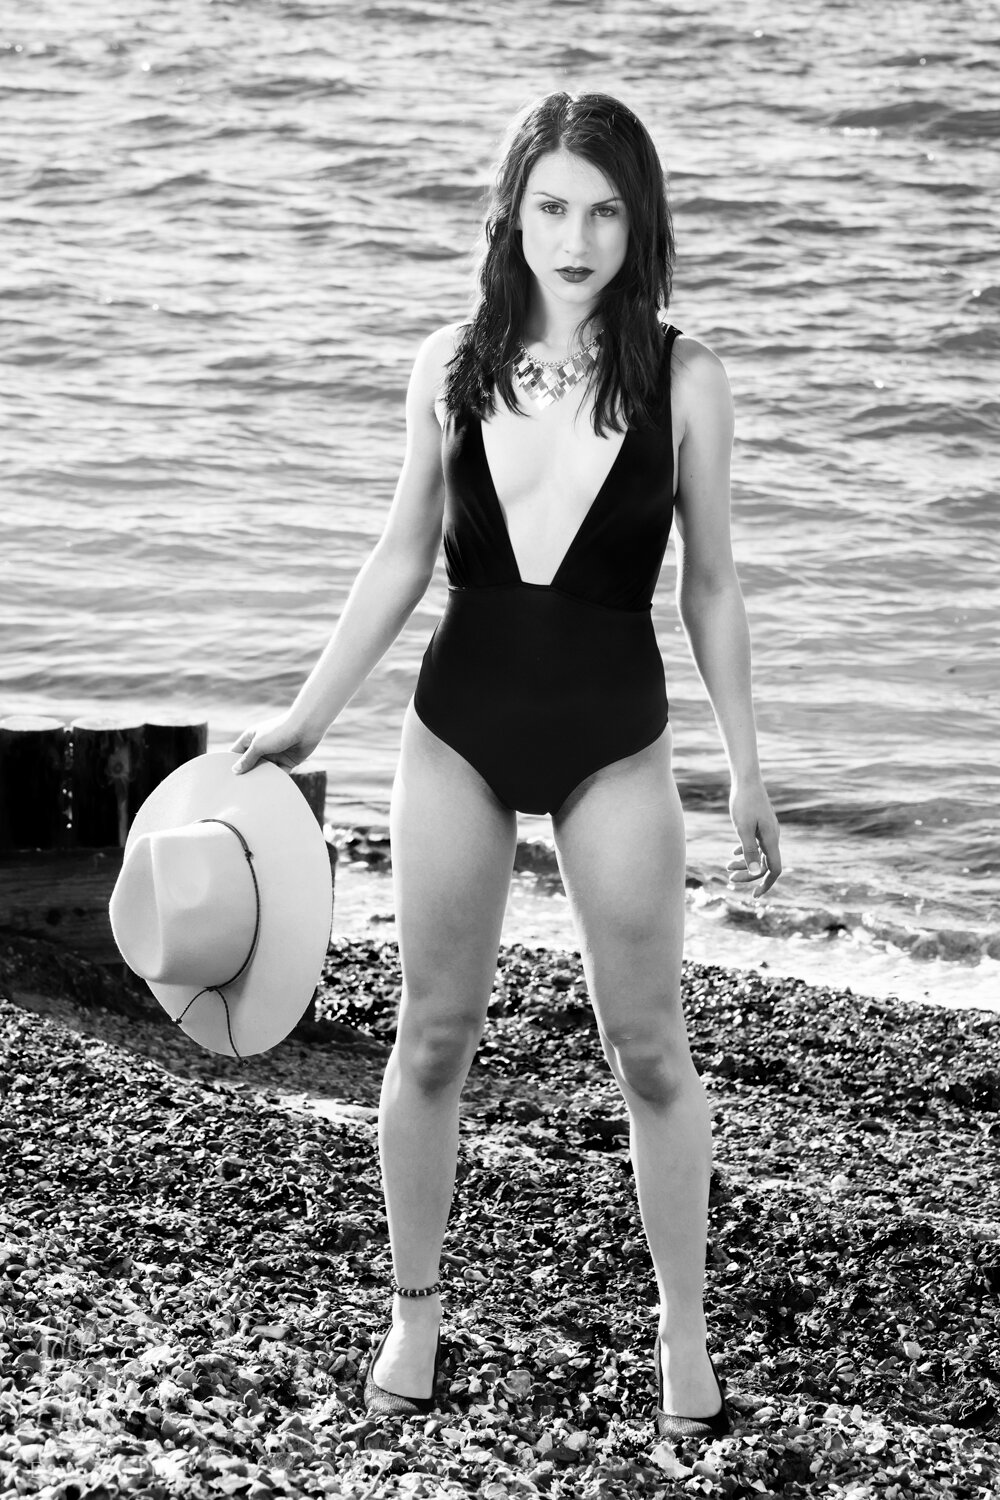
Here are a few links to help you find some of the stuff mentioned in this blog post, also remember to sign up for the newsletter which can be found here.
The post Fuji Fashion shoot at Calshot Beach with Mike Browne & Stephie Rebello. appeared first on Photography by Dave Kai Piper.
]]> https://ideasandimages.co.uk/fuji-fashion-shoot-at-calshot-beach-with-mike-browne-stephie-rebello/feed/ 1 I had just picked up pre-production version of the new Fujinon 35mm F2 Lens so Chloe Kinsella dropped over to help me test out the lens. We shot some very simple portrait setups in about 30-45 mins. Camera: Fuji X-T1 Lens: 35mm F2 & 50-150mm Lighting: 170cm Octabox Check out the rest of the images Chloe […]
The post An afternoon with Chloe Kinsella appeared first on Photography by Dave Kai Piper.
]]> I had just picked up pre-production version of the new Fujinon 35mm F2 Lens so Chloe Kinsella dropped over to help me test out the lens.We shot some very simple portrait setups in about 30-45 mins.
Camera: Fuji X-T1
Lens: 35mm F2 & 50-150mm
Lighting: 170cm Octabox
Check out the rest of the images Chloe and I shot for my ‘Towel Series’ here
The post An afternoon with Chloe Kinsella appeared first on Photography by Dave Kai Piper.
]]> https://ideasandimages.co.uk/an-afternoon-with-chloe-kinsella/feed/ 0 Fujifilm is delighted to announce that it will soon be hosting the “FUJIFILM X World Photo Gallery in Toyko”. This posted is a copy from the Fujifilm website:http://fujifilm-x.com/5th_anniversary_pg/en/ The Fujifilm X series line-up began in March 2011 with the introduction of the FUJIFILM X100 premium digital camera. In February 2012, the FUJIFILM X-Pro1 premium mirrorless […]
The post FUJIFILM X World Photo Gallery appeared first on Photography by Dave Kai Piper.
]]> Fujifilm is delighted to announce that it will soon be hosting the “FUJIFILM X World Photo Gallery in Toyko”.
This posted is a copy from the Fujifilm website:
http://fujifilm-x.com/5th_anniversary_pg/en/
The Fujifilm X series line-up began in March 2011 with the introduction of the FUJIFILM X100 premium digital camera. In February 2012, the FUJIFILM X-Pro1 premium mirrorless interchangeable lens camera was released, along with three high quality prime lenses. Since then the X Series cameras and X Mount lens line-up has quickly expanded, offering cameras and lenses to suit every type of photography style.
In 2016, the X series will be in its 5th year. To celebrate this, Fujifilm will be hosting a photo exhibition at their Headquarters in Tokyo to showcase the passionate and creative photography works of 100 renowned professional “X-Photographers” along with 100 professional or enthusiast “X-Users”.
Fujifilm invites X series users from around the globe to join the celebration and take part in the contest by submitting their favourite photo taken on an X series camera for entry. A total of 100 photos will be selected by a judging panel of professional photographers, printed by Fujifilm experts and then displayed at the photo exhibition in January, 2016 as well as showcased on the Fujifilm-x.com website.
All printed and exhibited work will be provided to the respective, winning entrant once the exhibition ends,
Inquiry E-mail:
The post FUJIFILM X World Photo Gallery appeared first on Photography by Dave Kai Piper.
]]> https://ideasandimages.co.uk/fujifilm-x-world-photo-gallery/feed/ 0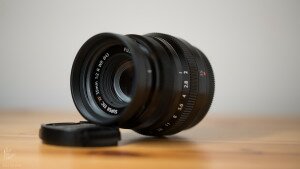 Announced 21st of October – this is a quick write up of the new compact 35mm f2 lens from Fujifilm It’s only been a couple of days since the UPS man dropped off this lens fresh from Japan but we have been shooting pretty much every day with it. This blog is a quick look at […]
The post Fujinon 35mm F2 R WR appeared first on Photography by Dave Kai Piper.
]]> Announced 21st of October –It’s only been a couple of days since the UPS man dropped off this lens fresh from Japan but we have been shooting pretty much every day with it. This blog is a quick look at the lens with some thoughts about how I got on shooting with it.
The “FUJINON XF35mmF2 R WR” is a standard focal length prime lens which delivers sharp images with rich bokeh. The optical construction of 9 elements in 6 groups (including two aspherical elements) achieves the perfect balance of high image quality and compact size. The lens features the smallest diameter of the line-up and thanks to the inner focus system and stepping motor, it achieves an autofocus time of just 0.08 sec*2.
The exterior of the lens is weather and dust-resistant and can work in temperatures as low as -10°C. The lens is ideal for any scene and application. This is the new standard for all photography fans.
Two aspherical lenses are used to ensure a small and compact exterior. Only 45.9mm in length with a diameter of 60mm, the slim stylish design allows comfortable operation and draws minimum attention to the photographer, making it the perfect lens for portrait,street or reportage photography.
Autofocus of 0.08 sec. The inner focus system, which moves the small and lightweight lens elements, is combined with a stepping motor to produce quiet, accurate and fast autofocus – a must for all snap shooters that need to capture a spontaneous moment.
The lens exterior uses all metal parts to ensure the durability for a wide variety of shooting situations. The fine texture of the metal parts and the dials which respond well further enhance the shooting experience and ensure it can be operated easily and accurately with wet or gloved hands. The lens features a water and dust-resistant structure with eight seals on the lens barrel keeping the lens protected from rain, dust and splashes of water when shooting outdoors. It can also work in temperatures as low as -10℃.
– Taken from the Press Release.
http://www.fujifilm.com/products/digital_cameras/x/fujinon_lens_xf35mmf2_r_wr/
In short it will be a great compact lens to help start off anyone working into the Fuji System that wants a smaller lighter version of the 35mm f1.4 that has been a major workhorse since day one. The depth of the lens is not that far off but the 43mm filter fit is one of the many areas that size and shape have been trimmed off the f1.4 version.
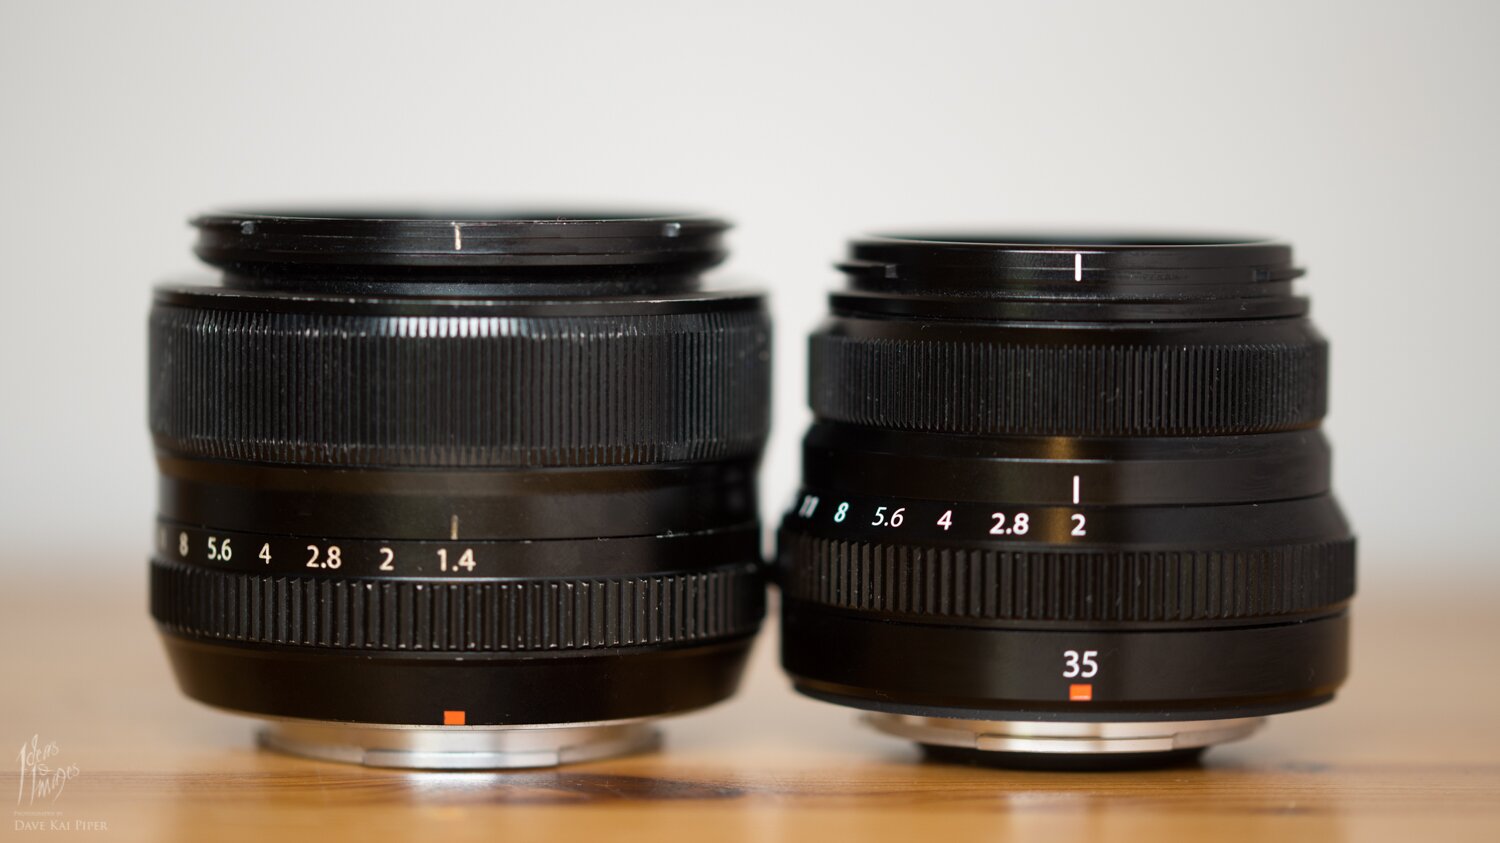
The last time I wrote about Fuji, it was more about the movement towards the ‘pro’ end of the market with the 56mm APD, 50-140mm & the 16-55mm, as they are now known – the red label lenses (written for Hungry Eye magazine). I like how Fuji are moving and this lens shows that they are still looking after both sides of the market with keeping the quality high with the standard of optics.
The fun thing is, I am writing this with no clue on the price of this lens. Shooting side by side wide open at F2, you can see a difference between the two lenses. In total, there are now two ways to shoot f2 at 35mm and 4 ways to shoot f2.8. (Next week we shall have another blog looked at the best way to shoot 35mm.) In short, once you are over f5.6 there is not much to go on but wider than that the f1.4 does seem to be brighter to the edges and sharper, yet the new f2 version is far better at focusing. We tested this lens out on a night shoot in very low light (near pitch black) and the 35mm f.2 coped very well. During the shoot I did try out the 50-140mm, 56mm & the 16-55mm which were all very good too which very little focusing performance difference from any of them.
Click the images if you want to see a higher reversion.
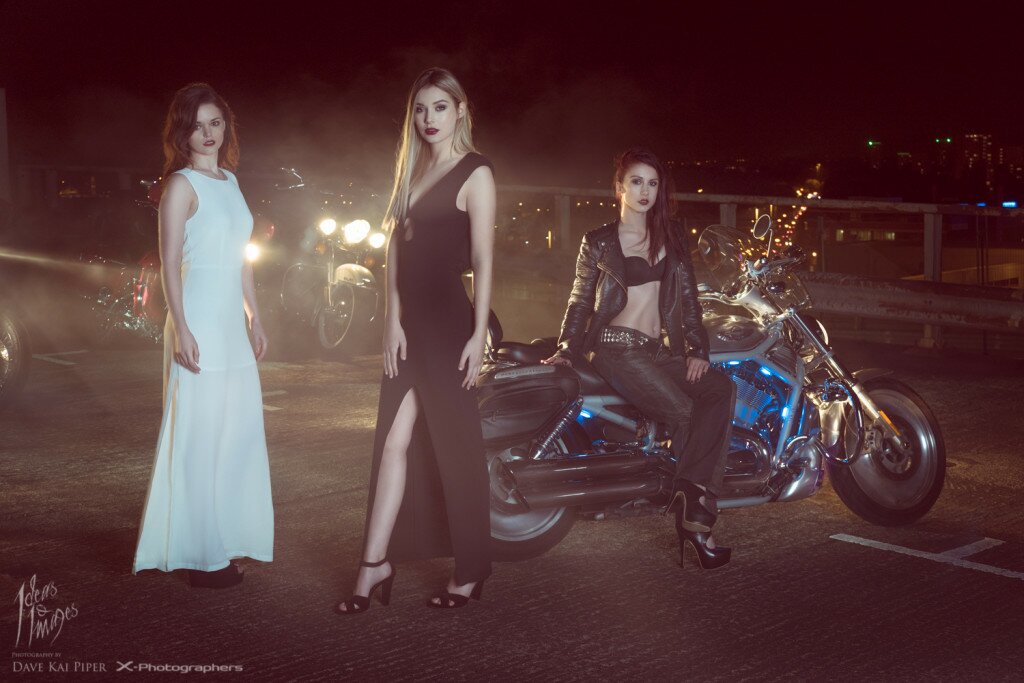
We shot the above image and below image in the middle of Birmingham in some pretty tough shooting conditions. Back and side lighting was created by the headlamps of a dozen Harley-Davidsons. A Profoto B1 though a 170cm softbox was used as a key light for the models.
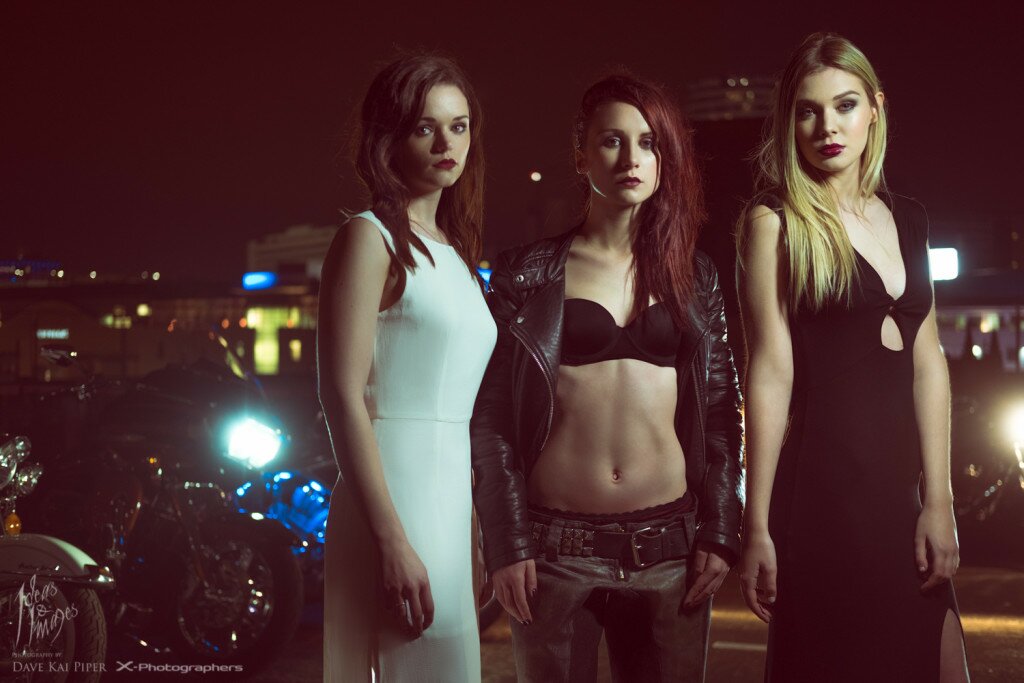
Huge big thank you to the Harley Owners Group – The Birmingham HOGS – who rode down for the shoot – we had a blast and the bikes were perfect for testing out the lens, also, massive thank you to Andrew Reid, Jodi Lakin, Magdalena Sarna, Sophie Miller (Alan Sharman) for all your hard work & thank you to Stephie Rebello for helping put everything together. A special mention to Calumet in Birmingham for helping out too !!
BTS photos from Ben @ Alan Sharman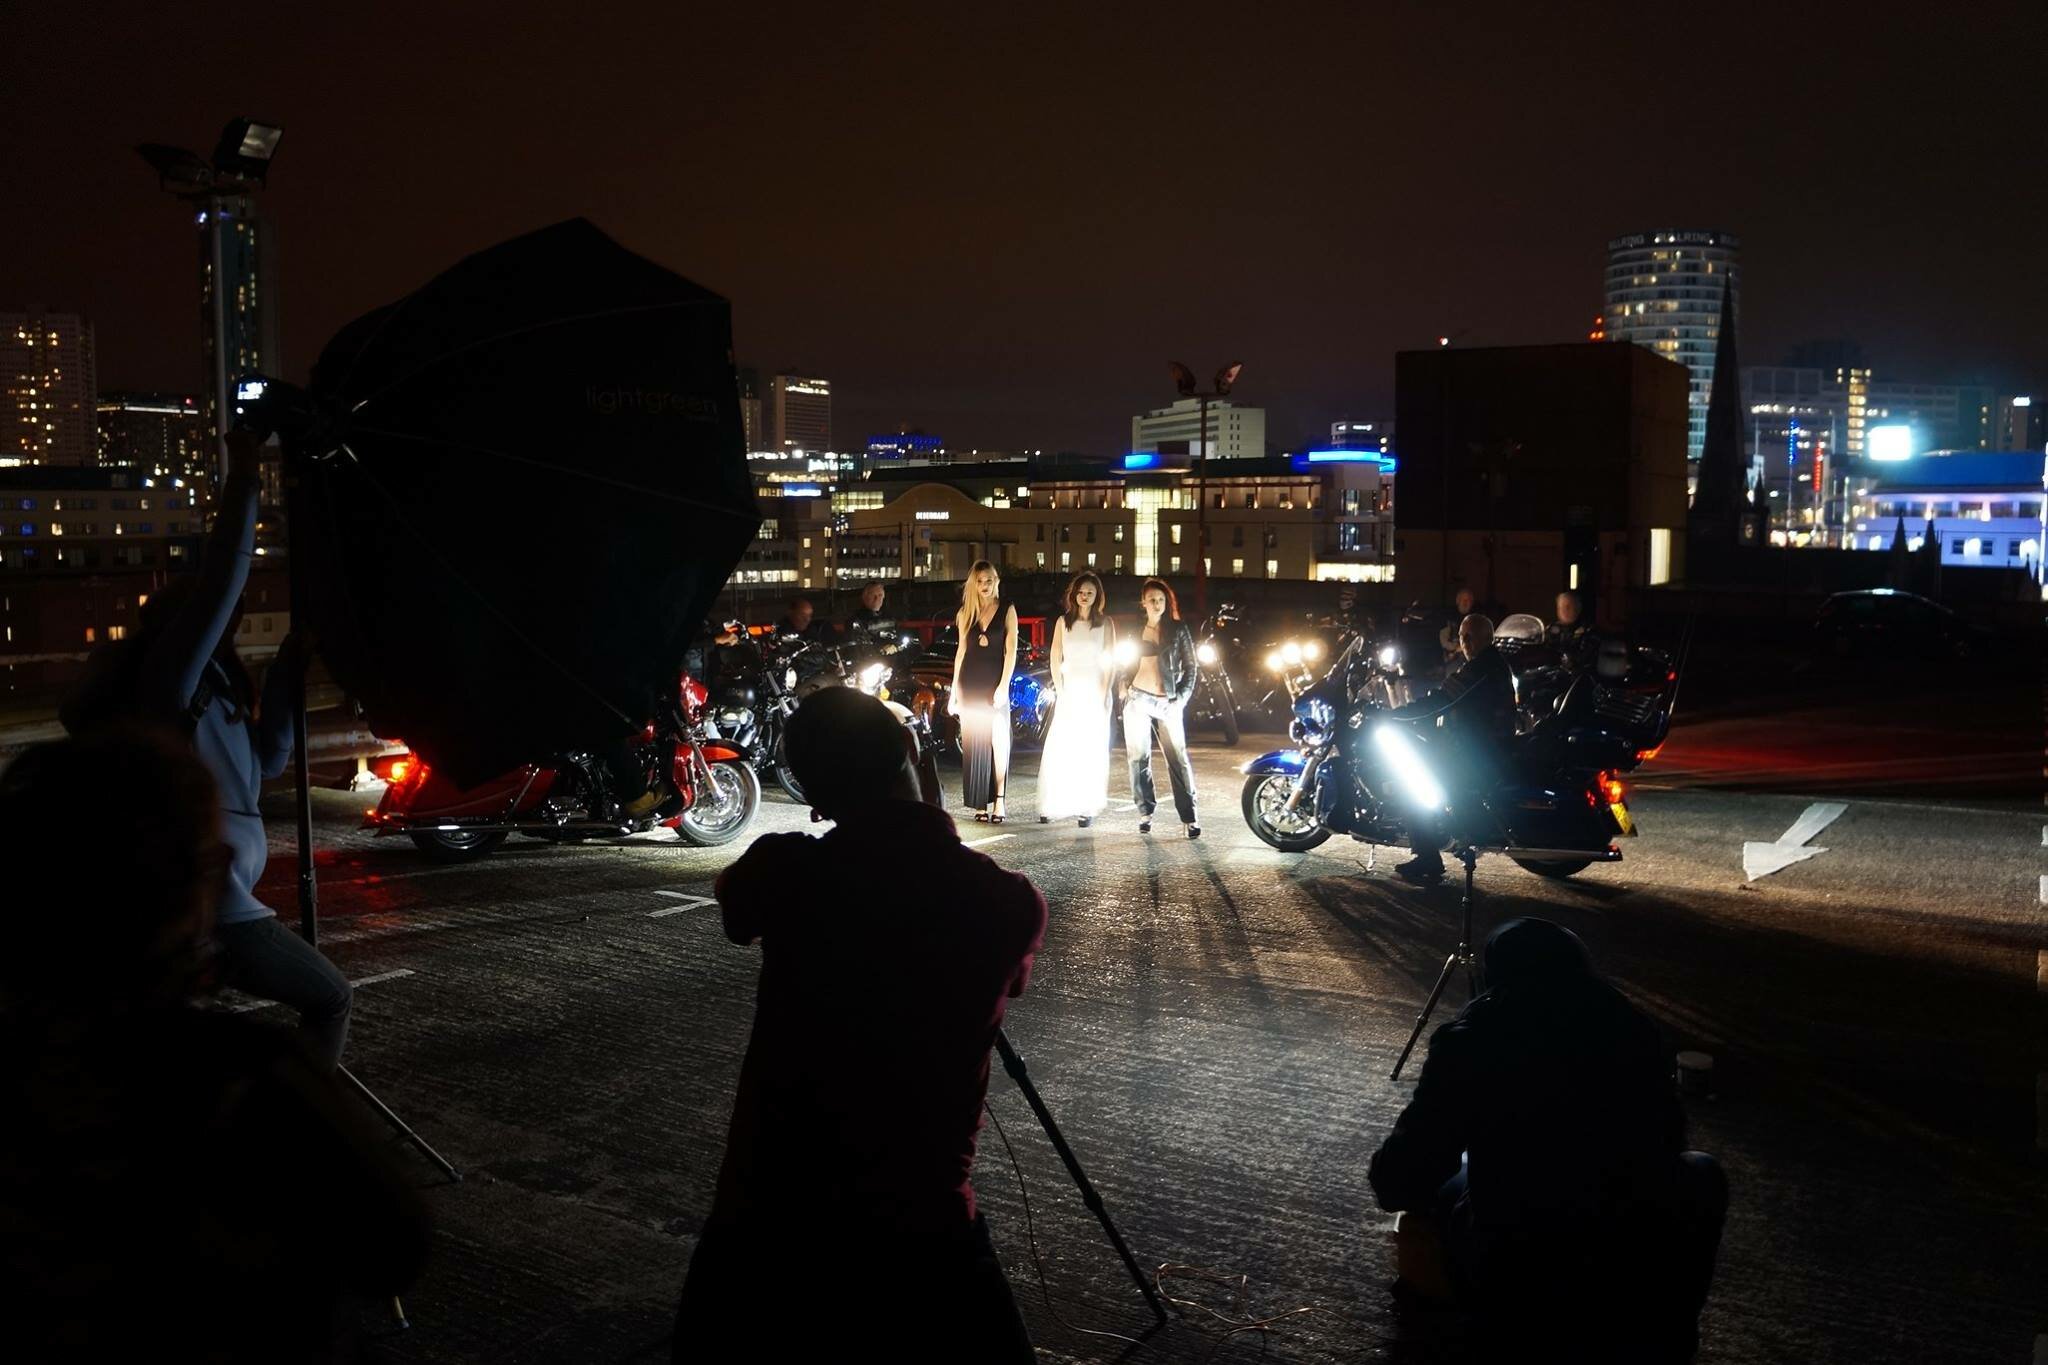
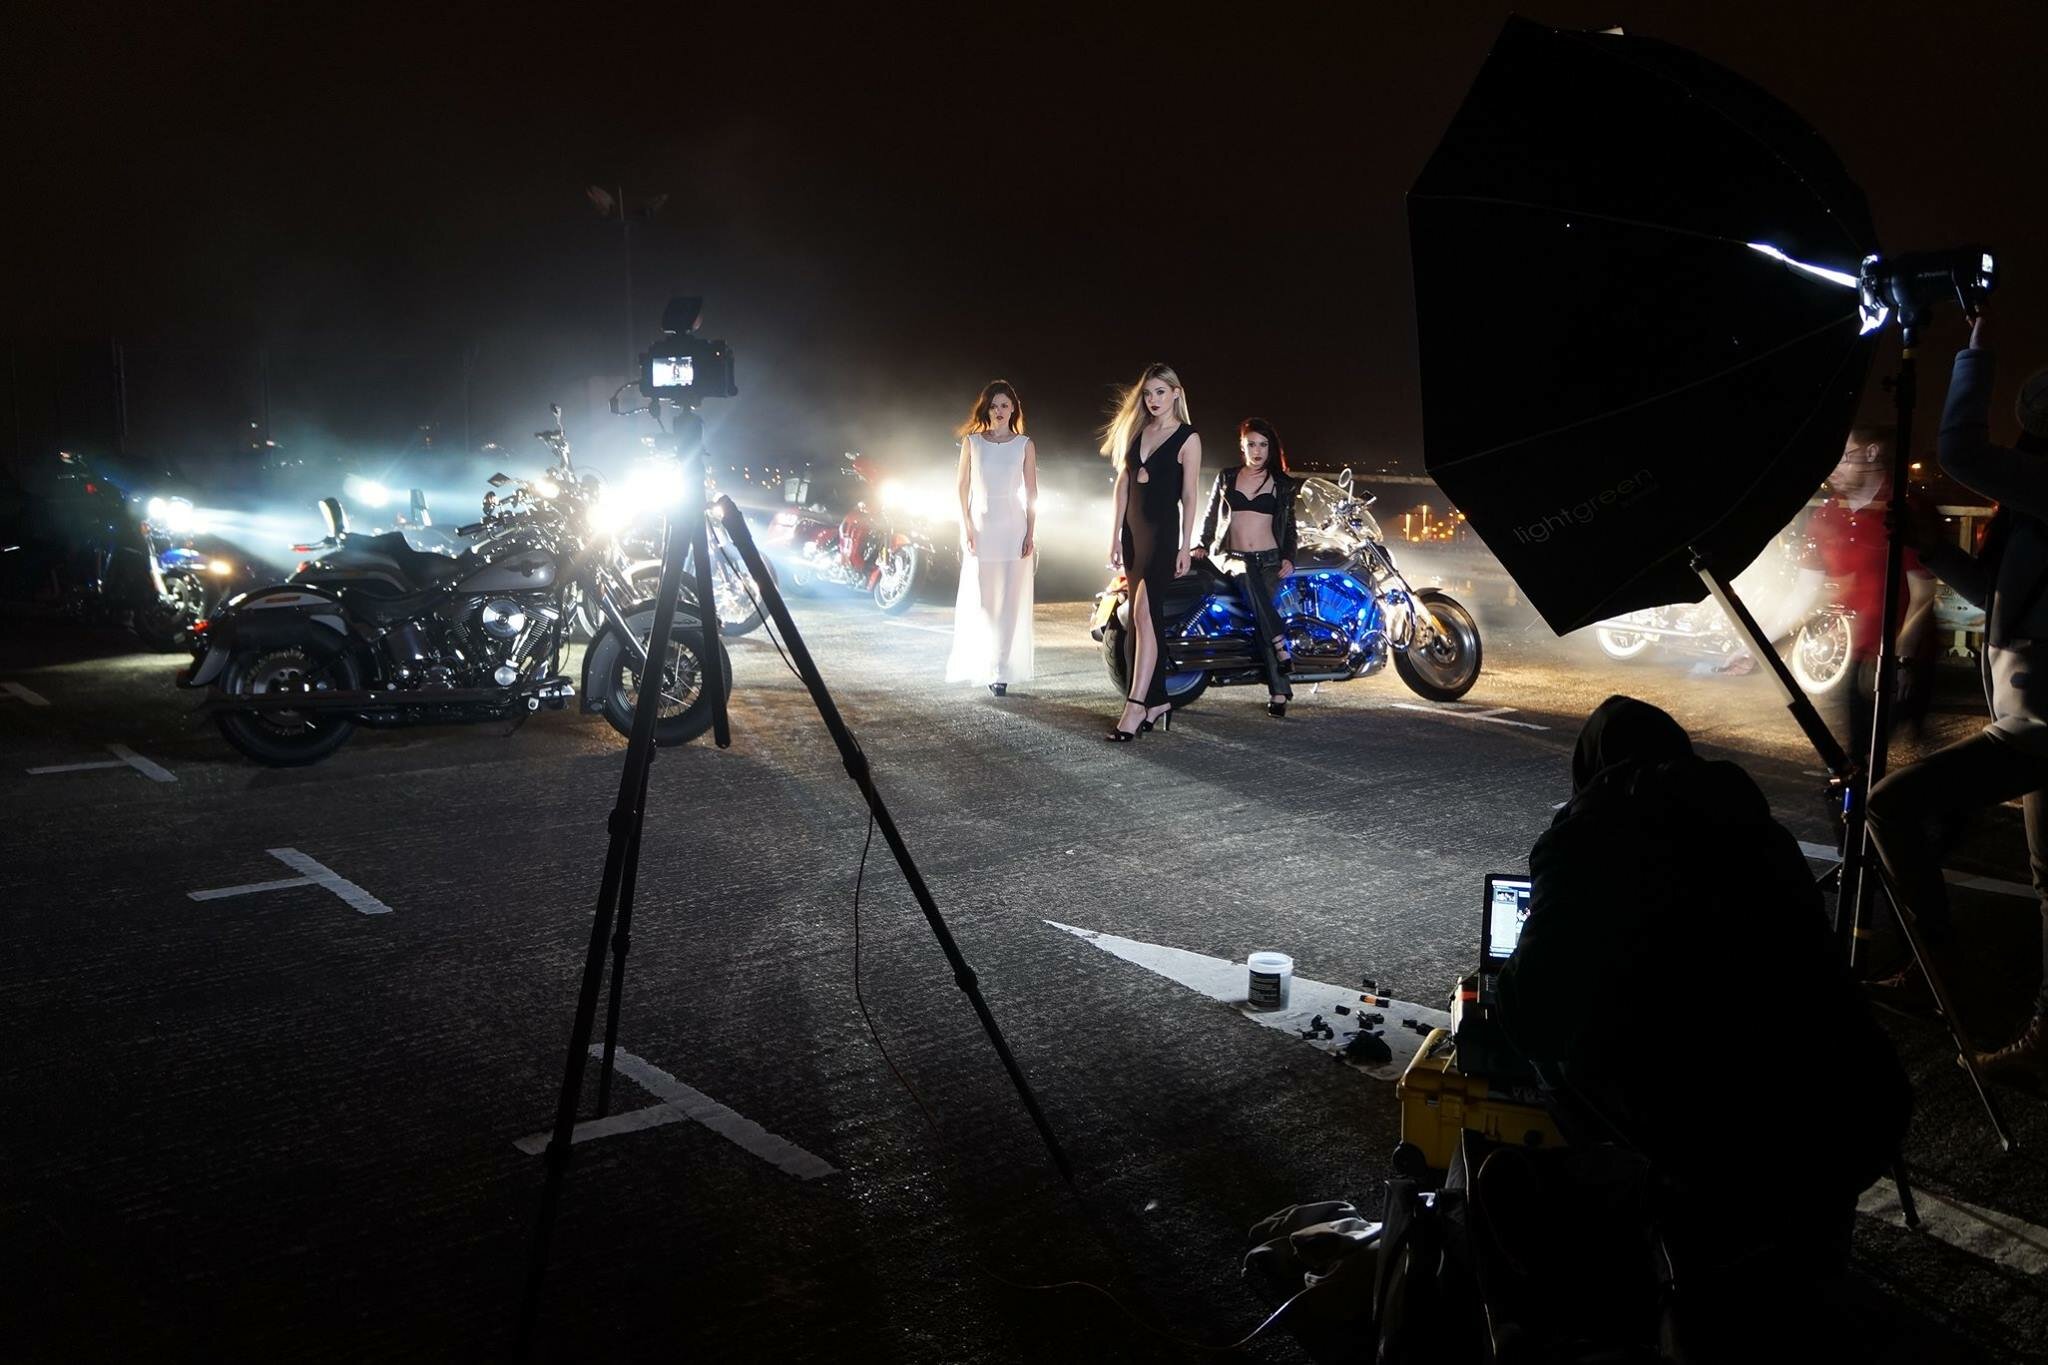
The bright lights, dark skies and chrome did prove a challenge for both camera and lens, but everything was dealt with typical Fuji style.
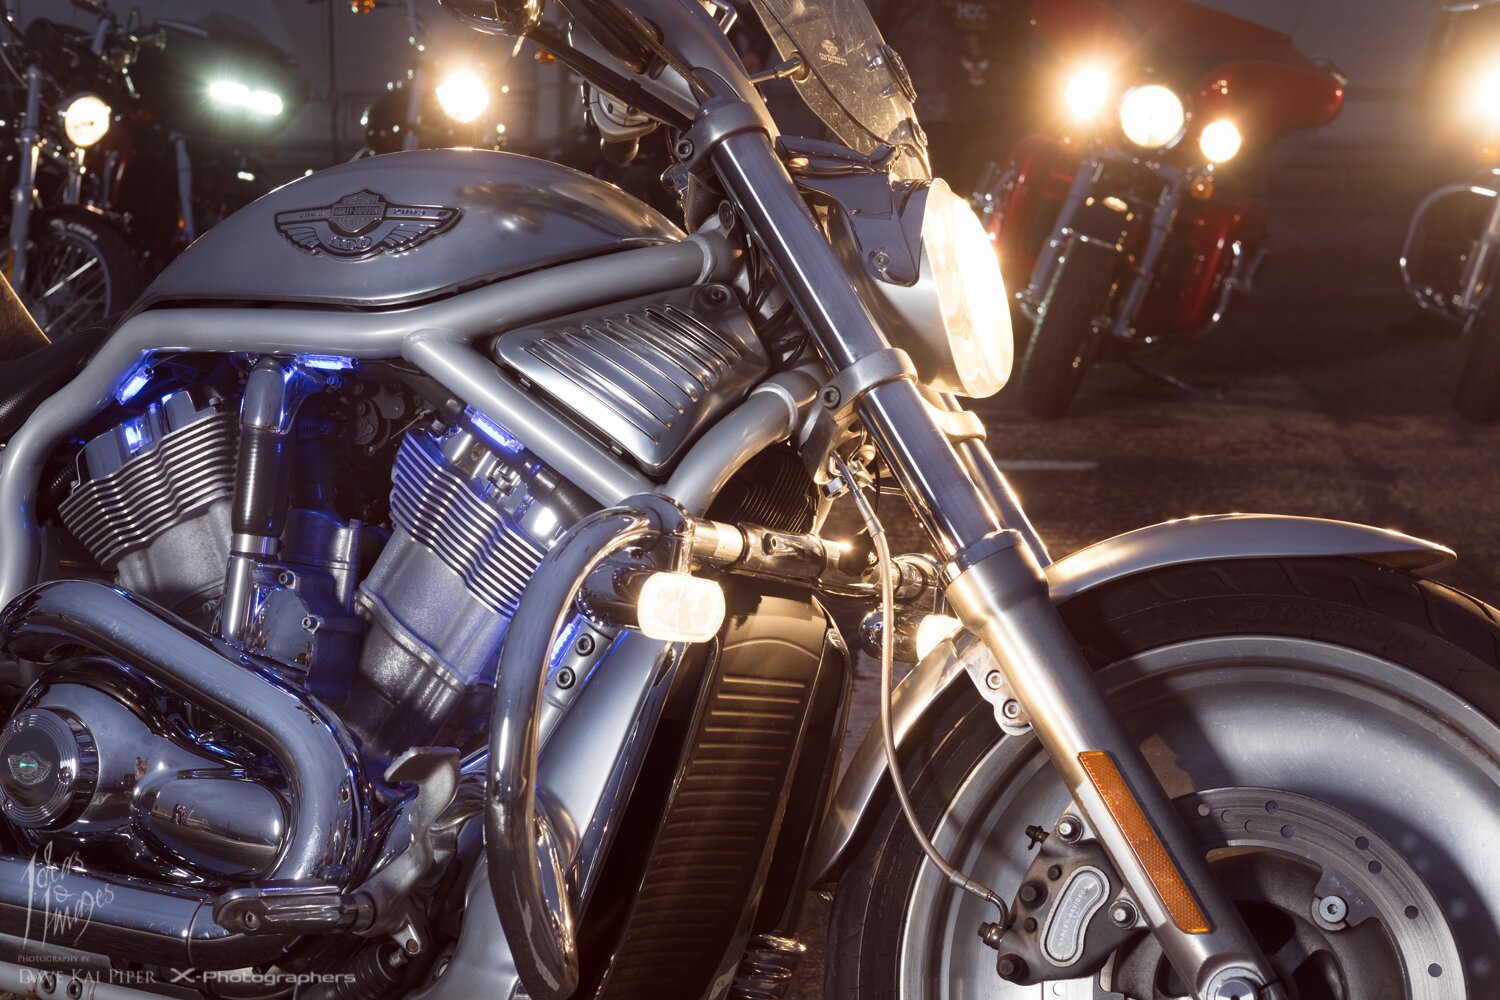
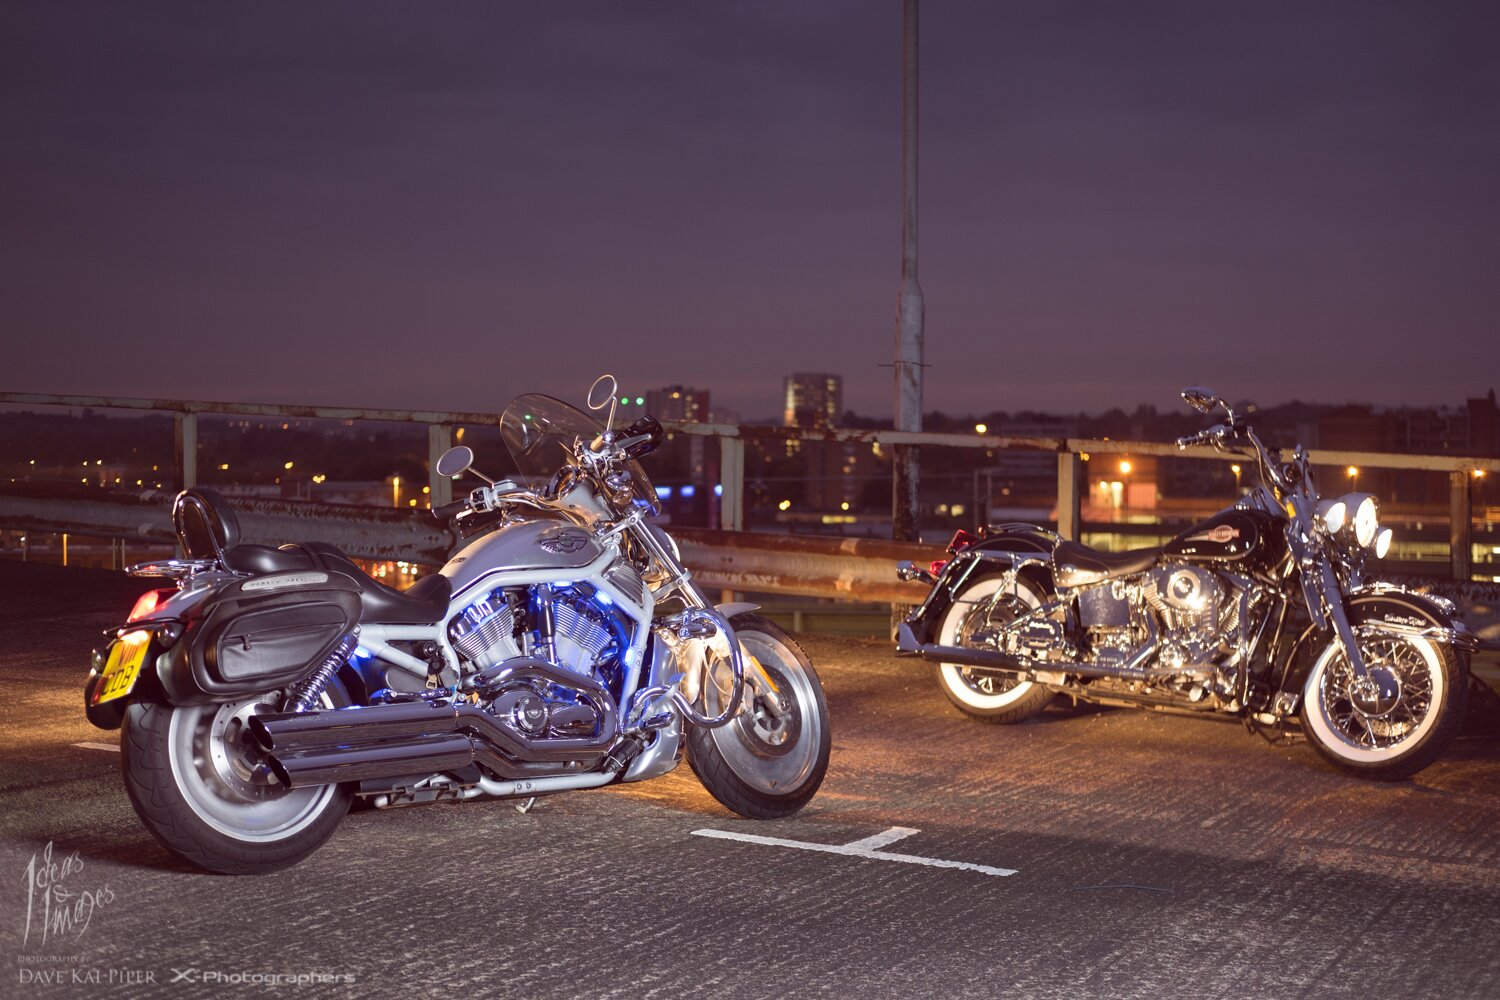
On the blog I am just going to post two images showing both lenses open at f2 If you want to view a range of sample image – you can do so here. As you can see from the images below – there are some slight differences in colour and contrast – but both lenses are pretty good.

Fuji 35mm 22 R WR @ f2

Fuji 35mm f1.42 @ f2
Small, light, sharp and super smooth rings matches this lens to all the hall marks you would want and expect from the Fuji system. I would expect to see this lens being sold as a great starter all-around prime lens. I can easily see this lens being paired up with the X-t1o to make a great intro into the x-system
These are images taken of the lens mounted on the Fuji X-Pro
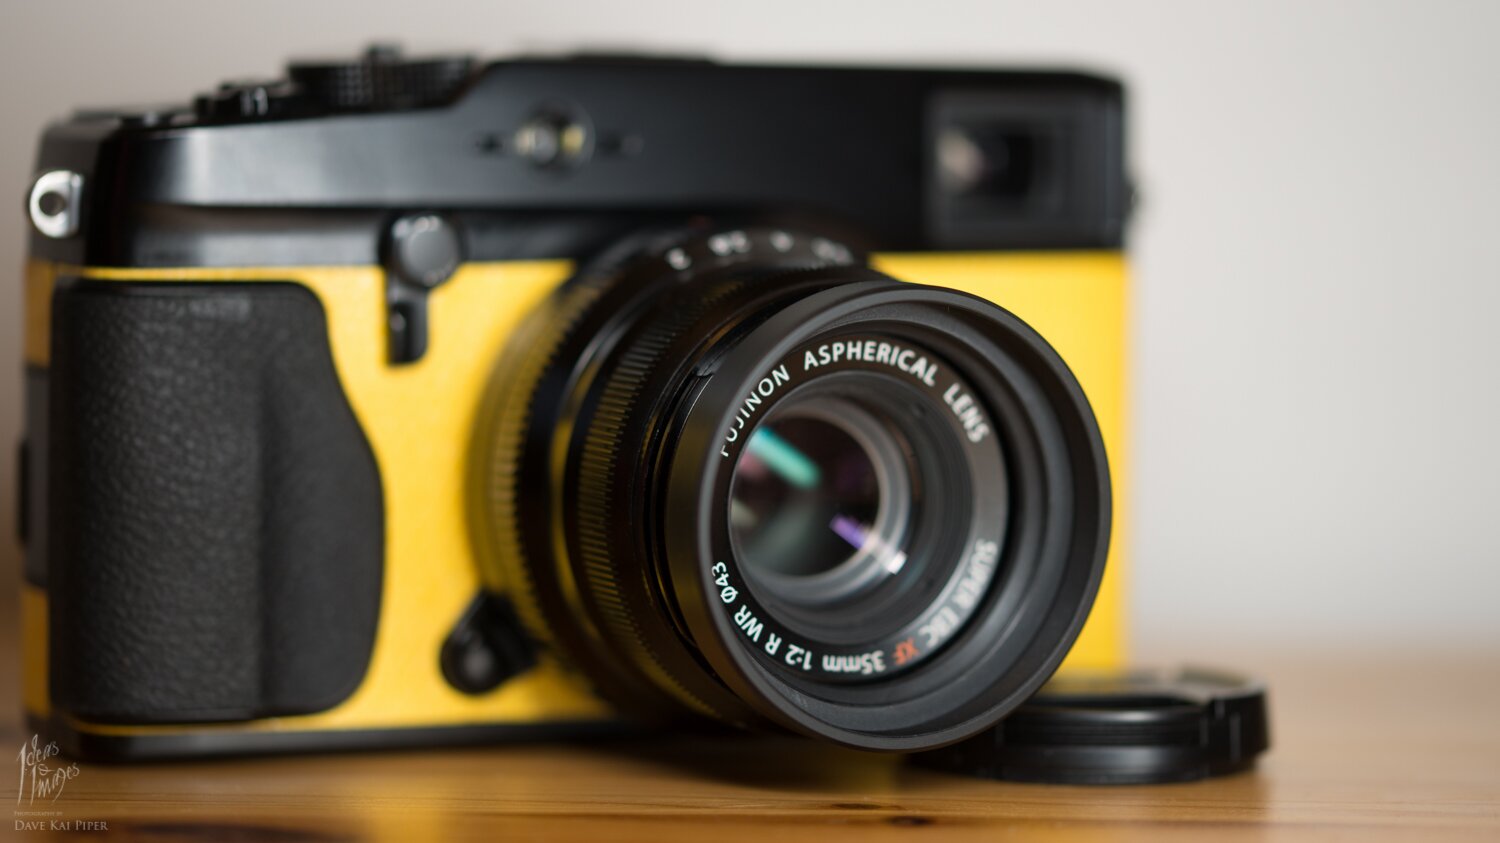
I expect for many people, this will be an all round, multi-purpose lens – which is great – it will do you proud. A few hours before this lens blog – we headed out to shoot some more fun shots on a roof top as the last of the light went. Focusing even in tricky lighting was OK. Below these shots are some examples taken in more of a studio setting down at iso 200 and a strong strobe light. On these images you can see the clarity of the lens.
Model: Stephie Rebello: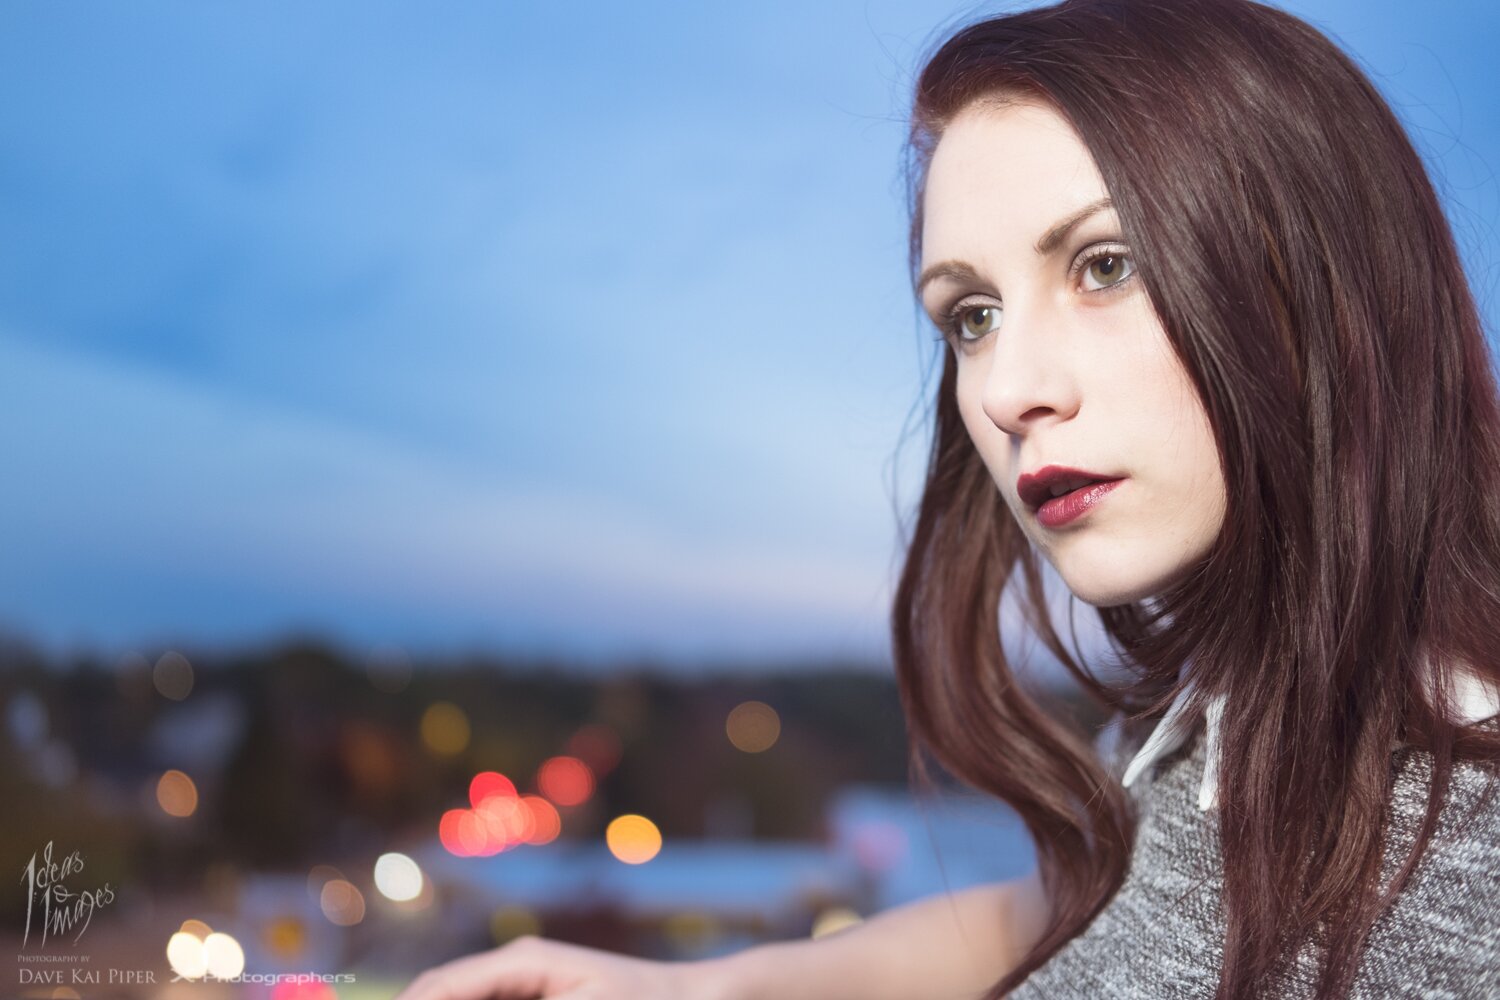
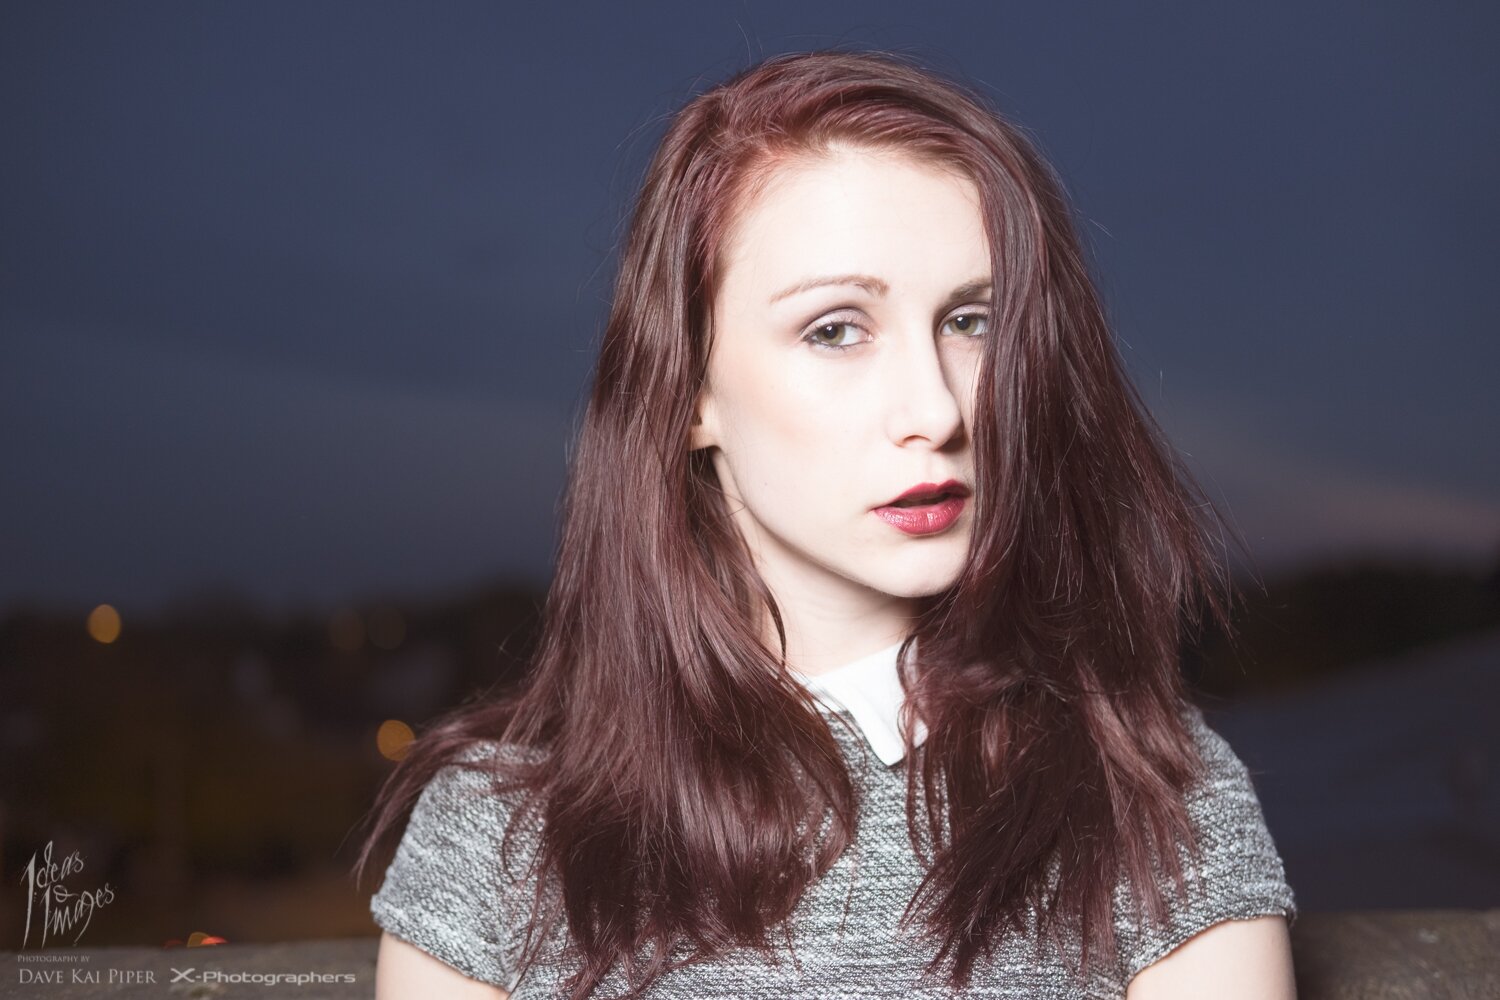
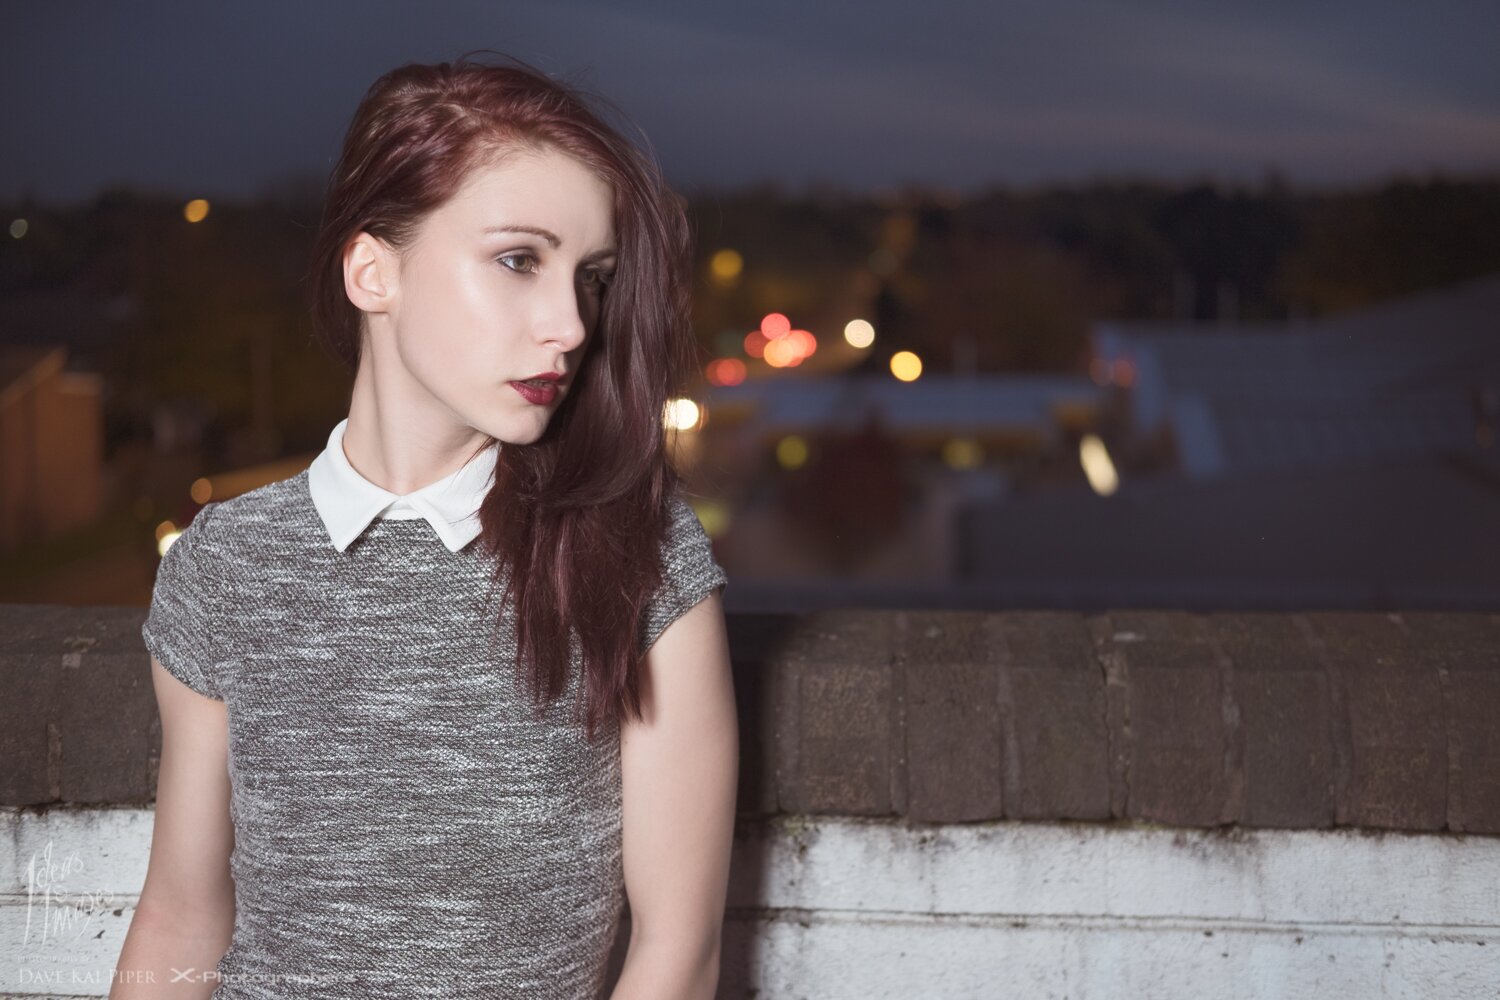
Model: Chloe Kinsella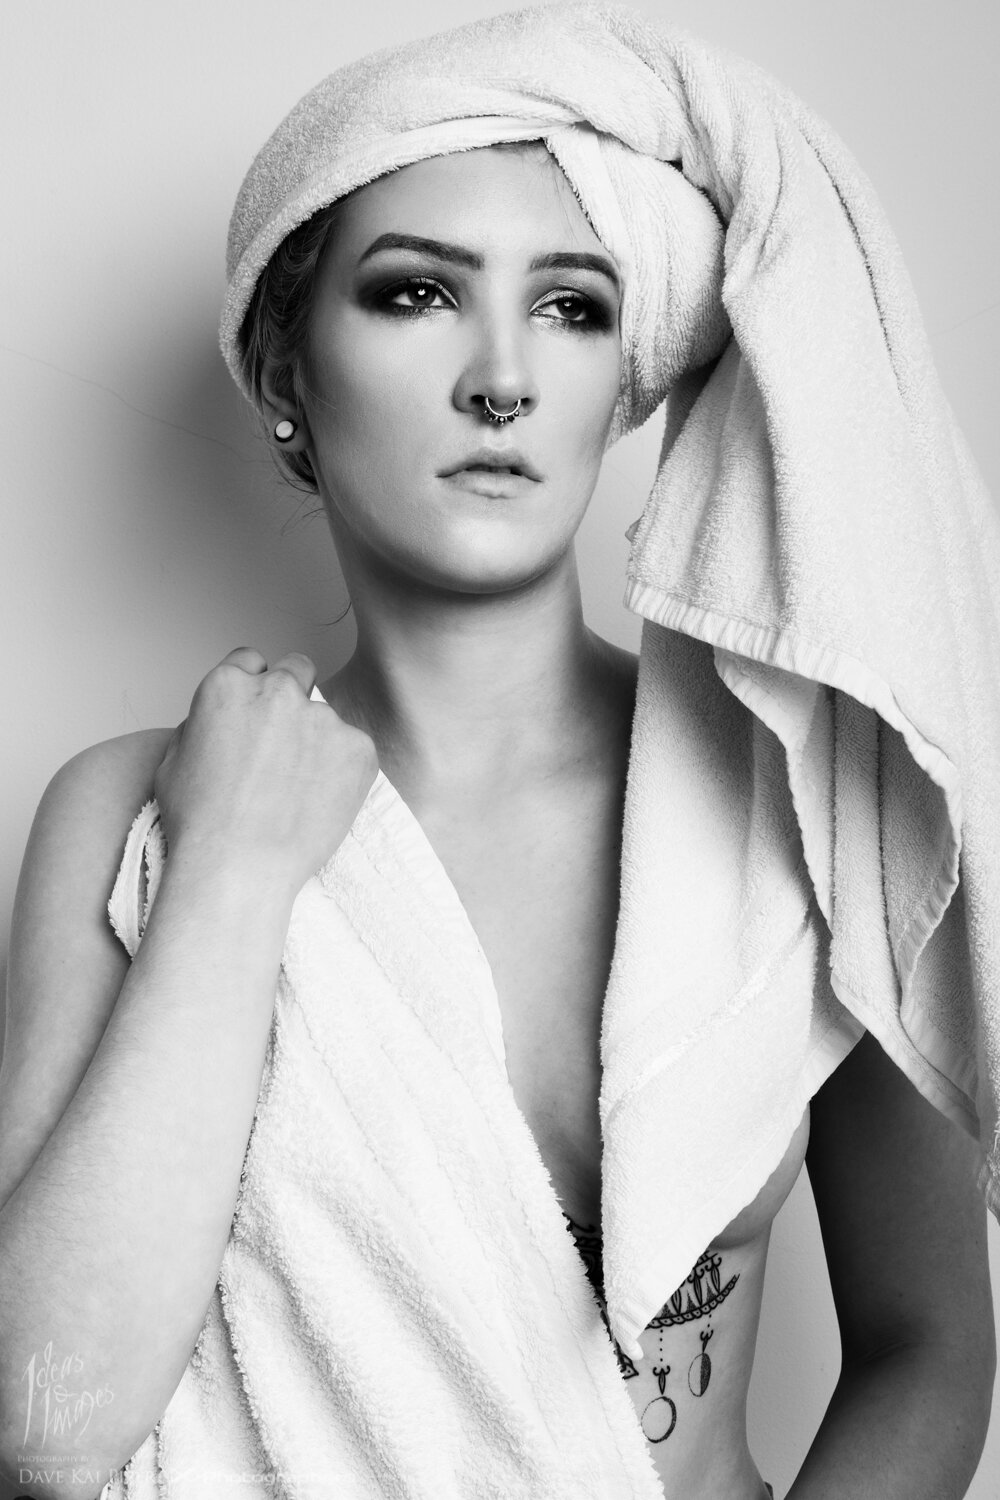
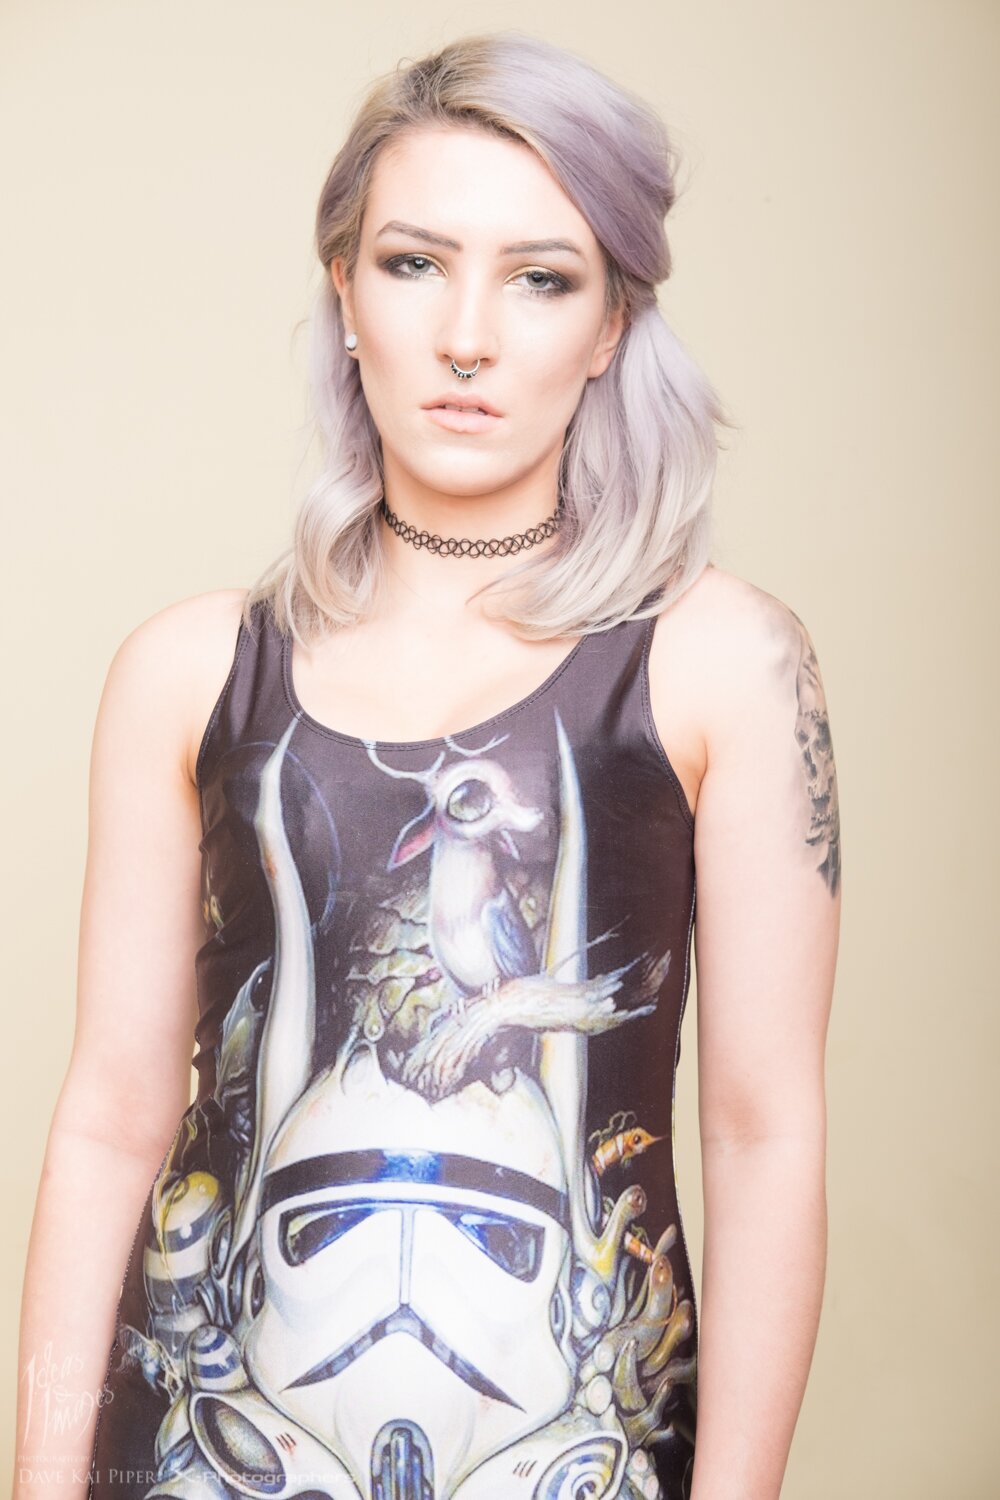
Here are a few links to help you find some of the stuff mentioned in this blog post, also remember to sign up for the newsletter which can be found here.
The post Fujinon 35mm F2 R WR appeared first on Photography by Dave Kai Piper.
]]> https://ideasandimages.co.uk/fujinon-35mm-f2-r-wr/feed/ 4 ‘A portrait is a painting, photograph, sculpture, or other artistic representation of a person, in which the face and its expression is predominant. The intent is to display the likeness, personality, and even the mood of the person.’ or that what Wikipedia says anyway, and I do fully agree. We did a workshop the other […]
The post Calumet Workshop – Lighting workshop. appeared first on Photography by Dave Kai Piper.
]]> ‘A portrait is a painting, photograph, sculpture, or other artistic representation of a person, in which the face and its expression is predominant. The intent is to display the likeness, personality, and even the mood of the person.’ or that what Wikipedia says anyway, and I do fully agree.We did a workshop the other day with Calumet in Birmingham looking at different aspects of using light to provoke and and express emotion. We looked at the three main lighting types that are used when trying to create expression and emphasise character.
Thank you to everyone who made it a wonderful day – you can download the full PDF here
A big thank you to Reece, Tom & Adele who helped from Calumet & a very big thank you to Stephie who helped us create some great images as our model. You can get in touch with Stephie here: http://purpleport.com/portfolio/peliroja/
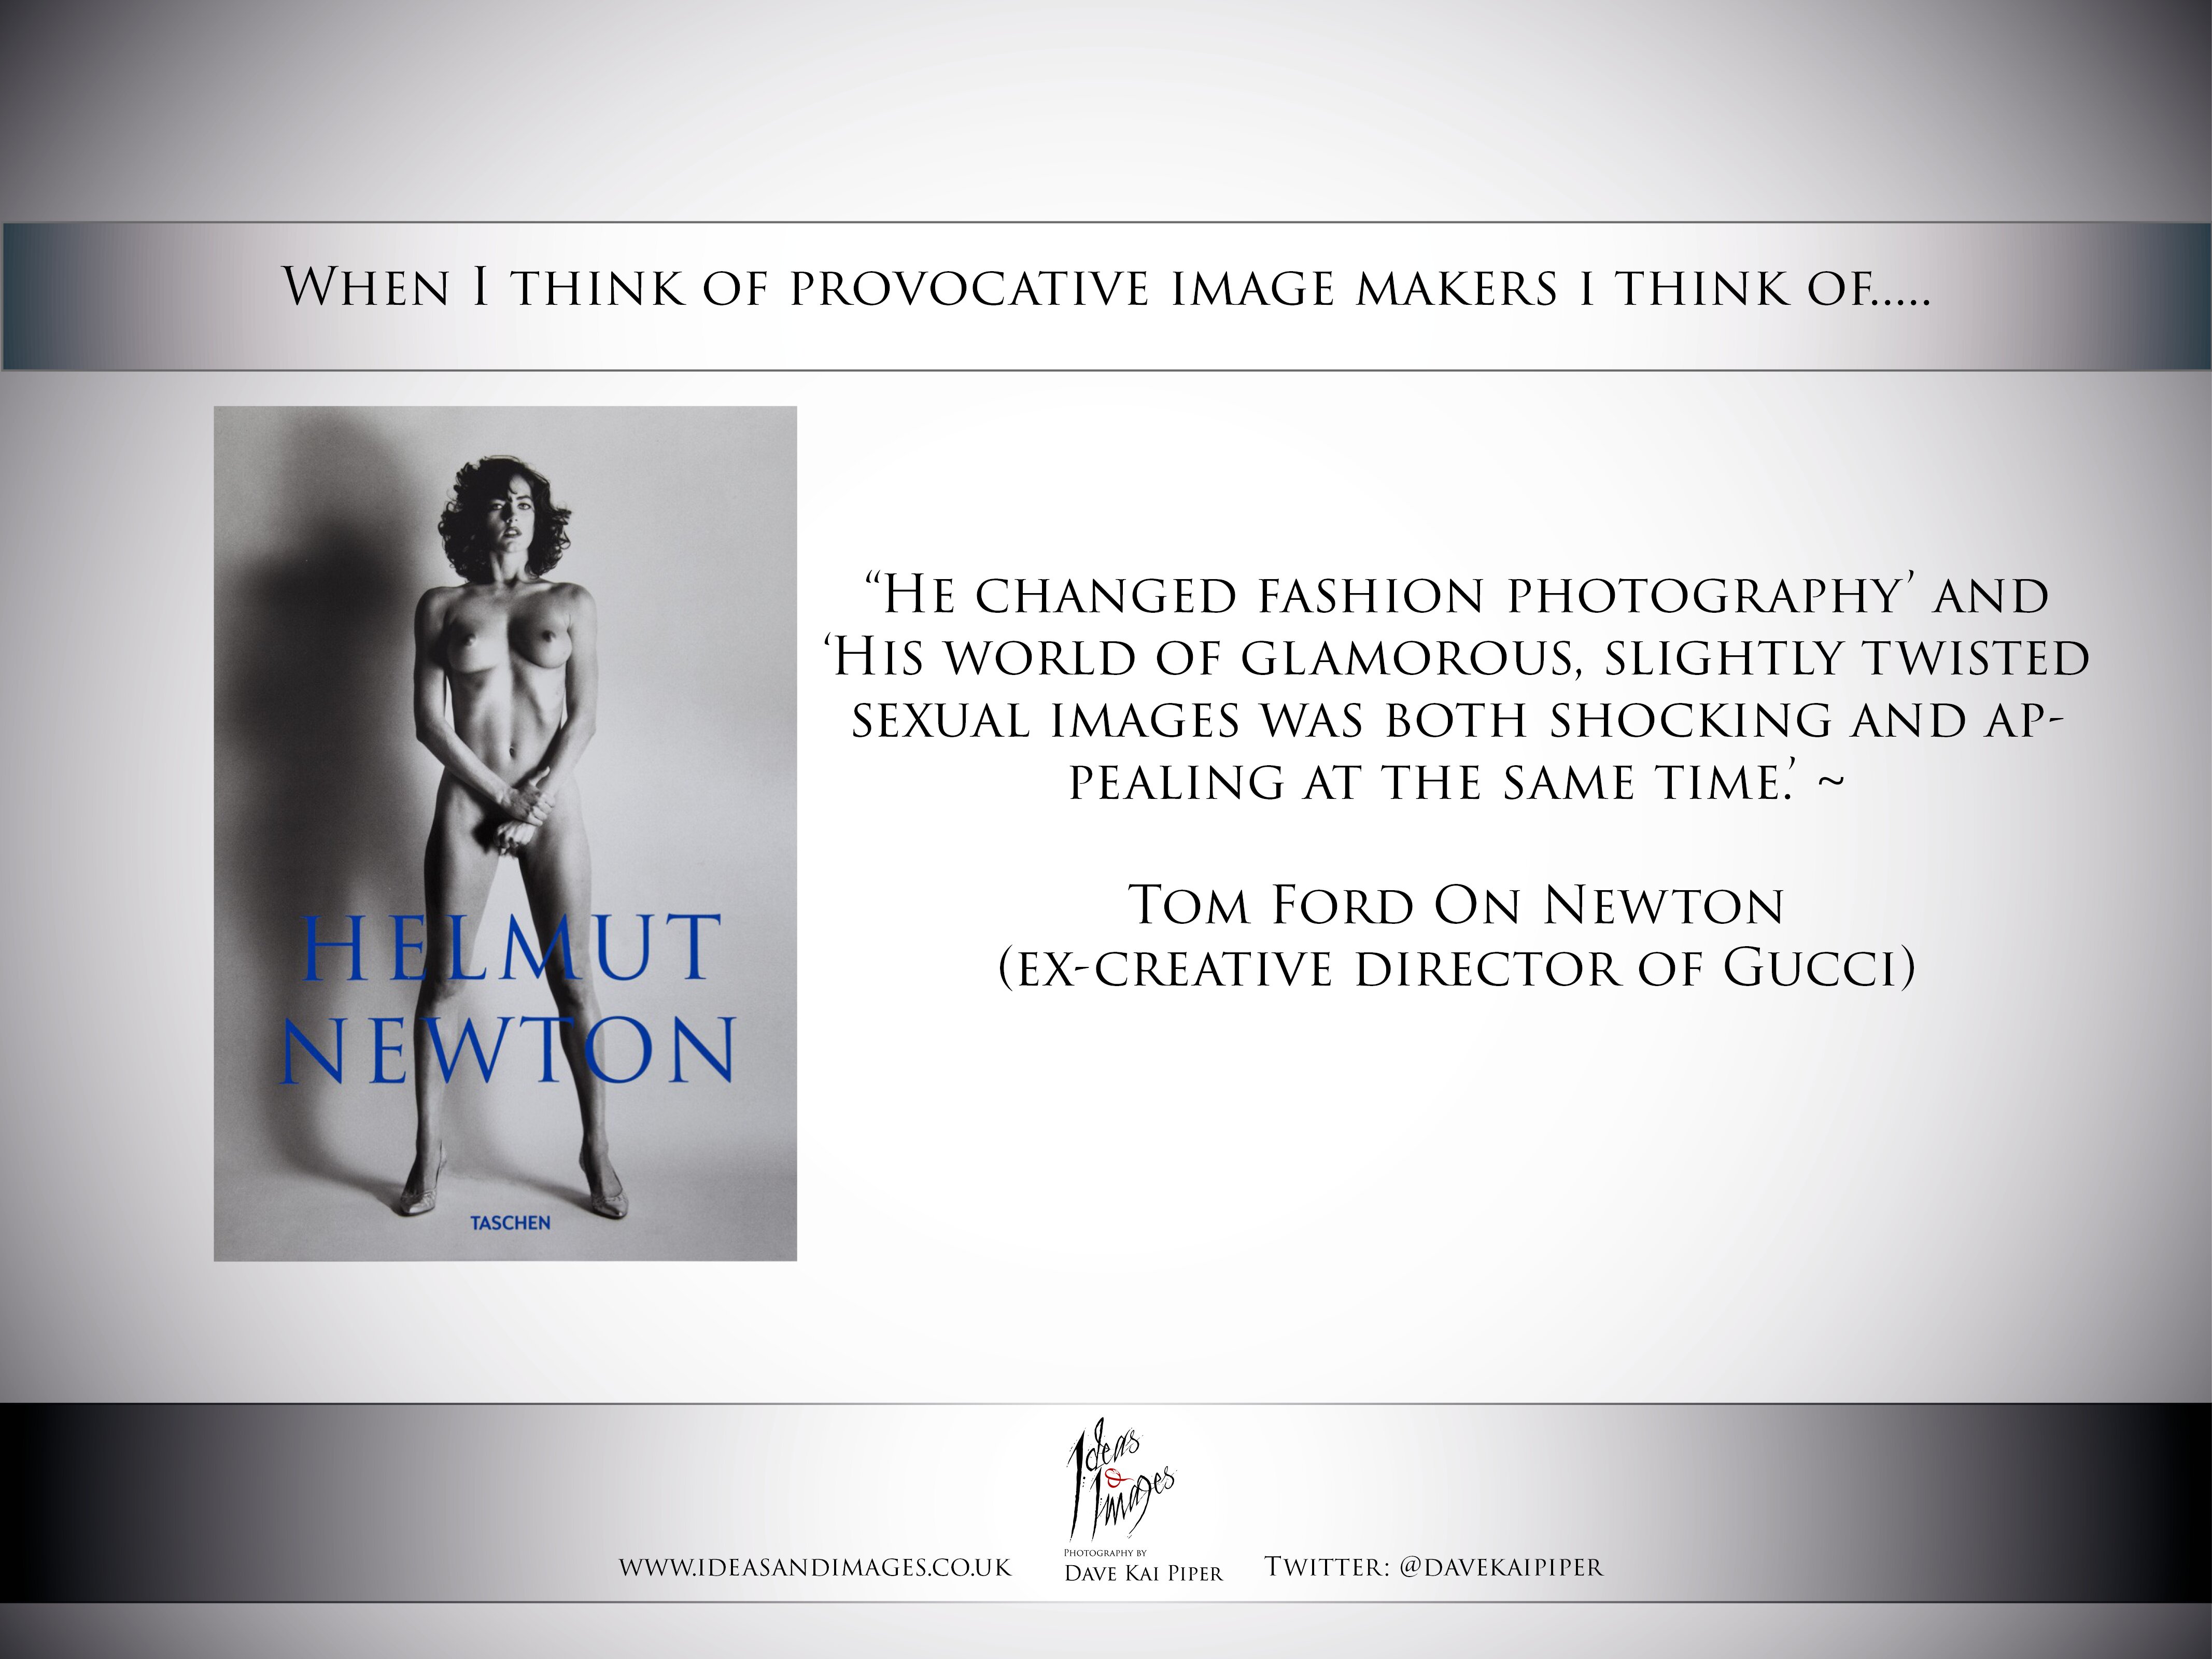
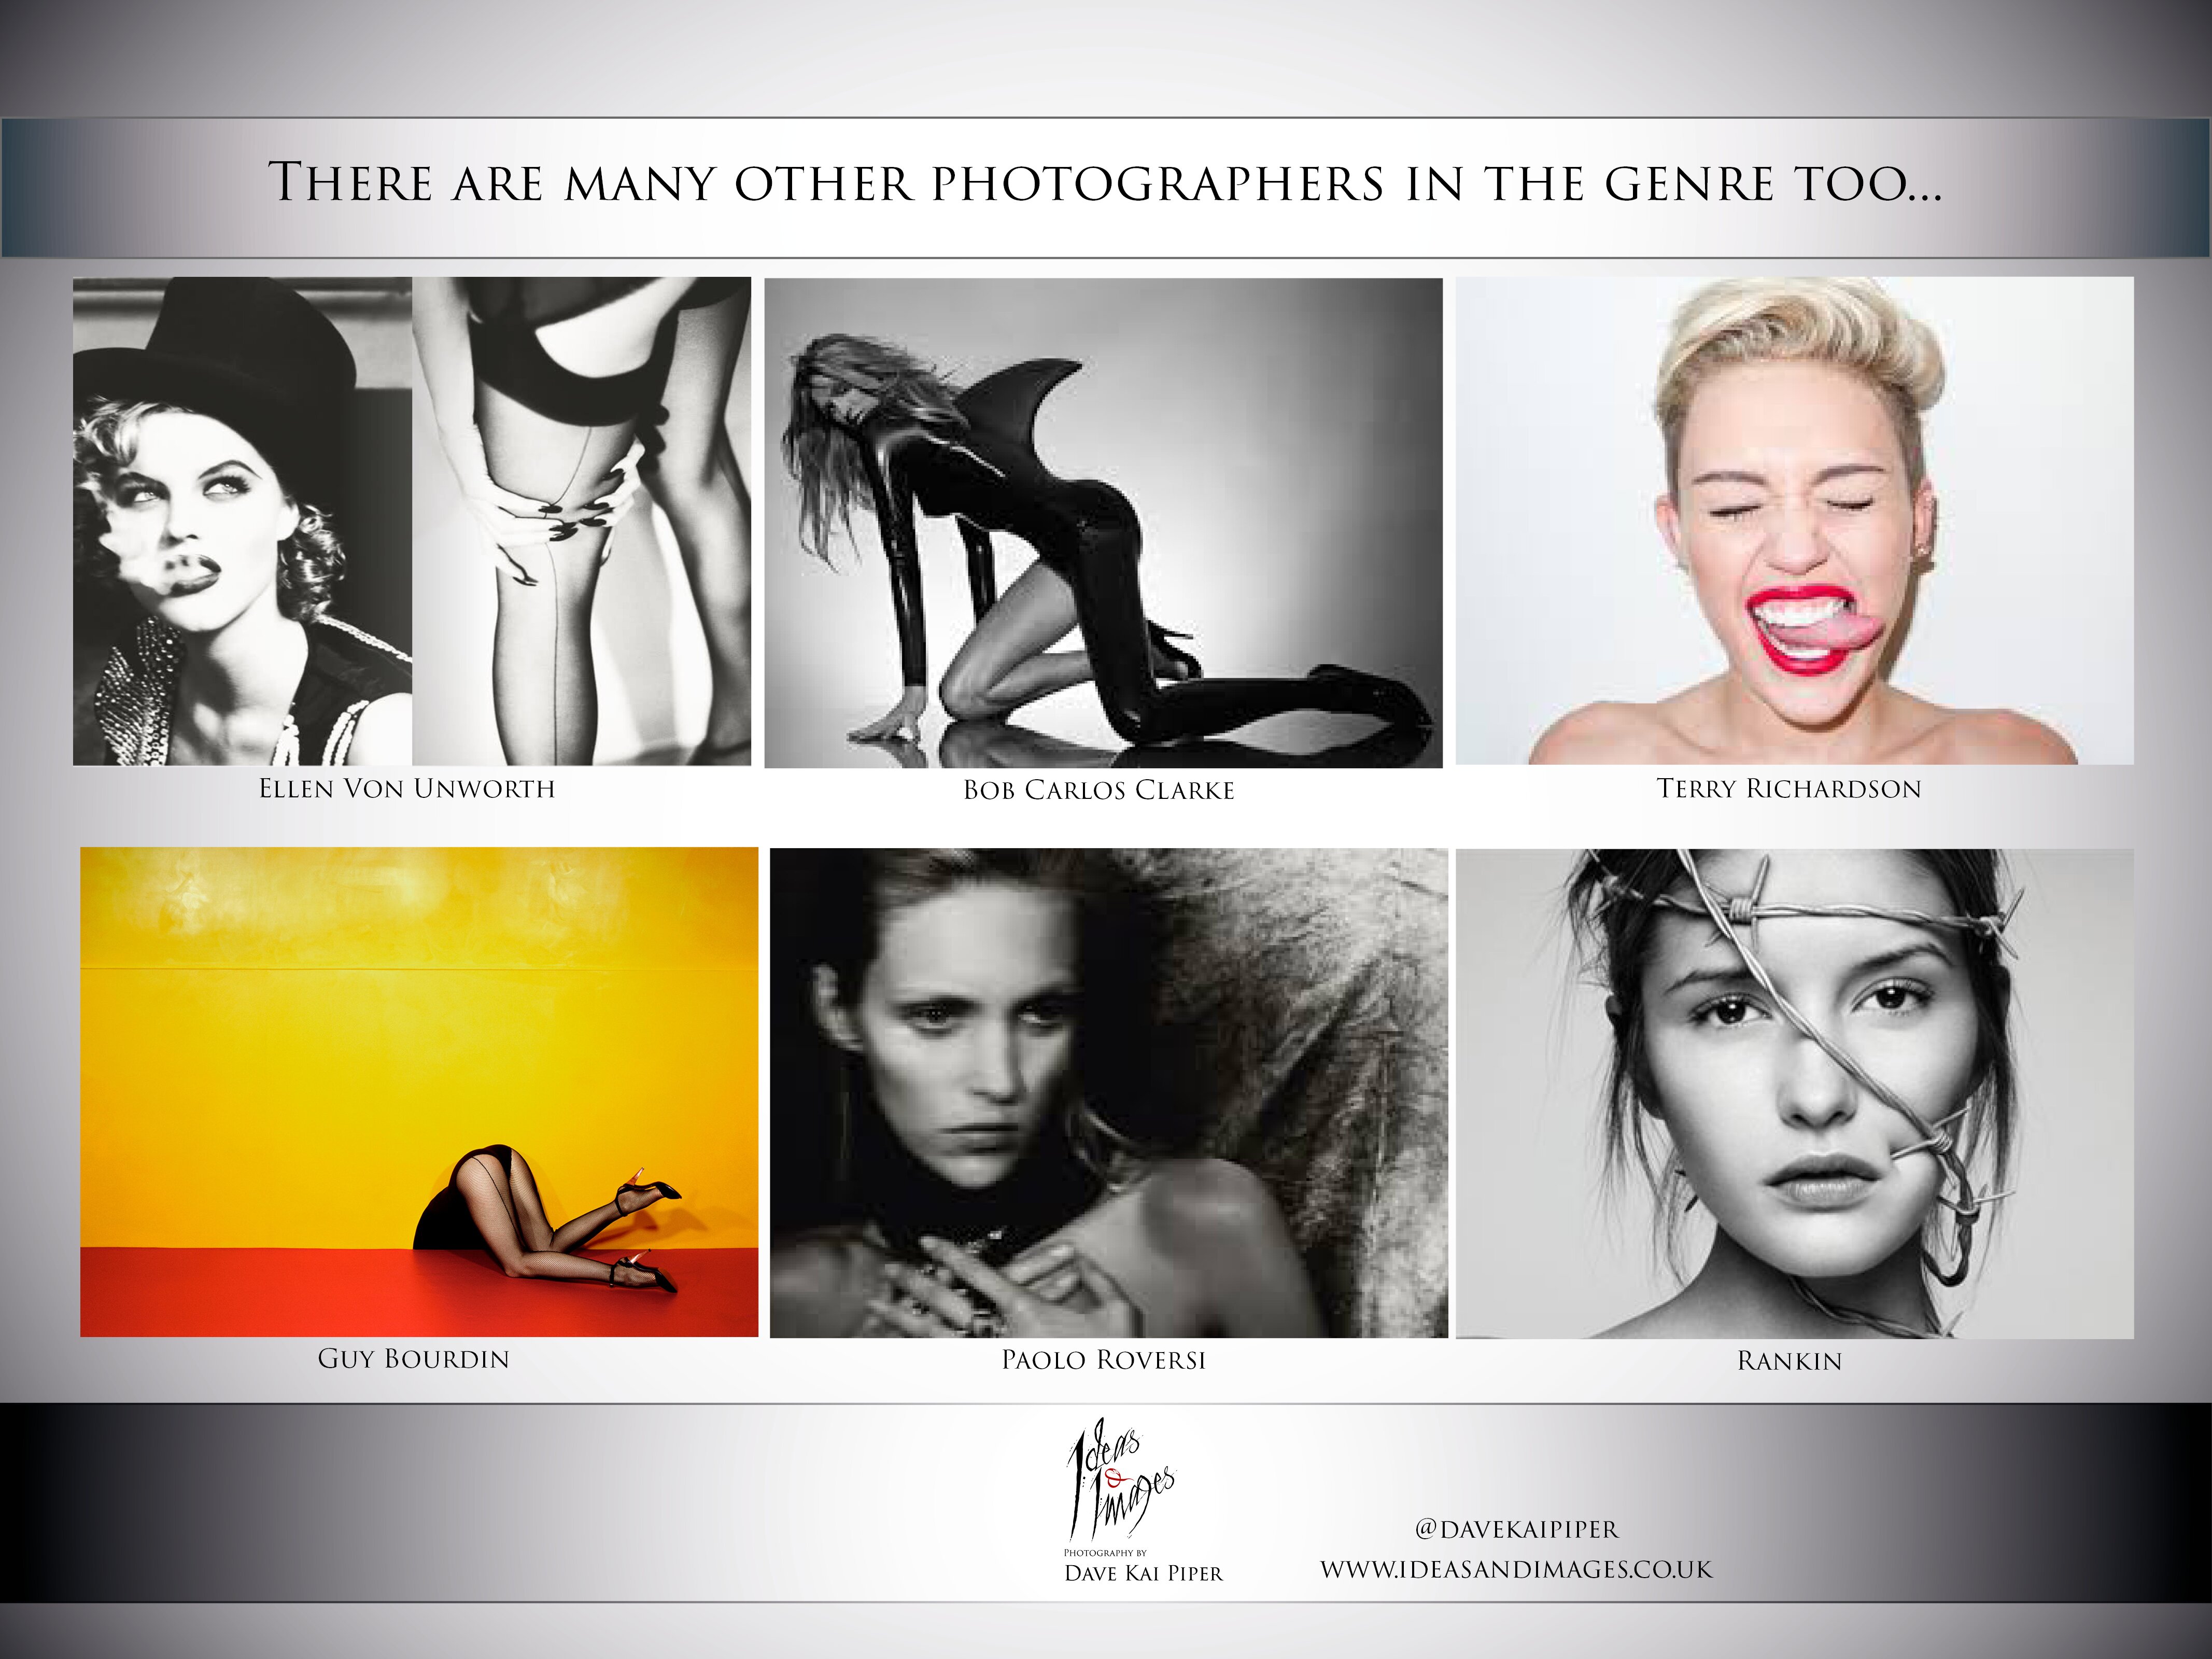
Something we spent a little bit of time on was the posing and the different messages we can take out of images by the way we pose & light the subjects.
During the workshop we also looked at many wonderful photographers work such as Gregory Heisler – http://www.gregoryheisler.com/- The quote I could not remember was ‘The work is primarily subject-driven. All decisions flow from there. The photographs are all made in response to a unique subject, in particular context, at a specific moment in time. The thoughtful preparedness that defines my working method actually facilitates spontaneity and allows me to embrace surprise. I always have a game plan but view it as merely the jumping off point.’
These are the Lee Filters that we used:
Lee Neutral Density 0.6 Soft Graduated Resin Filter
Lee SW150 Neutral Density 0.6 Hard Graduated Resin Filter
The Teathertools cable stuff is here:
http://www.uklight.co.uk/tether-tools.html
Here are a couple of sample images that I shot during my quick lighting demo. For these demo shots I used the Cactus RF90 & the Roundflash. Shooting such a set up lets me shoot wide open like in the sample images below that are all shot at super wide f-stops such as f1.2.
125th, iso200, Fuji X-T1, 56mm APD, F1.2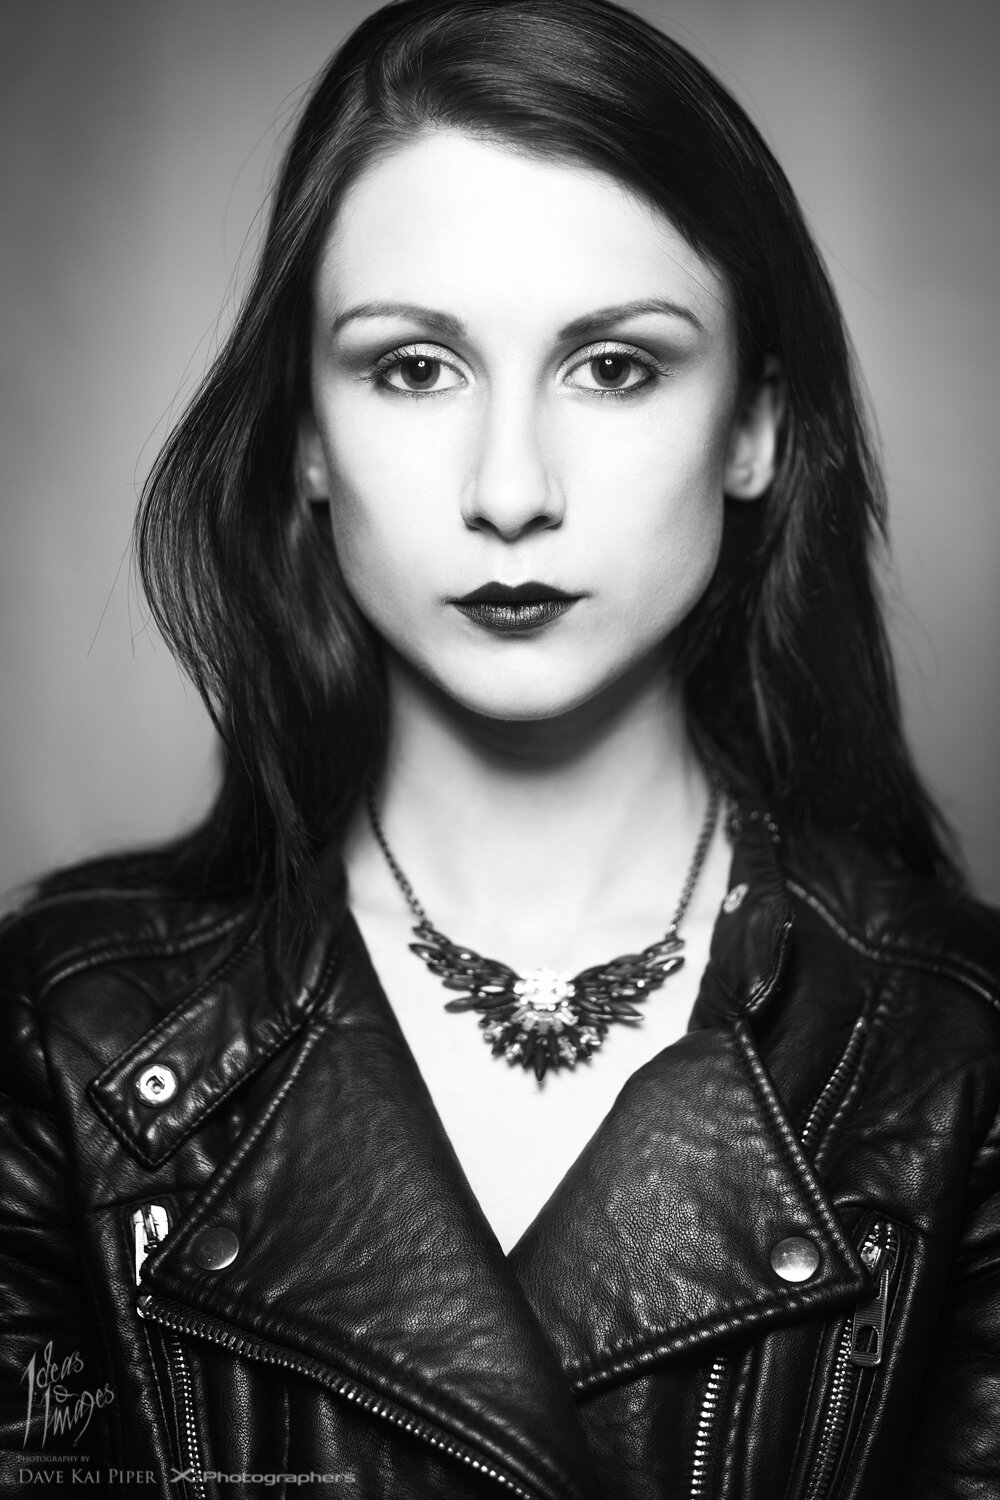
125th, iso320, Fuji X-T1, 56mm APD, F1.2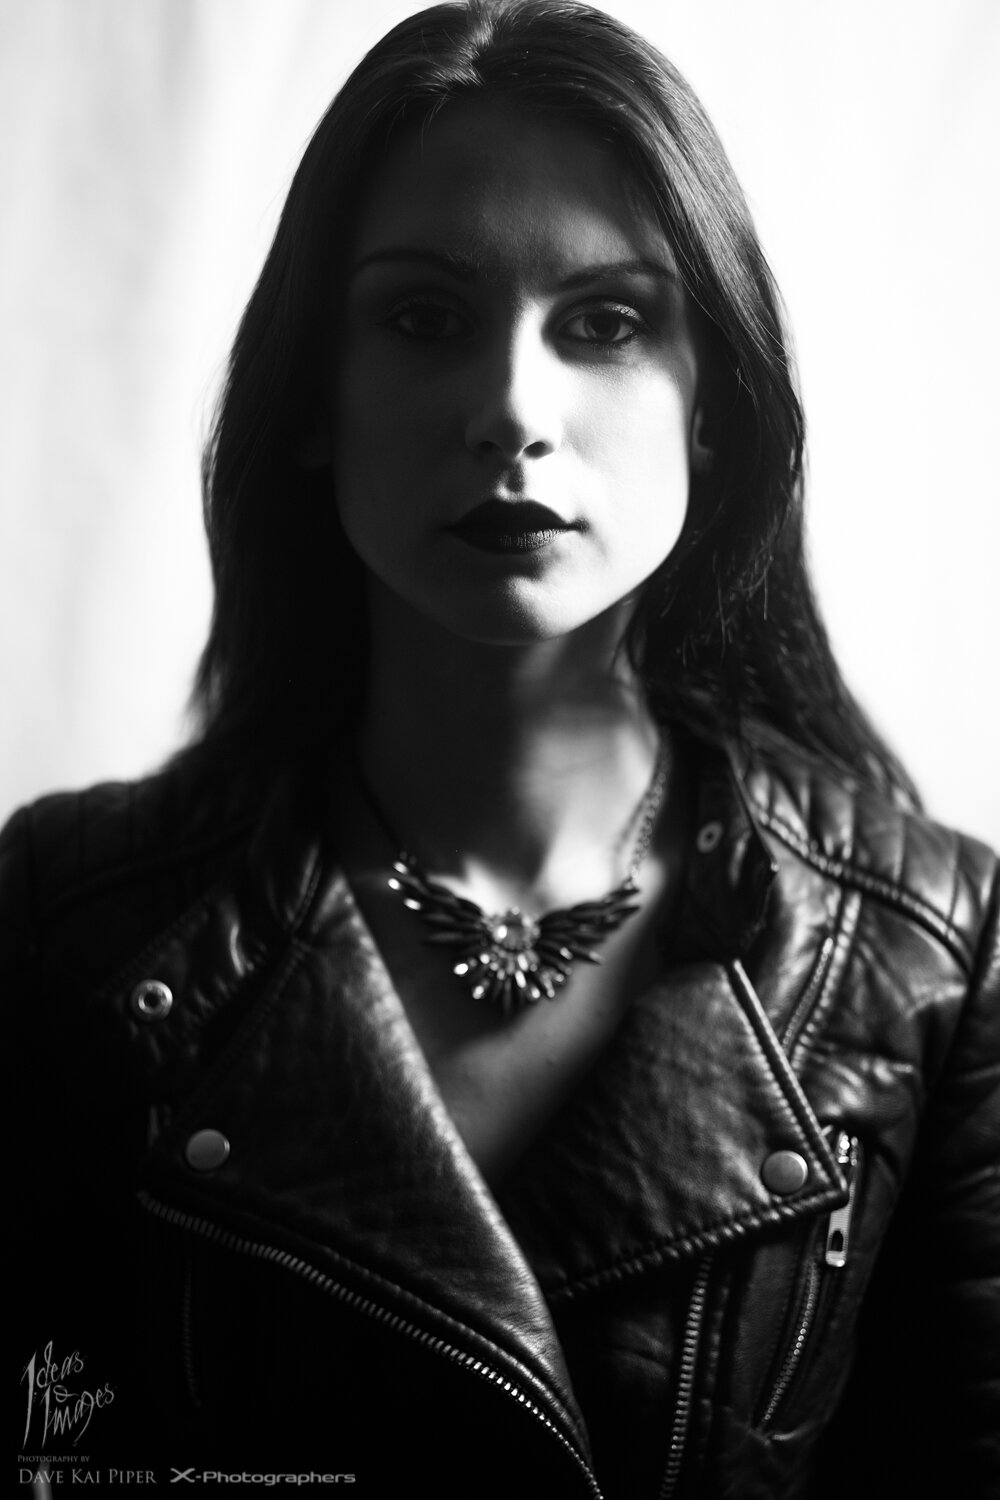
125th, iso200, Fuji X-T1, 56mm APD, F1.6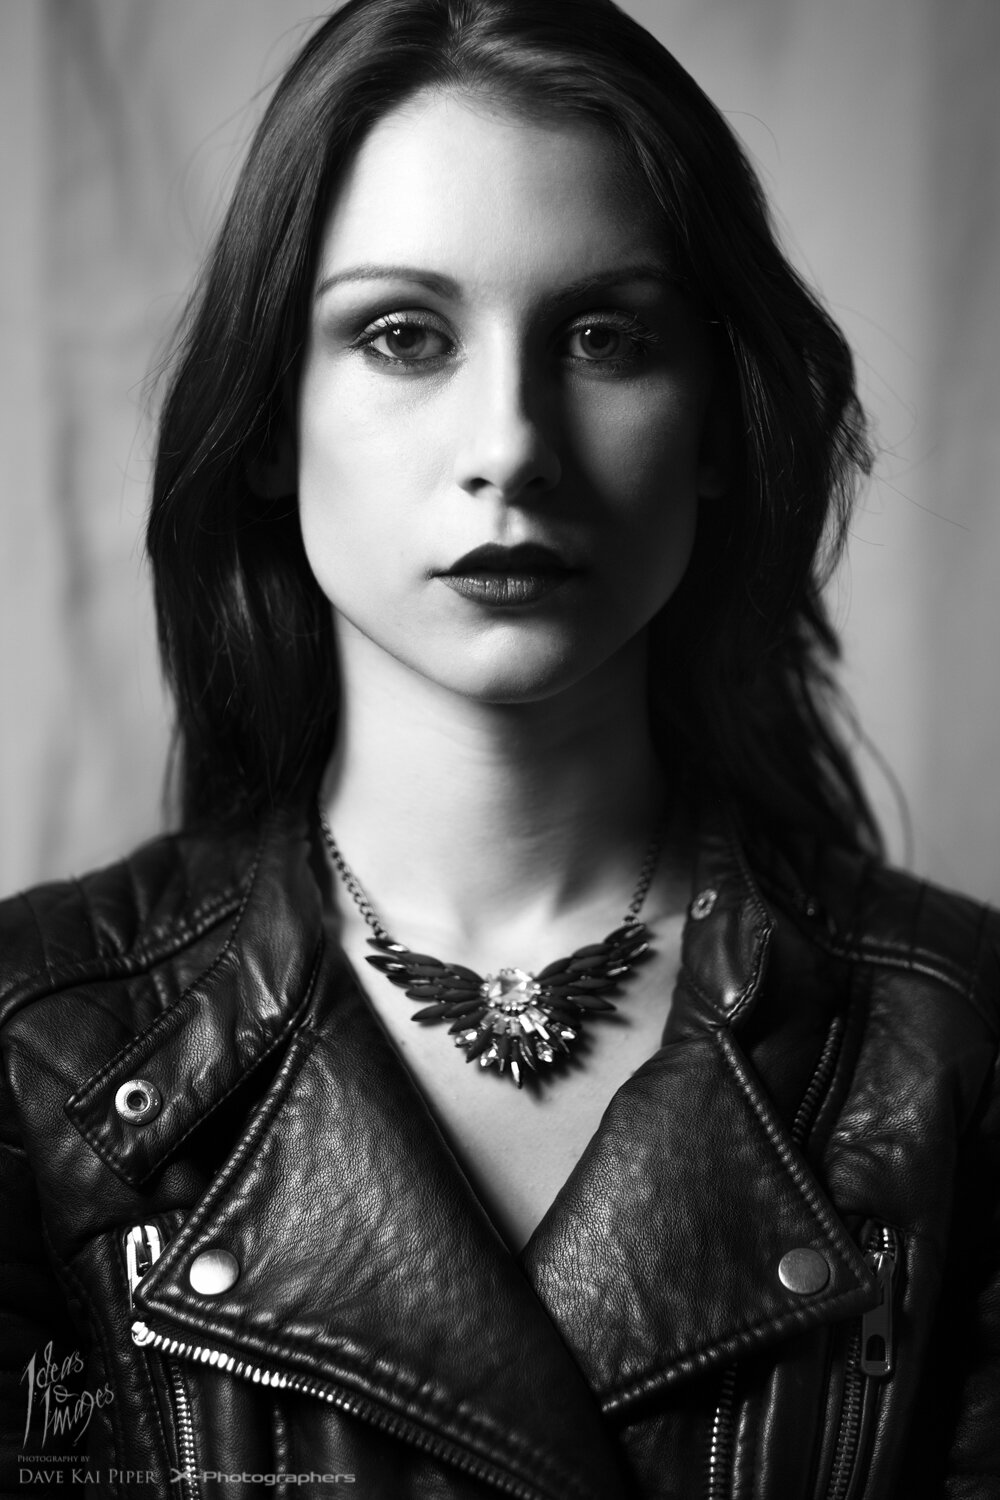
125th, iso320, Fuji X-T1, 56mm APD, F1.6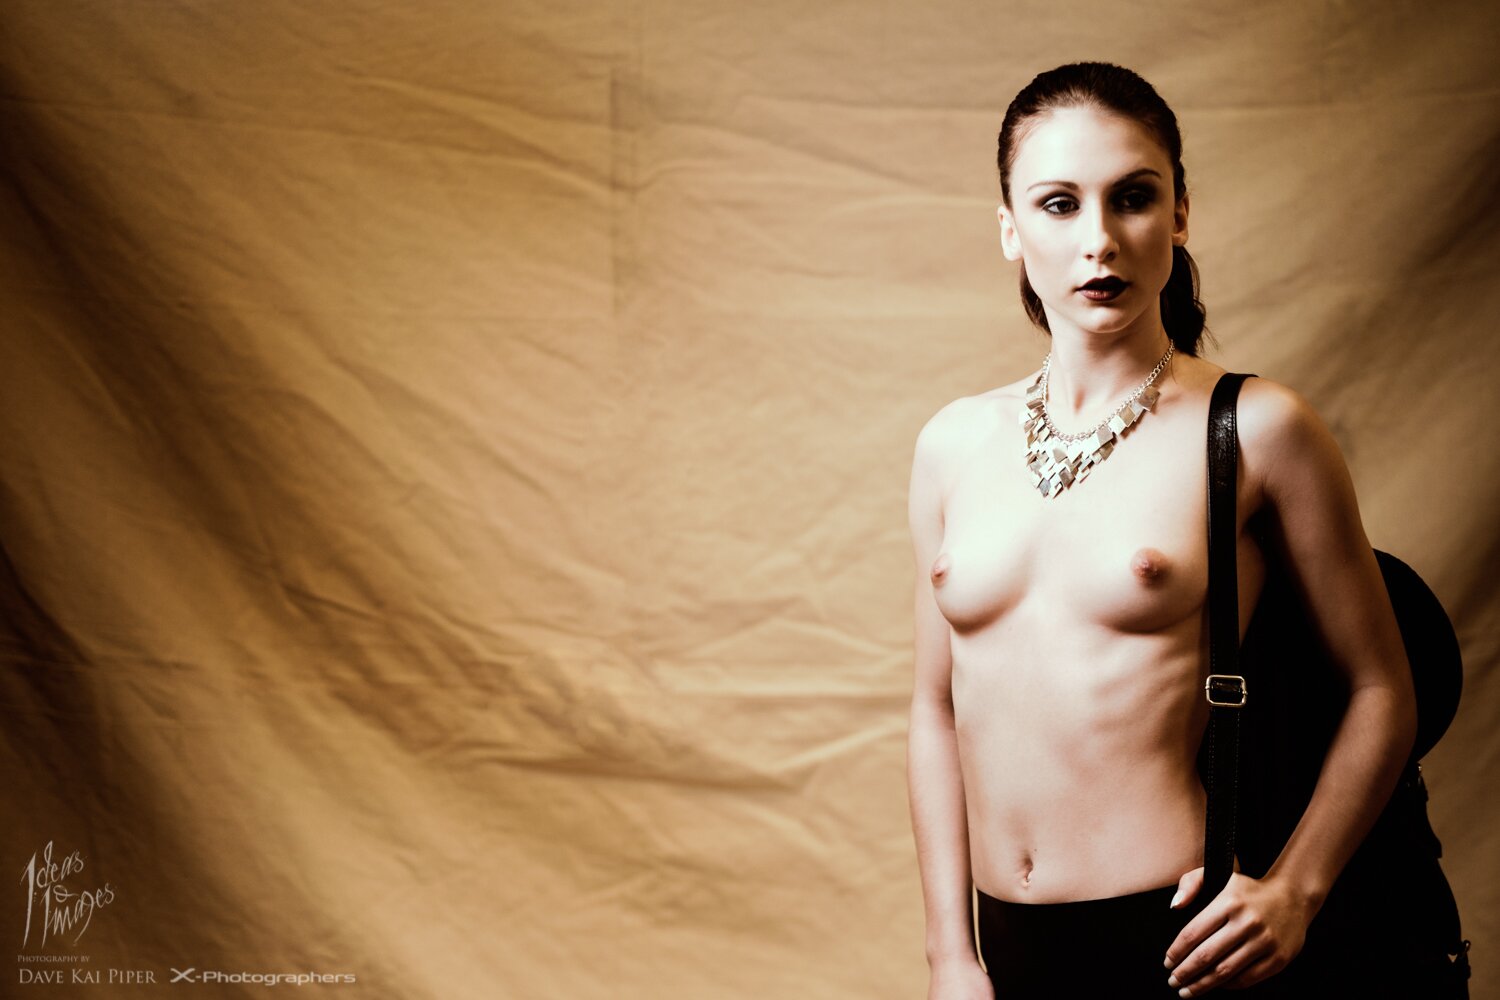
Here are a few links to help you find some of the stuff mentioned in this blog post, also remember to sign up for the newsletter which can be found here.
The post Calumet Workshop – Lighting workshop. appeared first on Photography by Dave Kai Piper.
]]> https://ideasandimages.co.uk/calumet-workshop-lighting-workshop/feed/ 0 A few days ago I was up at Nottingham & Notts Camera club, I was asked to do a talk on some workflow stuff. The main focus was on the differences between Photoshop and Lightroom. It’s a little old now – as it was written in 2013 – but this blog has a great […]
The post Photoshop v’s Lightroom appeared first on Photography by Dave Kai Piper.
]]>A few days ago I was up at Nottingham & Notts Camera club, I was asked to do a talk on some workflow stuff. The main focus was on the differences between Photoshop and Lightroom.
It’s a little old now – as it was written in 2013 – but this blog has a great summery of the Lightroom V’s Photoshop thing – click here. The blog post pretty much covers the basics – Lightroom can do pretty much everything you would ever need to do to a photograph regarding photography or photographic principals. When you get into the realm of digital manipulations or details pixel level editing – this is where moving the files from LR to PS might be a good idea.
We starter out by looking at the wider workflow I use ( more info on that here ) from the capture stage all the way though to my blog and back again.
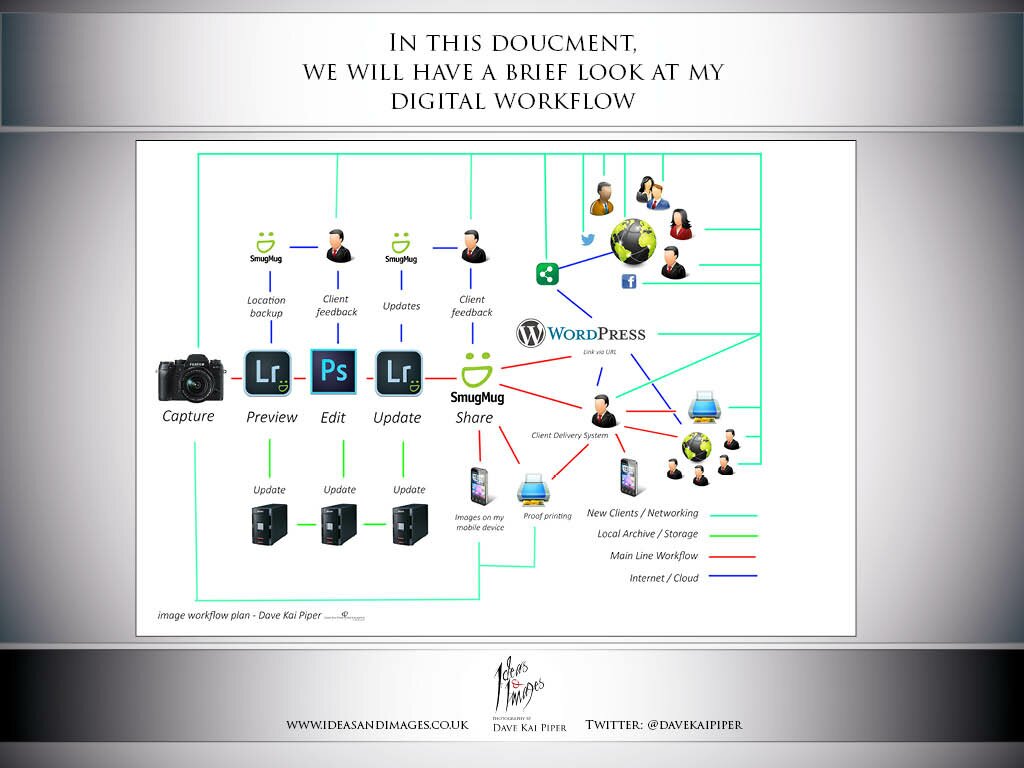
Lightroom & Photoshop are different programs, build from the ground up to do different things. All though there is a vast amount of cross over for us as photographers – It is worth remembering that Photoshop is built for wide range of users where as Lightroom is built just for us.
Photoshop is known for being very powerful, yet complex to learn yet Lightroom is closing the gap on the amount of functionality and range of tool for the photographer too. Below are some examples of images in the raw camera file, after LR & after PS.
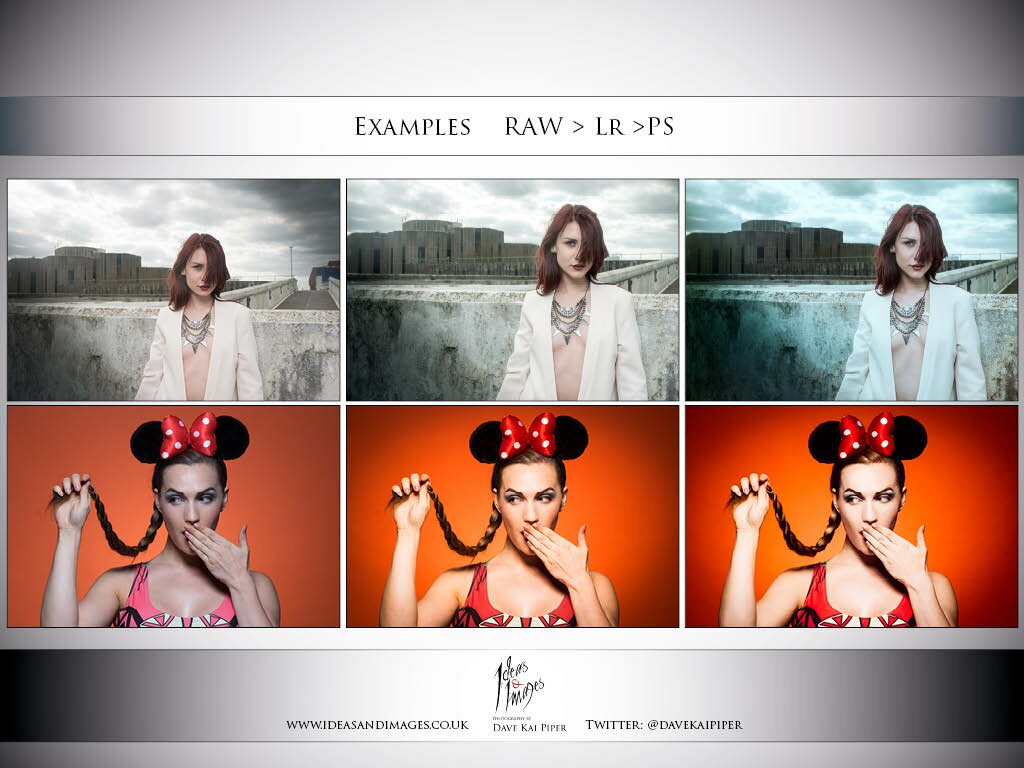
So which program should you use ?
There is no right or wrong answer here, I would encourage people to use the workflow that suits you the best, but knowing if you could work faster, smarter and better streamlined is always worth a thought. Below I have added some images from part of the slide show looking at the pro’s and con’s of each tool.
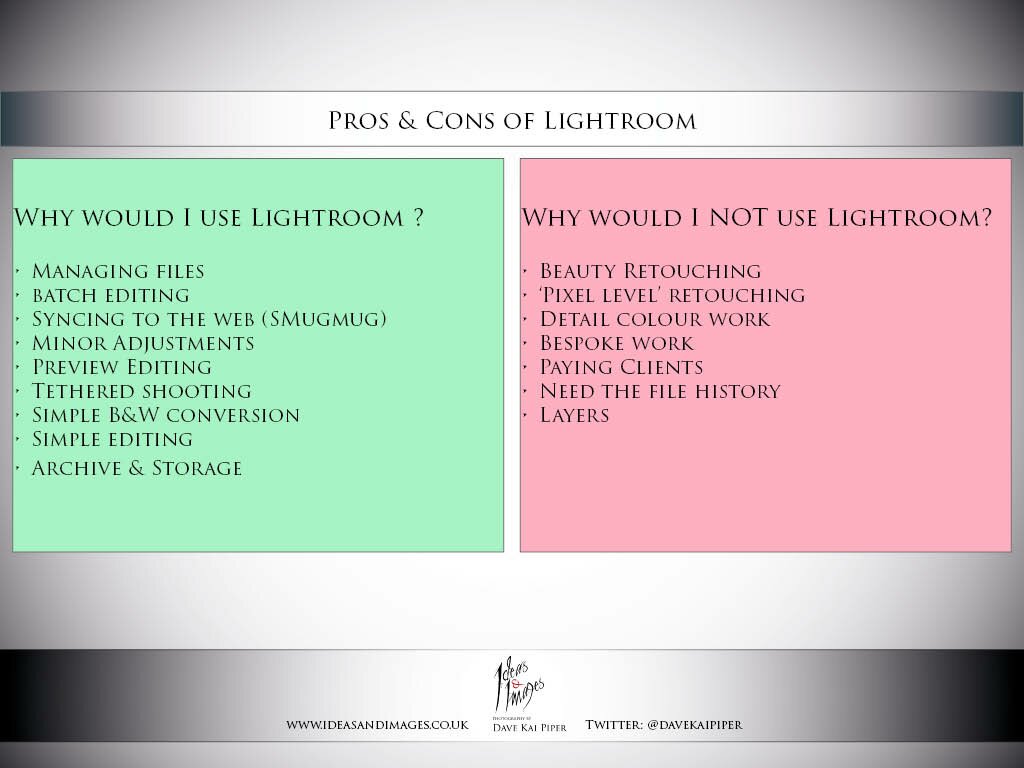
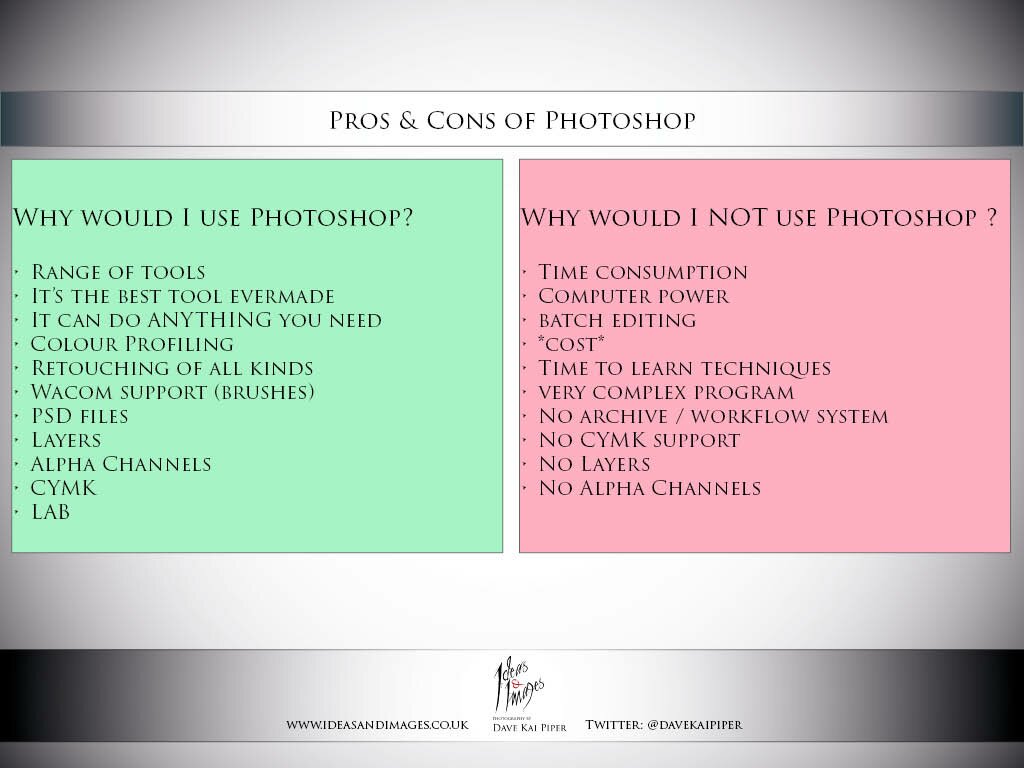
I would like to also draw attention to the PSD file. It really is a super amazing file format and the bedrock of the Adobe workflow. The concept of the PSD file is backed up by the concept of a ‘non-destructive’ workflow that Photoshop can provide – giving you maximum control, flexibility and ease of workflow
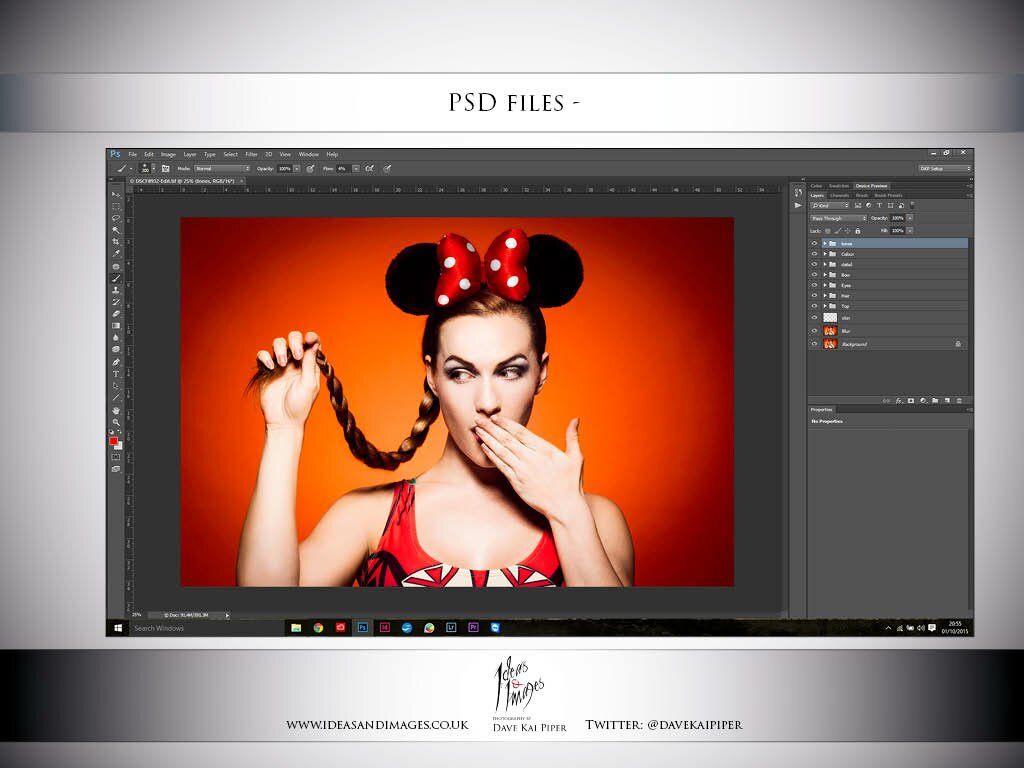
If you want to check out more about my retouching – check out this link –
Here are a few links to help you find some of the stuff mentioned in this blog post, also remember to sign up for the newsletter which can be found here.
The post Photoshop v’s Lightroom appeared first on Photography by Dave Kai Piper.
]]> https://ideasandimages.co.uk/photoshop-vs-lightroom/feed/ 0 What an amazing couple of days! Huge well done to Alan Raw (photographed below introducing the HIP Photography Festival) & his group of hard working fellow volunteers, staff and photographers to put on such an amazing event. Really looking forward to watching this event grow and grow like it undoubtedly will. It was super nice […]
The post HIP Photofest, Dev Tank Talk & Single Light Shooting appeared first on Photography by Dave Kai Piper.
]]> What an amazing couple of days! Huge well done to Alan Raw (photographed below introducing the HIP Photography Festival) & his group of hard working fellow volunteers, staff and photographers to put on such an amazing event. Really looking forward to watching this event grow and grow like it undoubtedly will. It was super nice to see such a large involvement and body of work on display from the young photographers too. Check this link out for more about the HIPclub JuniorsIn two years Hull will been named City of Culture for 2017. Alan and his team have been tasked with growing this yearly event into something fitting for the year long event which will see many different types of art & culture based events. This blog is a quick round up of my weekend in Hull at the International Photography Festival as things start to grow over the next two years.
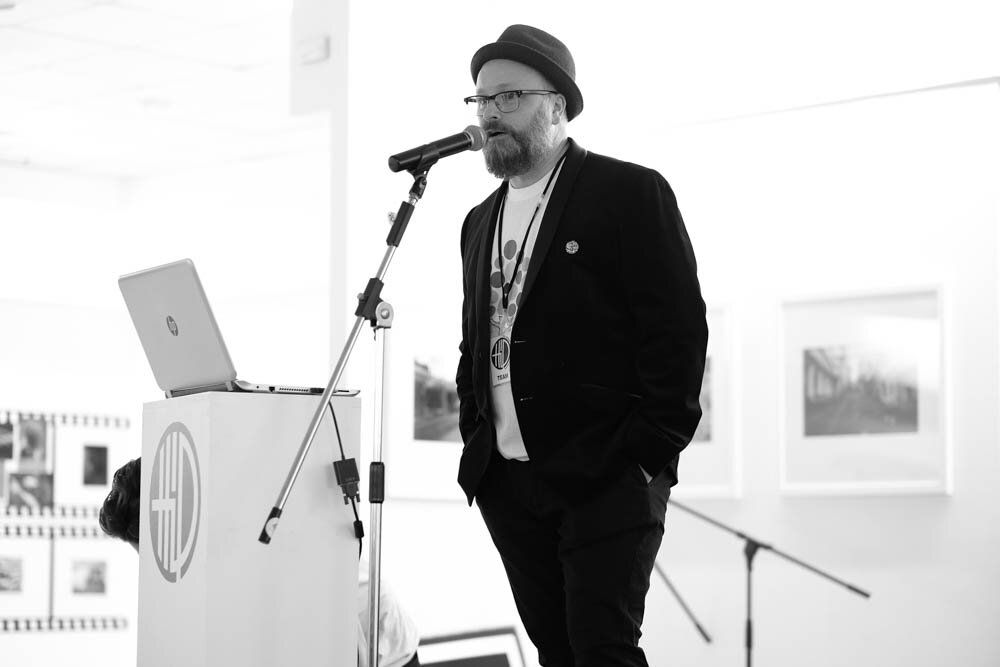
Big thank you to all the amazing photographers who came down, spent time talking, chilling out and contributing thoughts & energy into the event. Having such photographers & patrons as Brian Griffin, Frieke Janssen, Matt Finn, John Bulmer, Peter Dench, Greame Oxby & Ami Barwell gave Hull International Photography festival the start it should have. For me, a personal highlight was taking part in a round table panel looking at the ‘Future of Photography’ with the patrons led by the Artistic Director of the festival Graeme Oxby. Having such a wide & deep knowledge base to call up, the group was able to offer up some very insightful thoughts about the past and present state of the community and industry in which we love. I believe everything was recorded and I think it might appear on the HIP Festival website at some point. Facebook/ Website
Below: John Bulmer talking about is books, life and work. Photo: Stephie Rebello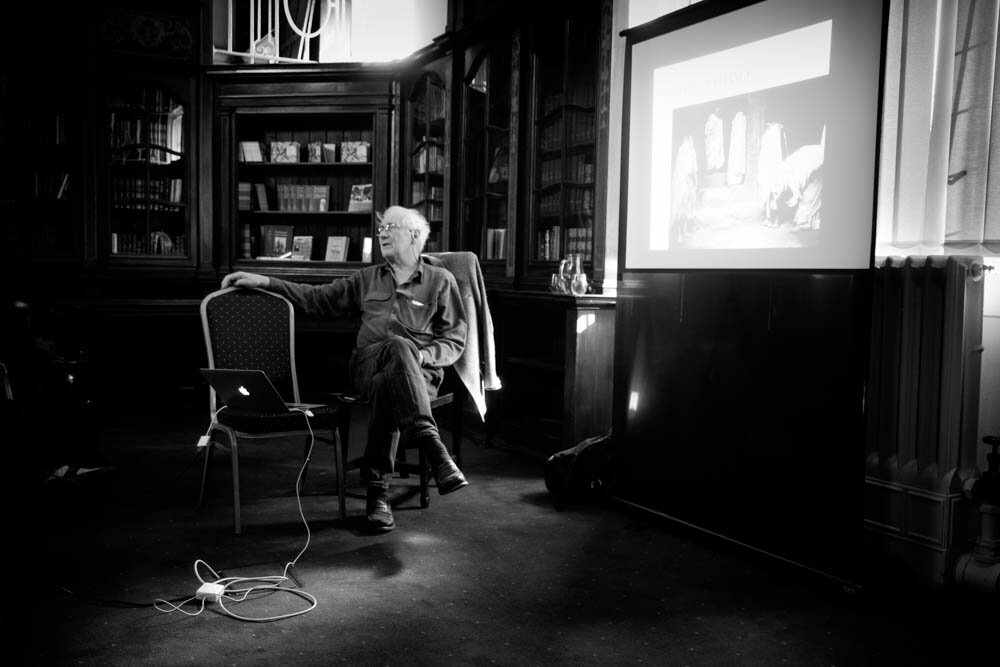
As a side note, It was personally wonderful to sit down with and share a coffee with these amazing photographers and it does still seem a little odd to of had my name lined up with these amazing people – many of which have single handedly shaped the photography world we have today. John Bulmers talk at the Hull Library was incredibly inspiring to say the very least with the added bonus that he is a Fuji fan too ! We picked up a copy of his first book ‘The North’ which he signed to go along with the book we also picked by Peter Dench (signed too I might add). Great to catch up with Matt Hart too. He was talking just before my trip on stage at the show.
Frieke Janssen talking about her STUNNING work + values of undertaking personal work.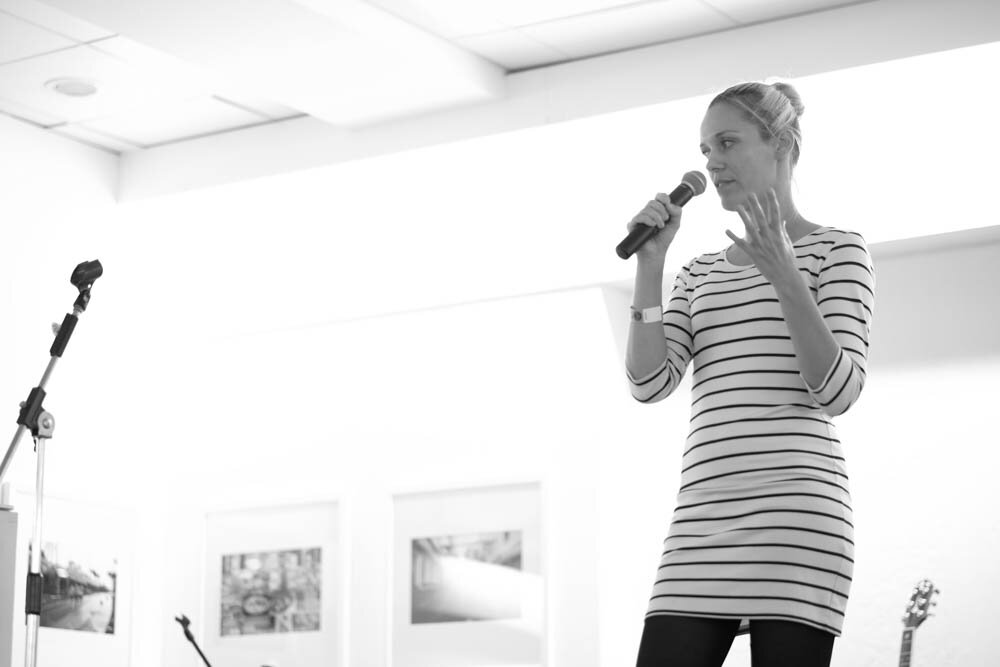
Matt Hart talking about all things Street.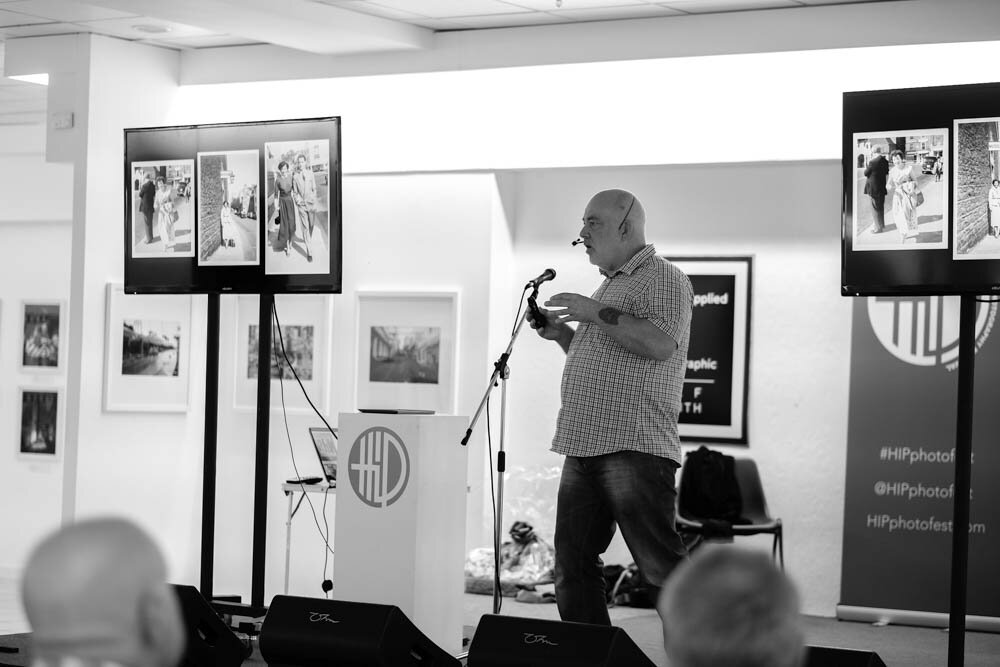
Check out these links:
John Bulmer: www.johnbulmer.co.uk
Brian Griffin: www.briangriffin.co.uk
Frieke Janssen: www.frieke.com
Peter Dench: www.peterdench.com
Graeme Oxby: www.graemeoxby.com/
Ami Barwel: lwww.musicphotographer.co.uk/
Below: Dev Tank Talk. Photo: Stephie Rebello
You can view PDF that was used during the talk here– Thank you to Matt Hart for shooting the shots of us on stage.
Shooting kit: 3 Legged thing, Lee Filters, Fuji X-T1, TeatherTools, Cactus & RoundFlash
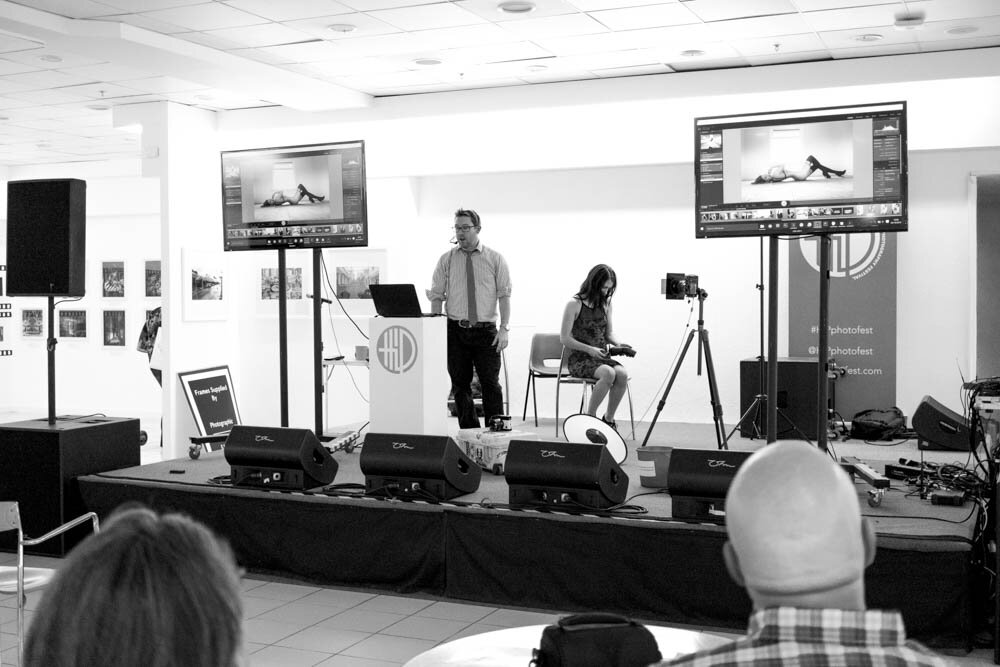
One of my contributions this year (aside from the Dev tank) was to provide a 45min talk on some of the simple lighting techniques I use regularly. Using my Fuji X-T1 tethered to my laptop , Stephie and I created the 3 main portrait lighting types that I use most often, these being Rembrandt, butterfly & split lighting. We also looked at the difference from broad lighting and short lighting. Below are the key elements from the slideshow I used during the short seminar, below those are some of the images that we shot live on the stage using the Cactus RF90 Flash with the Roundflash modifier.
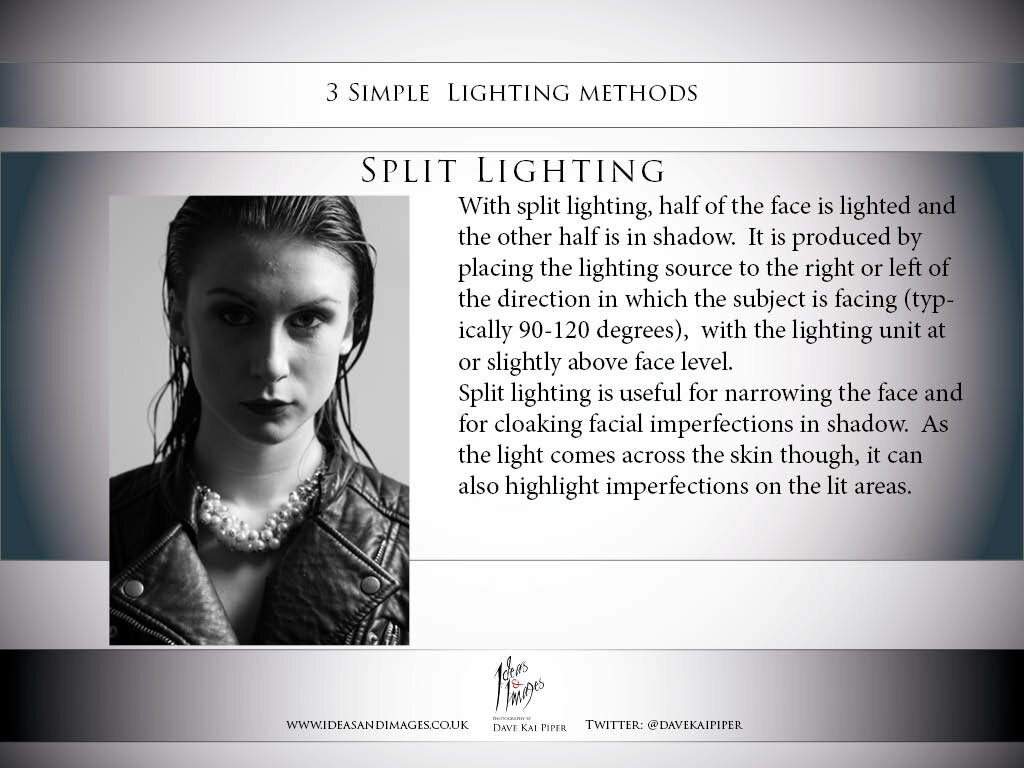
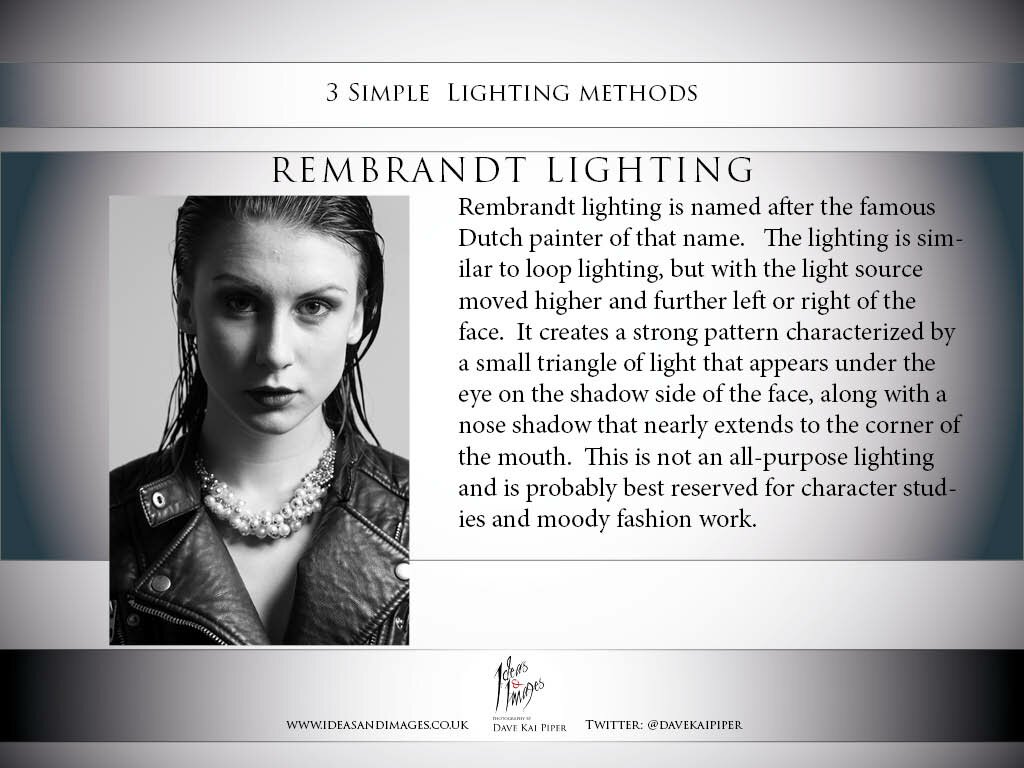
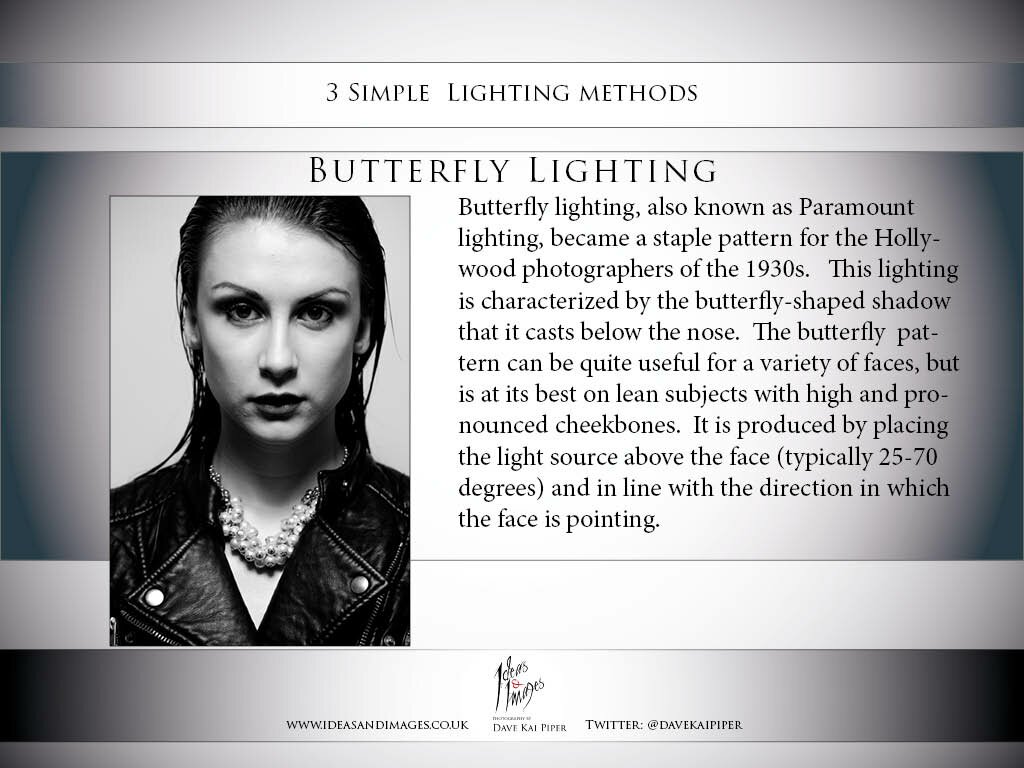
The use of the dual ND Grad filters was and is always a topic which gets asked about in the Q&A sessions after or during the demos (click here for a fuller blog on this).
During the demo I showed how I expose for the background & use ambient lighting to enhance the mood and story elements, used the flash as an additive means to light the subject. Then showed how the filters are used with the mattebox to shape, tone, finish the images. As the images were show live on the stage, a moment was also taken to show how they are pulled into Lightroom with a preset to tone a Monochrome finish. The image in this blog are right out the camera + Lightroom with no other retouching.
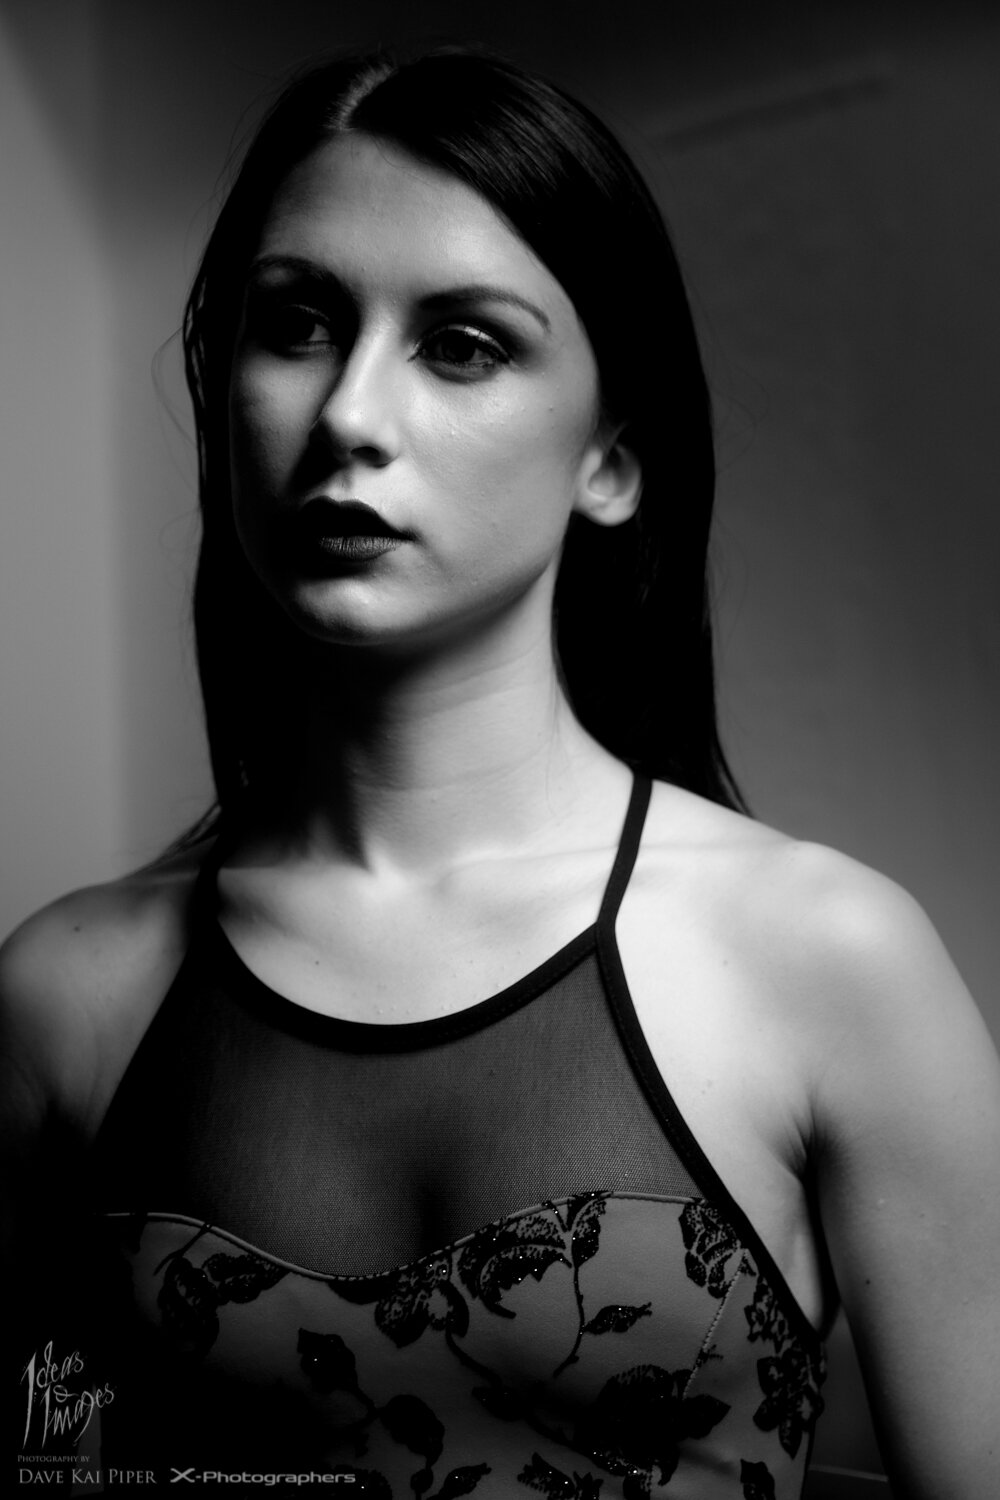
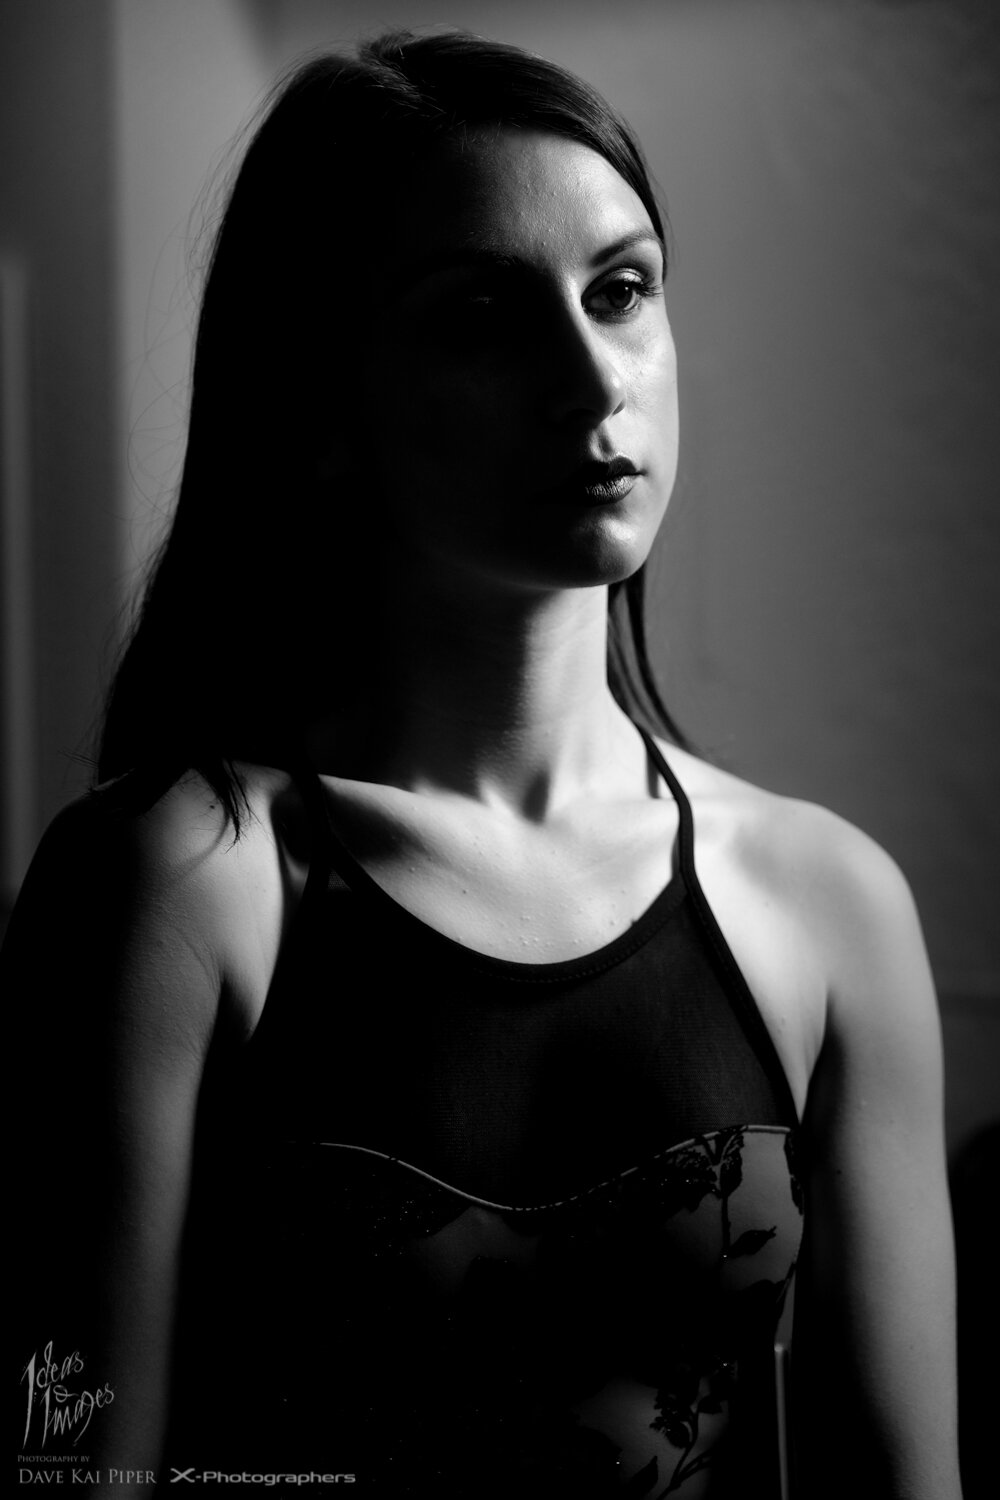
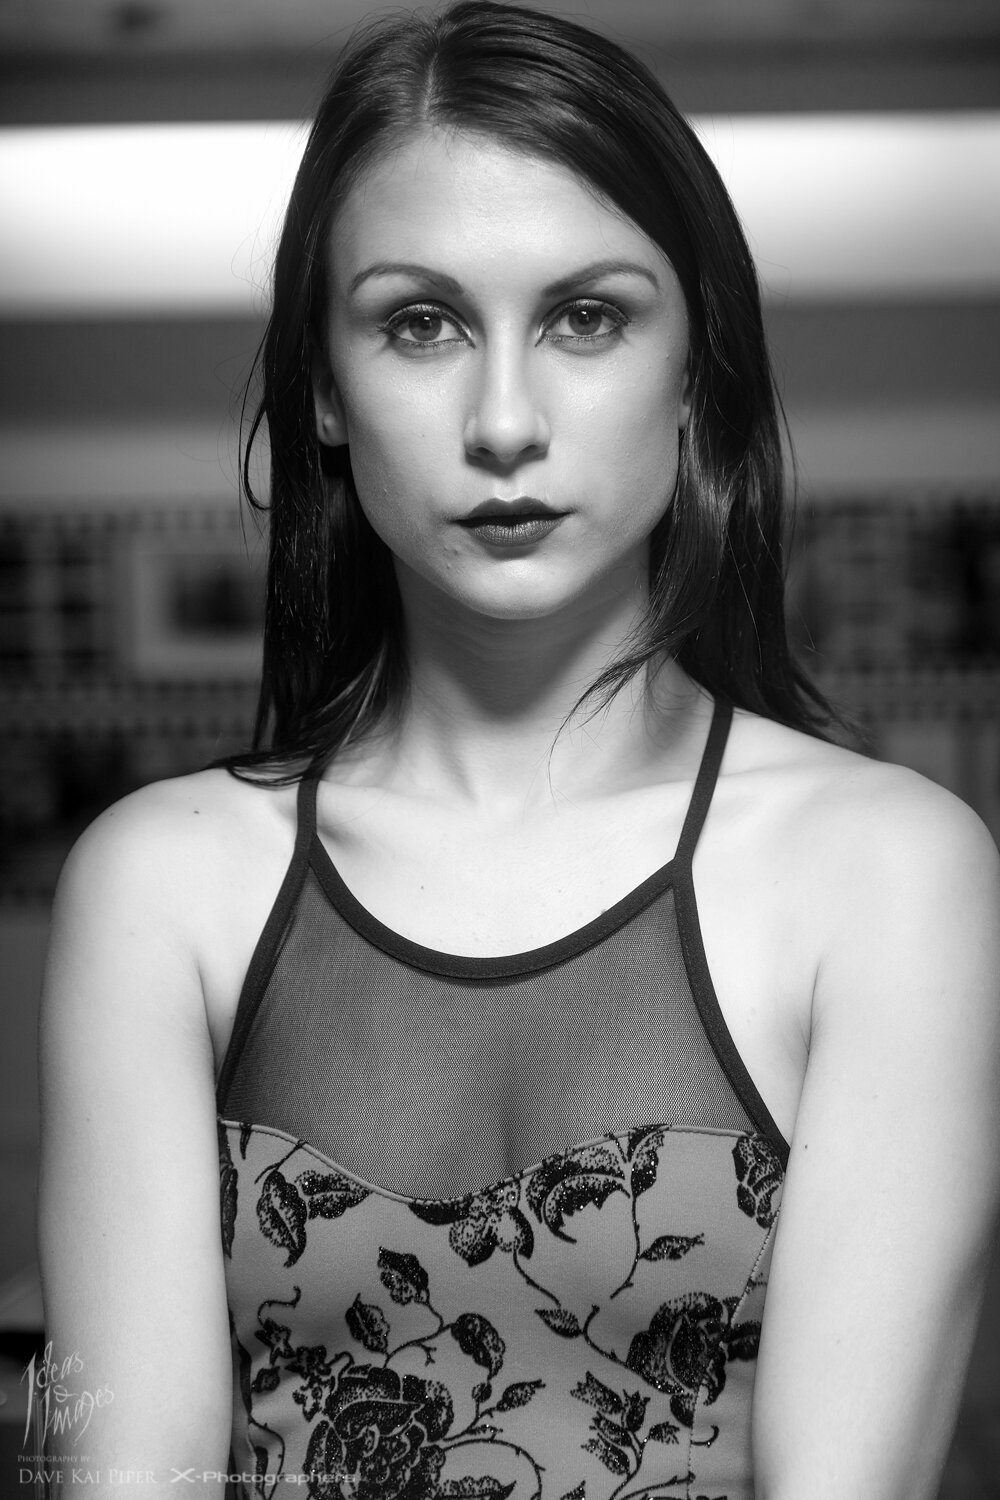
As a fun footnote – during the prep for this talk, Stephie and I had to make the images for the PDF used during the talk (which you can see here).
It’s been a long time since I had been up to Hull, so, Stephie documented the trip, as always, all the images are either taken on a 56mm APD or similer with a Fuji X-T1 or Fuji X-Pro.
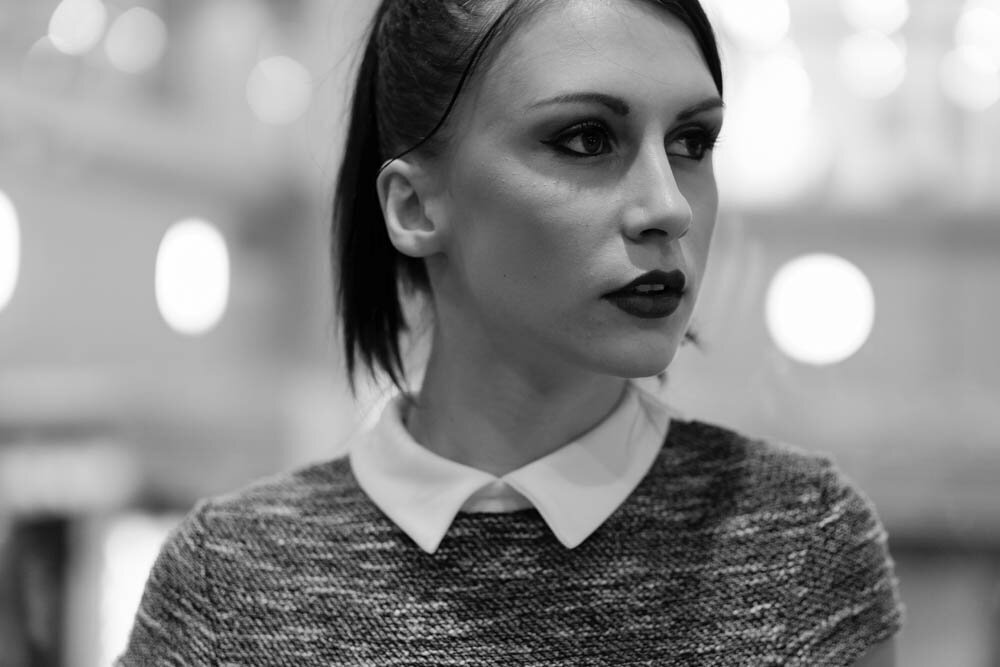
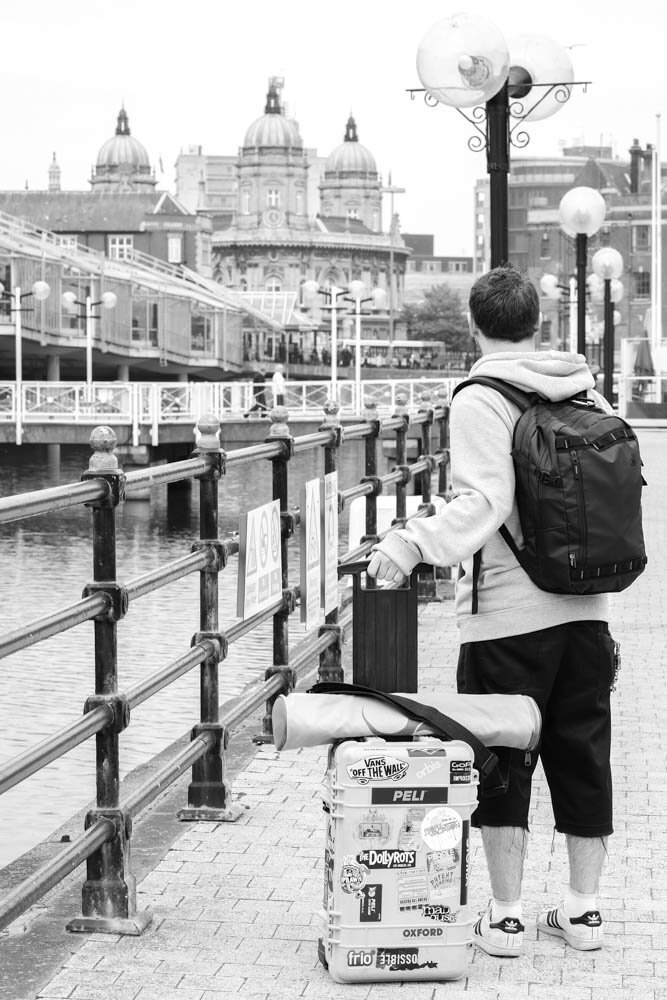
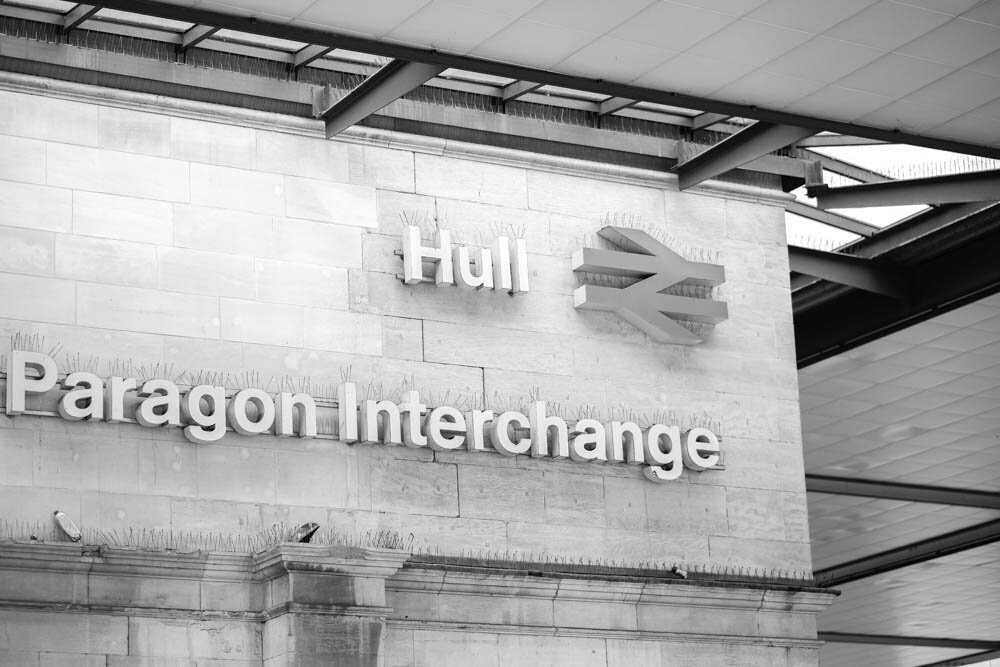
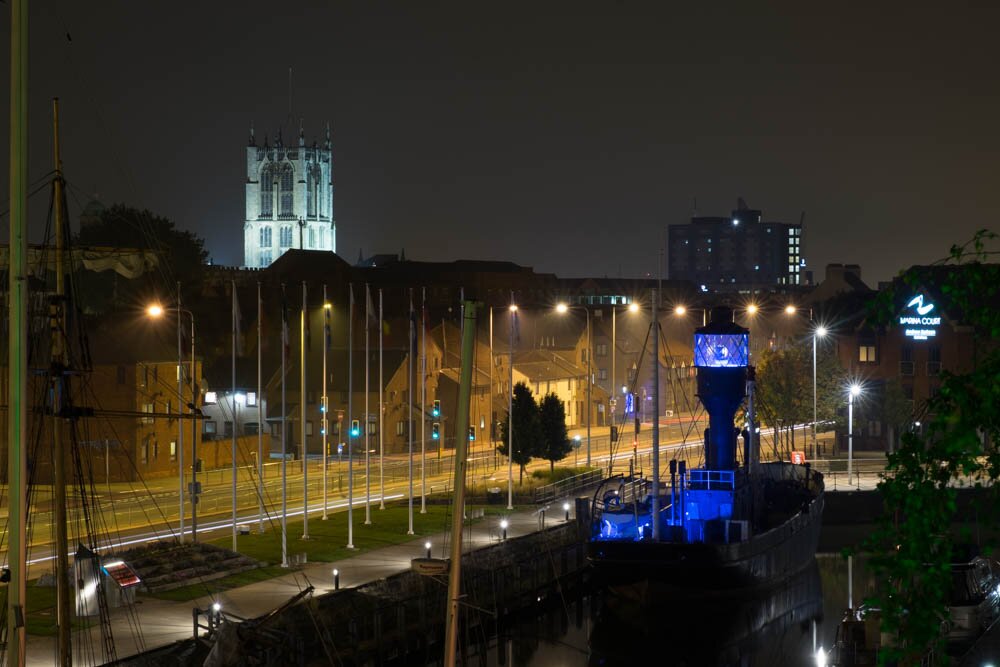
The post HIP Photofest, Dev Tank Talk & Single Light Shooting appeared first on Photography by Dave Kai Piper.
]]> https://ideasandimages.co.uk/hip-photofest-dev-tank-talk-single-light-shooting/feed/ 0 Firstly thank you to Clara – Thank you for having me come down to London again to hang out and cover LFW, always great to meet up ! Check out Clara’s fashion blog here – http://www.thequintessence.co.uk/ During the day we shot some outfits on the streets of London then headed to the Burberry SS 16 show […]
The post Shooting LFW for Clara Sein with the Fuji X-T1 appeared first on Photography by Dave Kai Piper.
]]> Firstly thank you to Clara – Thank you for having me come down to London again to hang out and cover LFW, always great to meet up !Check out Clara’s fashion blog here – http://www.thequintessence.co.uk/
During the day we shot some outfits on the streets of London then headed to the Burberry SS 16 show in Kensington.
#lfw #streetstyle wearing @liskavienna @ysl total #look and @givenchyofficial #clutch for the @burberry #show #love #streetcool #streetwarm #StreetChic #thequintessenceinlondon
one of my favourite #looks from #lfw wearing total @slava_brand #outfit @petarpetrovvienna #pumps @fendi #bag and #scarf both @liskavienna #streetstyle #StreetChic #love #thequintessenceinlondon
This was second time I had gone down to London to cover LFW souly with the Fuji System and the first time shooting catwalk shows since the Fuji firmware updates – and wow, what a difference it makes!
Most the day I was shooting moving subjects, but only tracking one element in the image, shooting the Burbury catwalk show as a bit different as I was asking the camera to track one element in the frame while panning and with other moving elements in the frame, I was very surprised how well it coped with this. I was super lucky to get a great place to shoot direct across from Vogue Editor Anna Wintour. Burbury always like to impress and this year was no exception, Alison Moyet sung beautifully with a 32-piece orchestra tastefully dressed in Burberry too as the SS16 collection was worn to thousands of people. Suki Waterhouse, Sienna Miller, Kate Moss, Samuel L. Jackson, Sophie Hunter and Benedict Cumberbatch all enjoyed the show. See if you can spot them all !
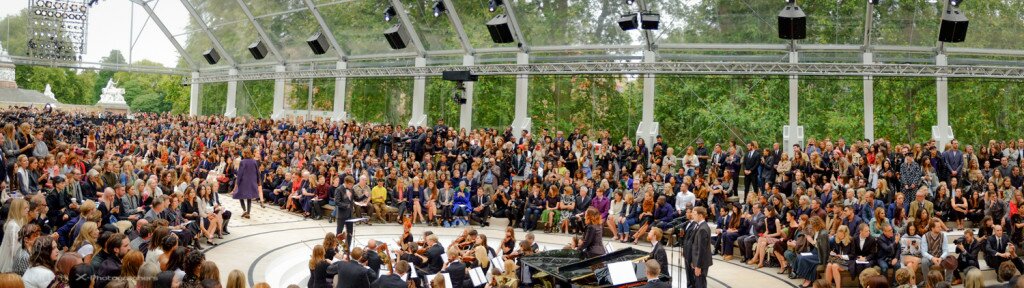
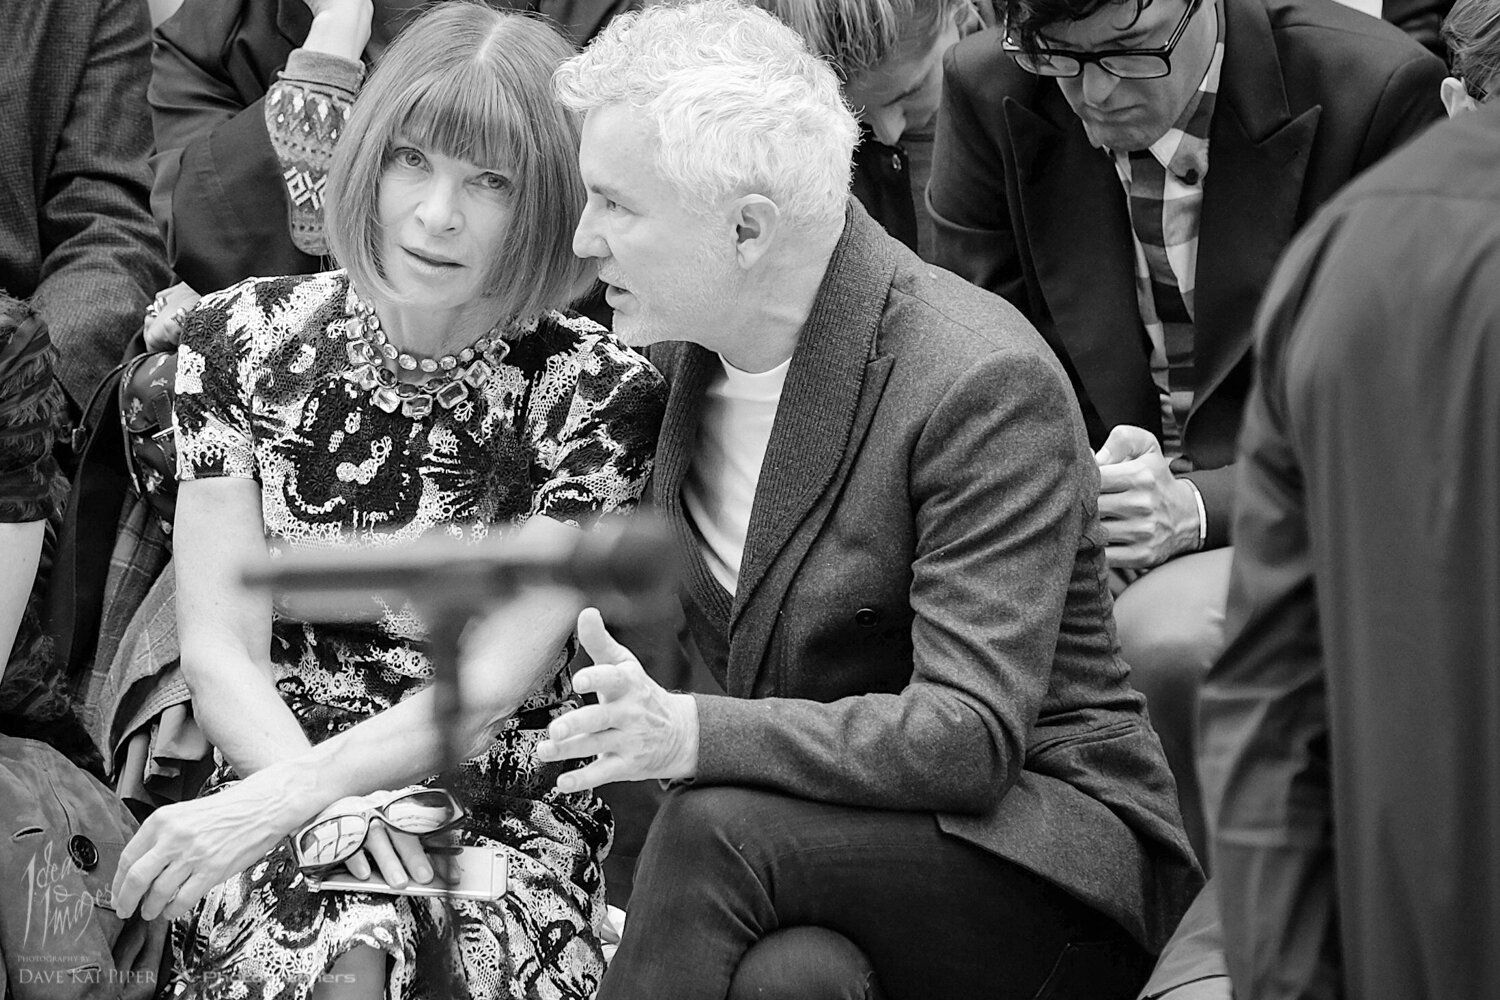
You can tell by this image, most people shooting catwalks are doing so on DSLR’s and all for very valid reasons + check out the Arri Alexa’s that Getty were using to film the show.
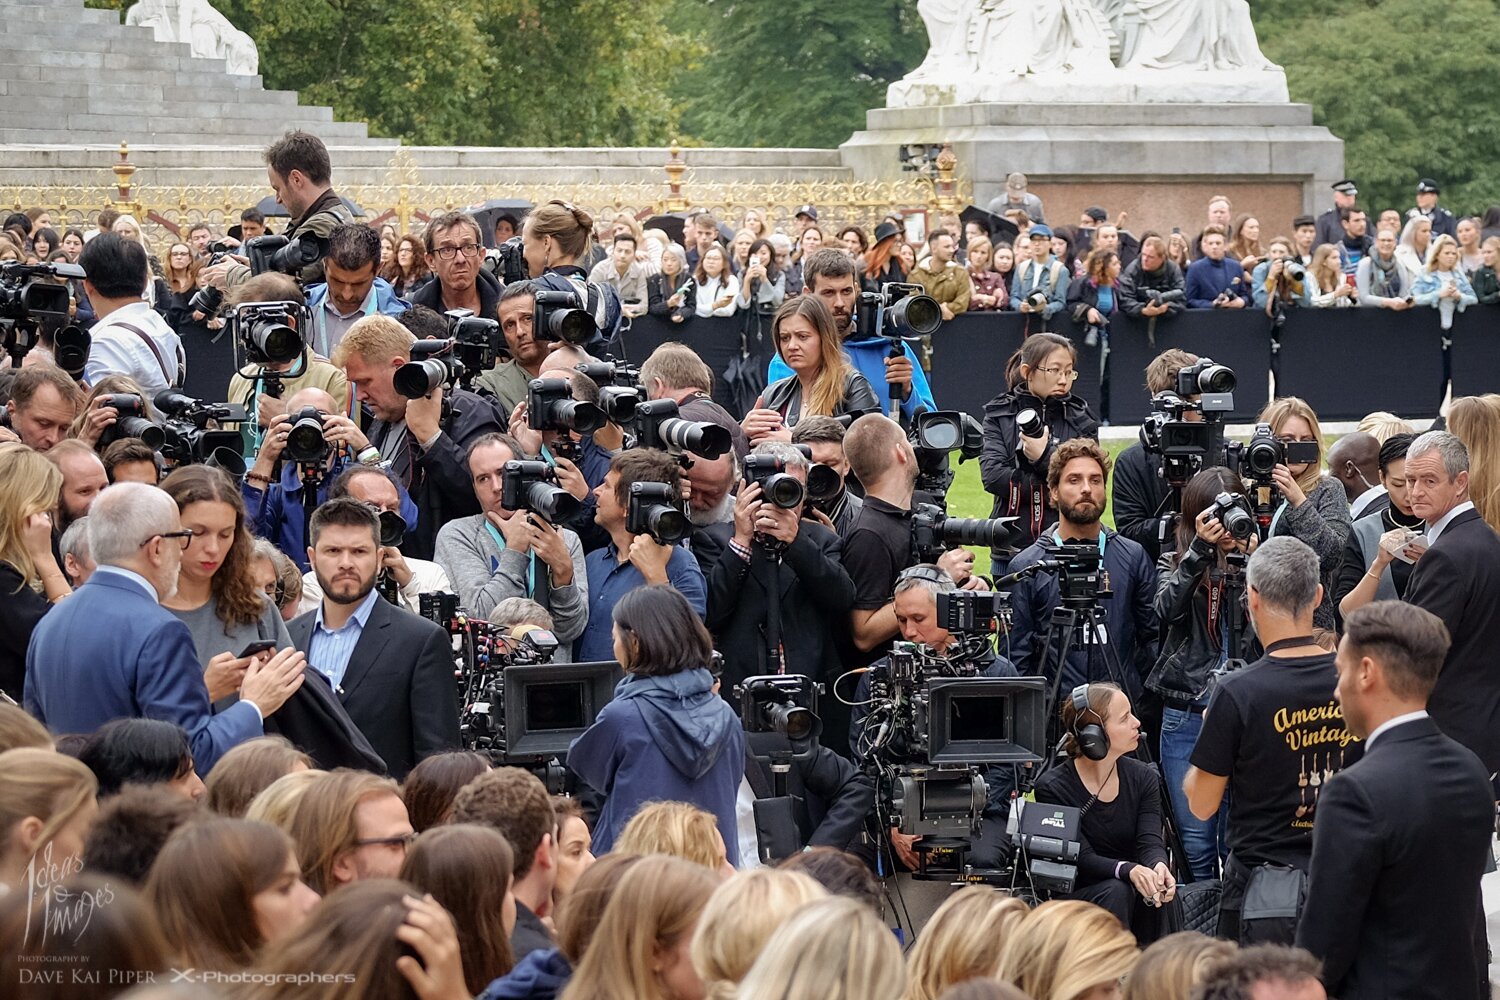
As I started to put this blog together it never intended t be a CSC v’s DSLR review.. but here goes a few things.
The downsides of using the X-T1 for this type of work, after the recent update, is still the burst speed and for many people the lack of TTL. The overall rounded usability of the DSLR system is still more progressed along the lines. In the morning when I set out to London I didn’t know what I was shooting. I got on the train with the X-T1 & X-Pro with the 16-55mm, 50-140mm & 56mm very confident that anything I was tasked to do, the cameras would do get me thought the day with a happy client at the end.
During the 7 hours of shooting, I went though 3 batteries, however I was using the WiFi functions, the long lens with the stabilizing motors working most of the day with lots if image review. These things will wear down the battery quicker. If I was using the D800 I would not of needed more than one battery, but I would not of been able to do the WiFi direct from camera…
During the day, I was shooting Jpeg & Raw to a 280mbs card, but during the catwalk I did hit the buffer limit a few times in the camera. Shooting Jepg I guess was an option, as the jegs are pretty stunning out of camera. Shooting jepg also gave me the chance to send images direct to Clara so she could Instagram the & share the images ‘on the fly’ during the day.
At the moment, for me at least the way the system is working out, I am very happy and continuing to grow in confidence. Last year, the camera did struggle with getting super tack sharp images from moving subjects – after the update – this was vastly different, it was like shooting with a different lens and camera.
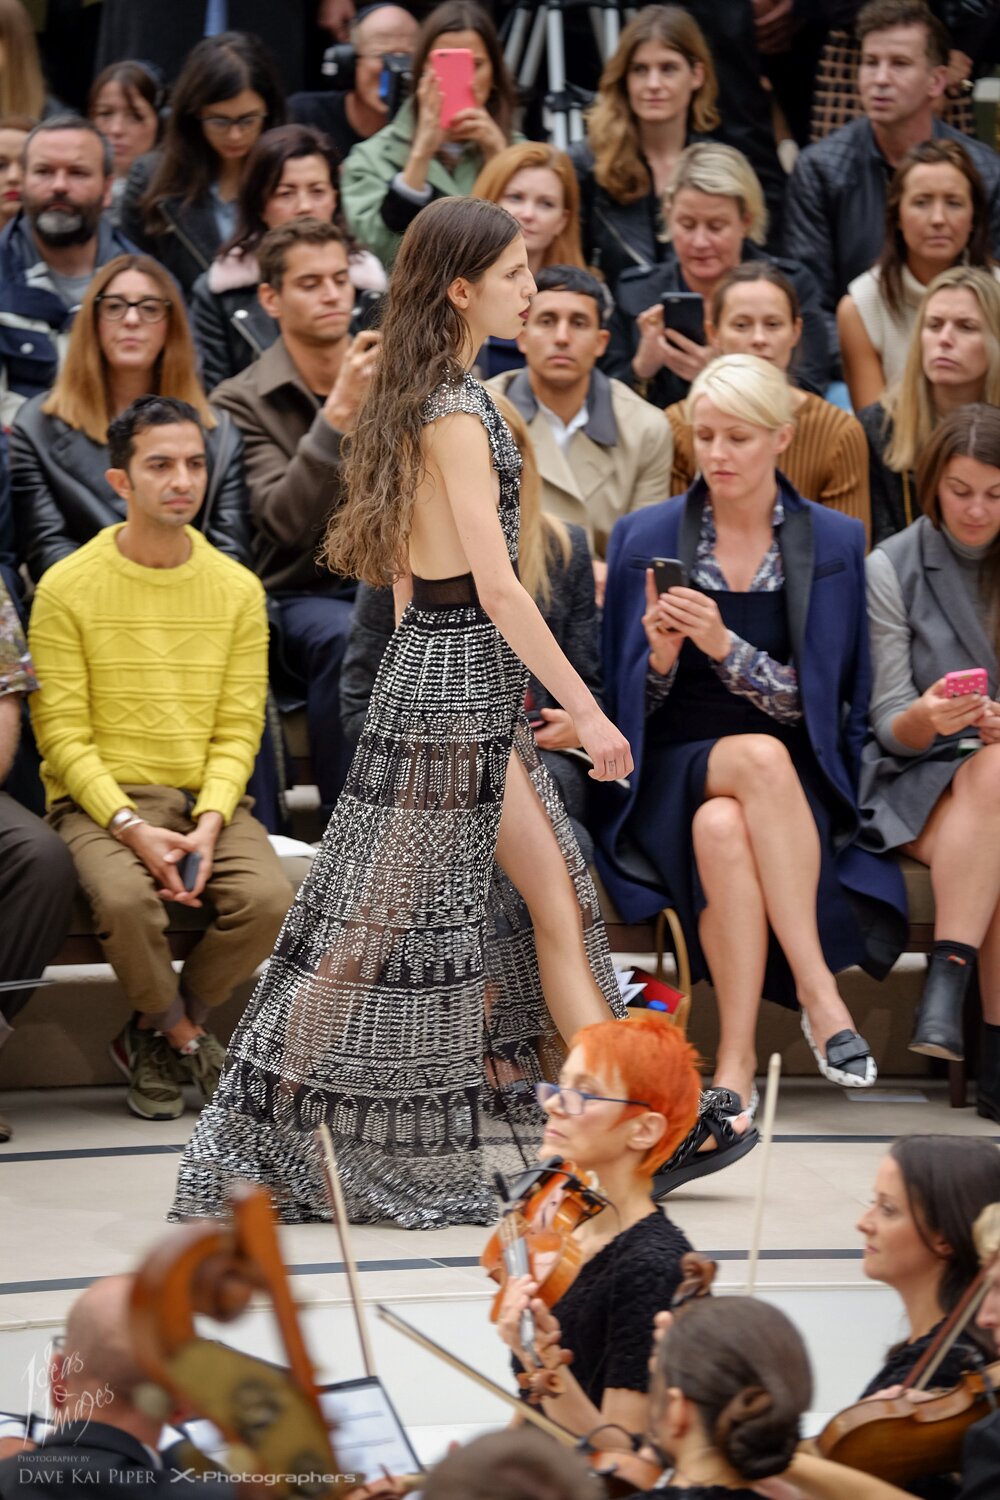
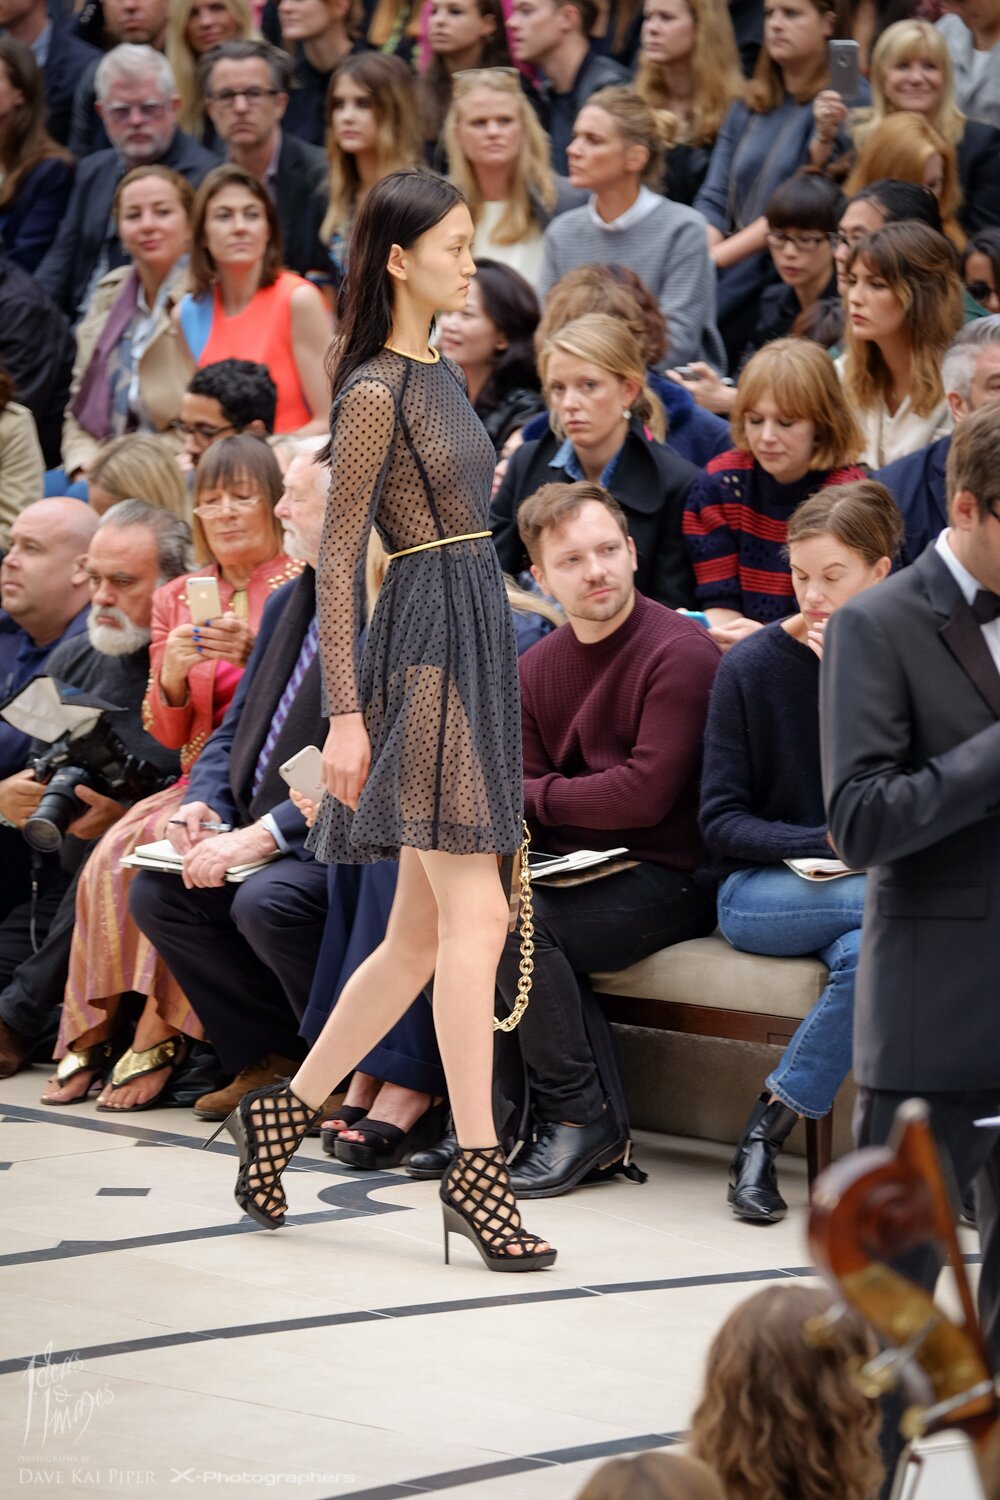
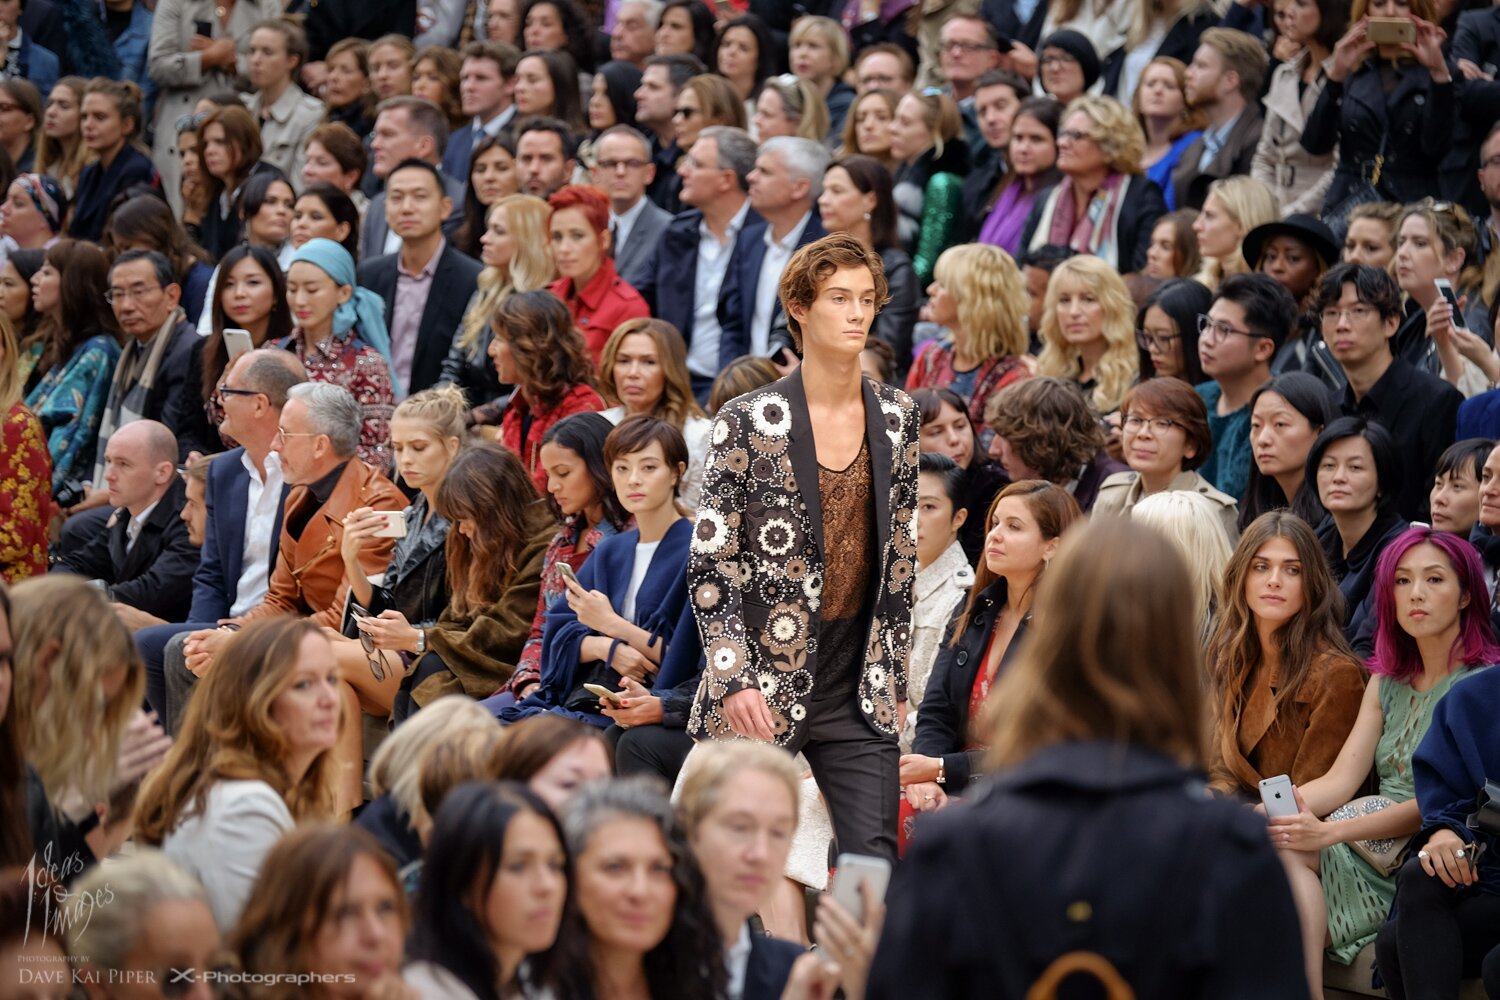
At the end of the day, it is worth saying, with the new firmware updates, the new glass, the ever improving line up, the Fuji system is becoming more and more usable as a working tool across many demanding conditions.
As an interesting note, from last year when I was the only person aside David Beckham to have a Fuji camera at the show, there were far more Fuji cameras & also, I was not the only photographer shooting with Fuji as a work tool that day.
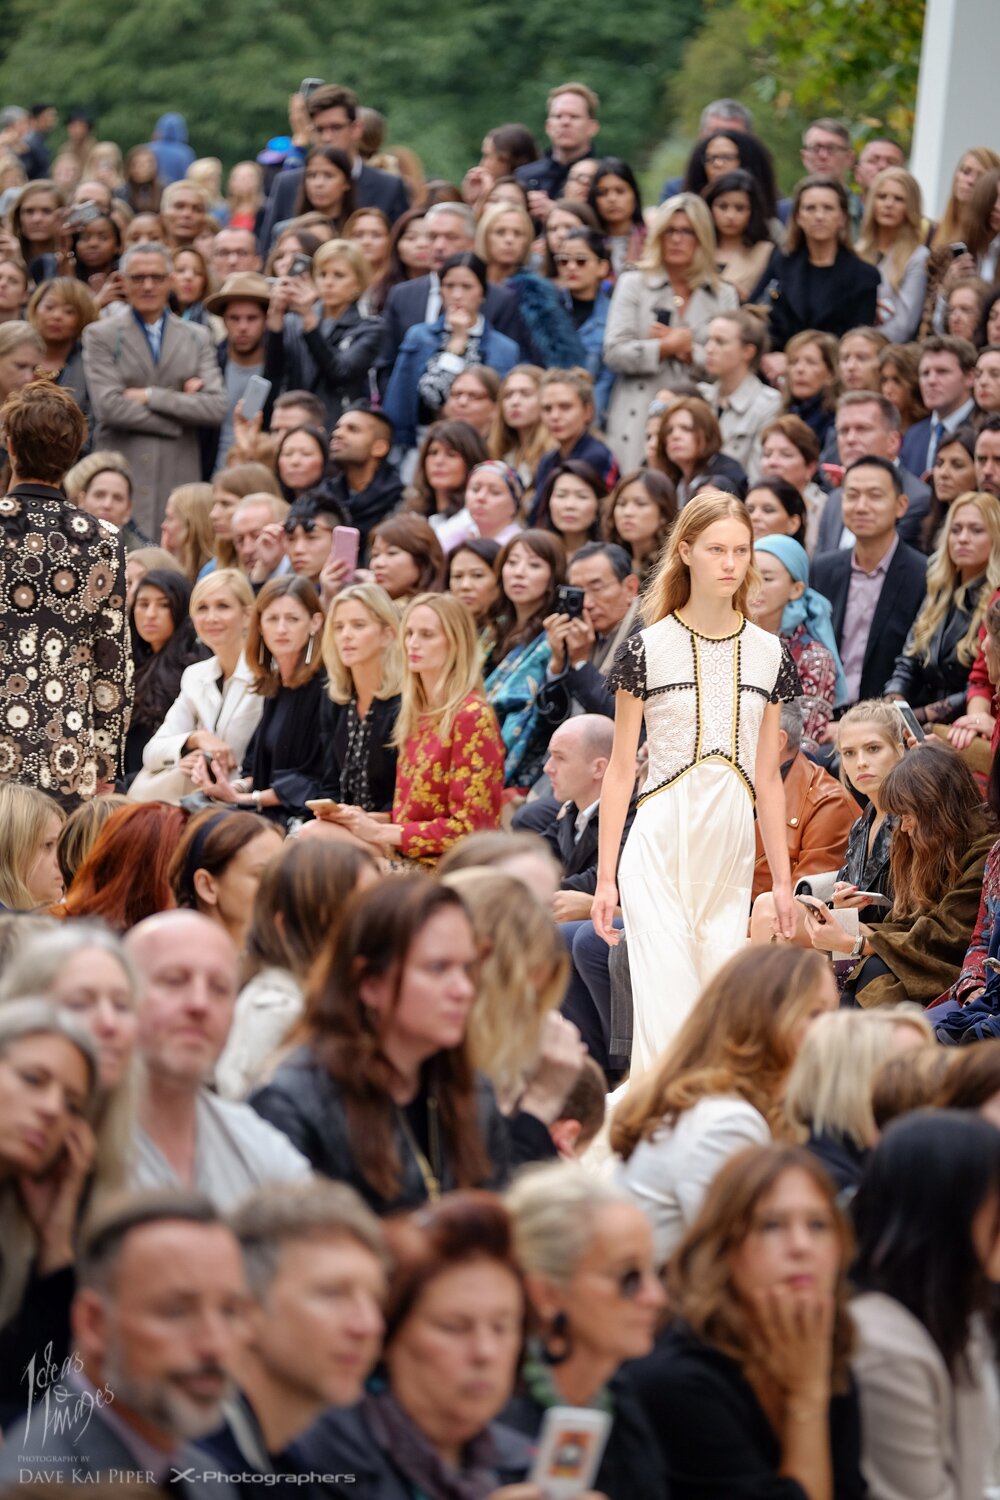
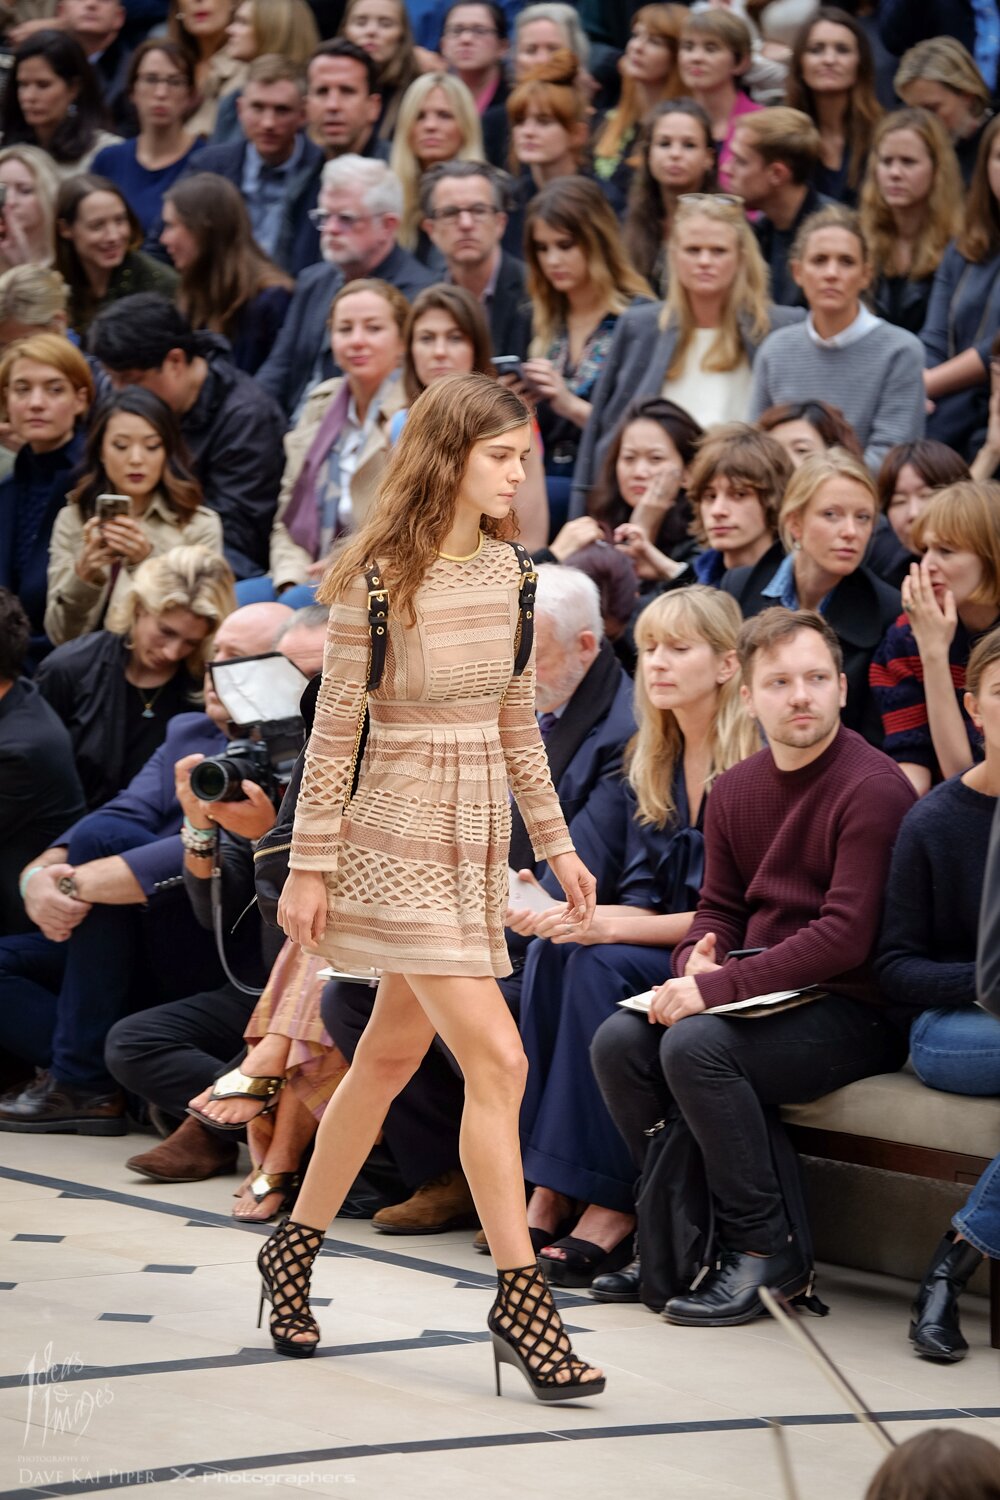
The post Shooting LFW for Clara Sein with the Fuji X-T1 appeared first on Photography by Dave Kai Piper.
]]> https://ideasandimages.co.uk/shooting-lfw-for-clara-sein-with-the-fuji-x-t1/feed/ 0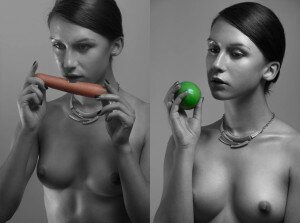 Recently I have been very interested in shooting the super glossy ‘wet look’ make up and jumped at the chance at shooting with Kari Roberts. I did a whole bunch of research on Pintrest and it seems like a bit of an upcoming trend. This was our mood board for the shoot. The lighting set […]
The post Wet Look & Glossy Make up with Kari Roberts appeared first on Photography by Dave Kai Piper.
]]> Recently I have been very interested in shooting the super glossy ‘wet look’ make up and jumped at the chance at shooting with Kari Roberts. I did a whole bunch of research on Pintrest and it seems like a bit of an upcoming trend. This was our mood board for the shoot.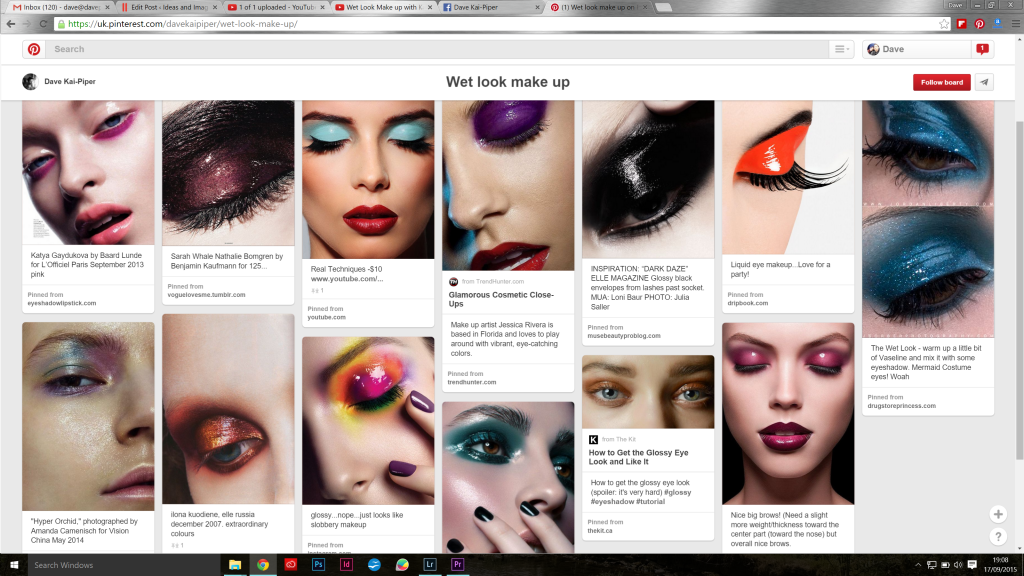
The lighting set up was pretty simple and consisted of a single cactus speed light with a rear light from a 400w Trinity strobe. The Cactus was modified using a Roundflash, which has been a pretty trusted set up of late.
I had always wanted to shoot a set of images using a reflector as a backdrop, so, we thought it would be great to combine the wet look make up and the super shiny back drop for a few images. The image below was using the gold side, which the rest of the images using the silver side.
If you want to watch the editing video of one of the images being ‘photoshoped’ you can do so just below. Most of the editing was to smooth out the skin then just a simple curves and tone changes mostly using the colour look up tables and curves finished the image off. All of the images are done in pretty much the same way but using different LUT’s for each image. If you want to know more about LUT’s just post below and if enough people want a video I might be make one !
Oh, huge thank you to James from Not tonight and the Headaches for letting me use ‘Reasons to Smile’ as the soundtrack for my video. Check them out here
To get the super glossy skin we used Johnsons & Johnsons Baby Oil, but the Gel version. After you let the gel settle into the skin for a while you get a nice sheen but with out the harshness that the normal oil gives you.
I used my Nikon D800 & the Sigma 70-200mm for these shots.
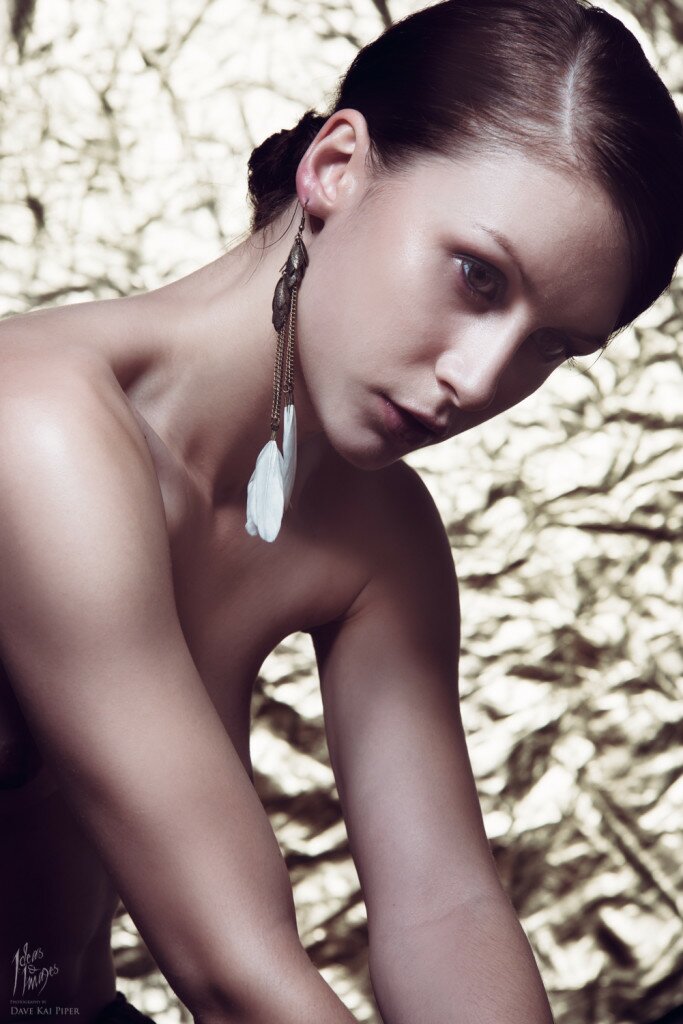
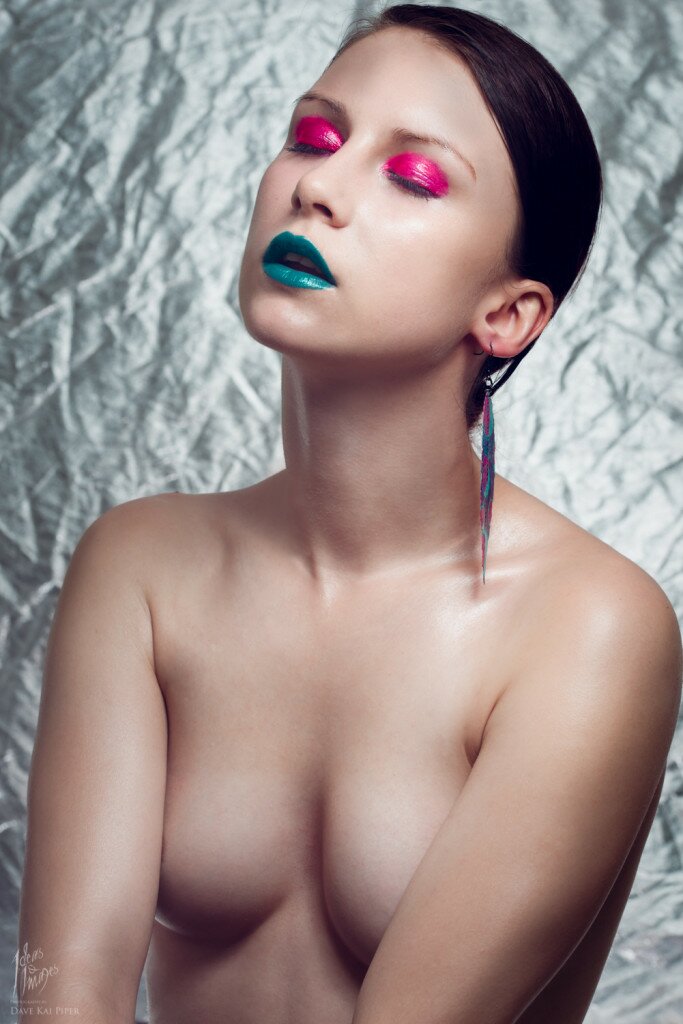
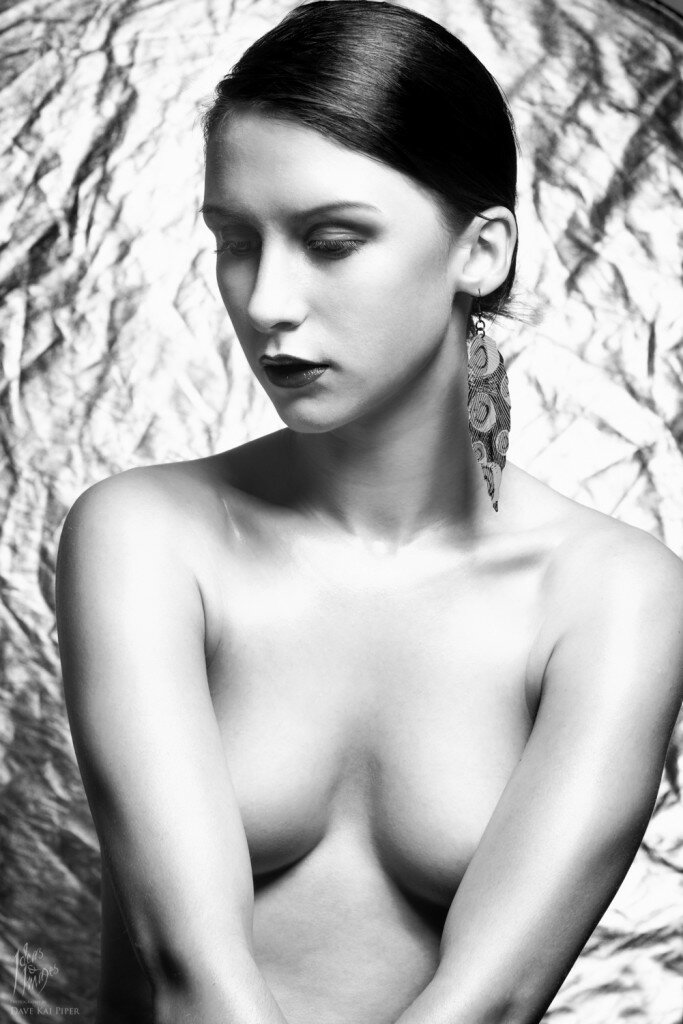
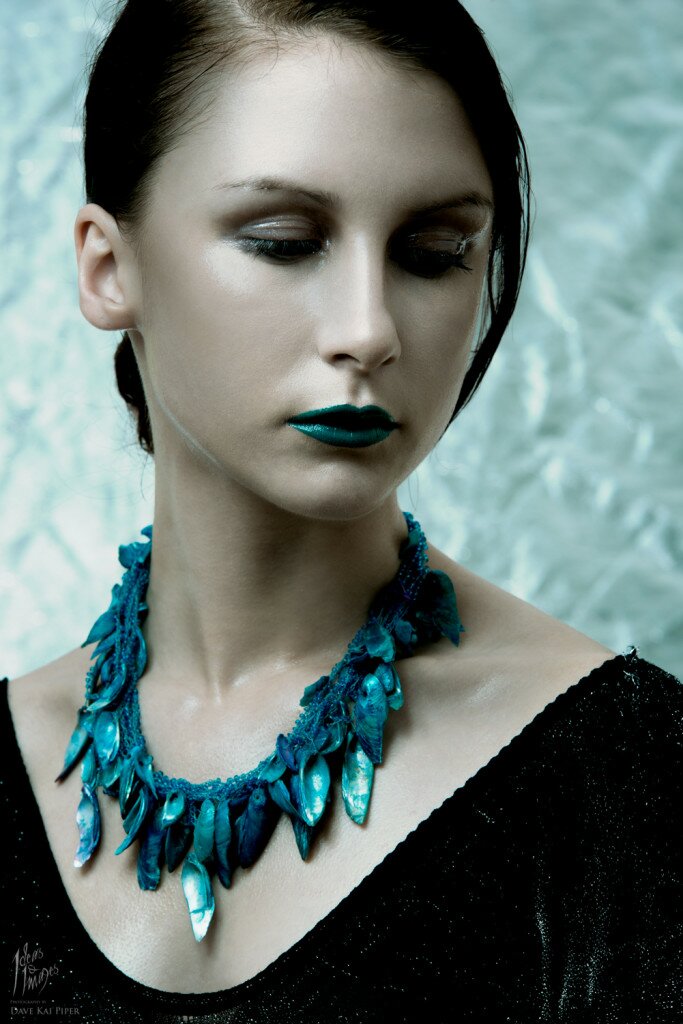
These next few images I have decided to share in a number of edits, as a rule I would urge people to never ‘colour pop’ but, I really quite like how these look – I have posted both versions so let me know what you think in the comments below. As always click on the images and you can see them in a much higher res via my Smug Mug account.
https://ideasandimages.smugmug.com/Archived-Images/Peliroja/
Check out Kari Roberts here: www.kariroberts.co.uk
Check out Pelioja’s portfolio here: http://purpleport.com/portfolio/peliroja/
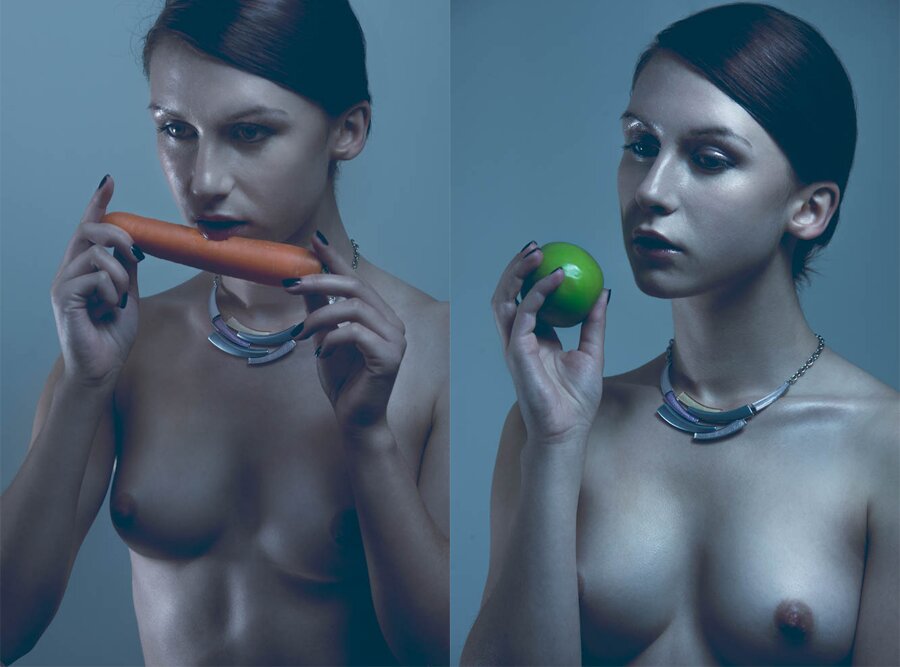
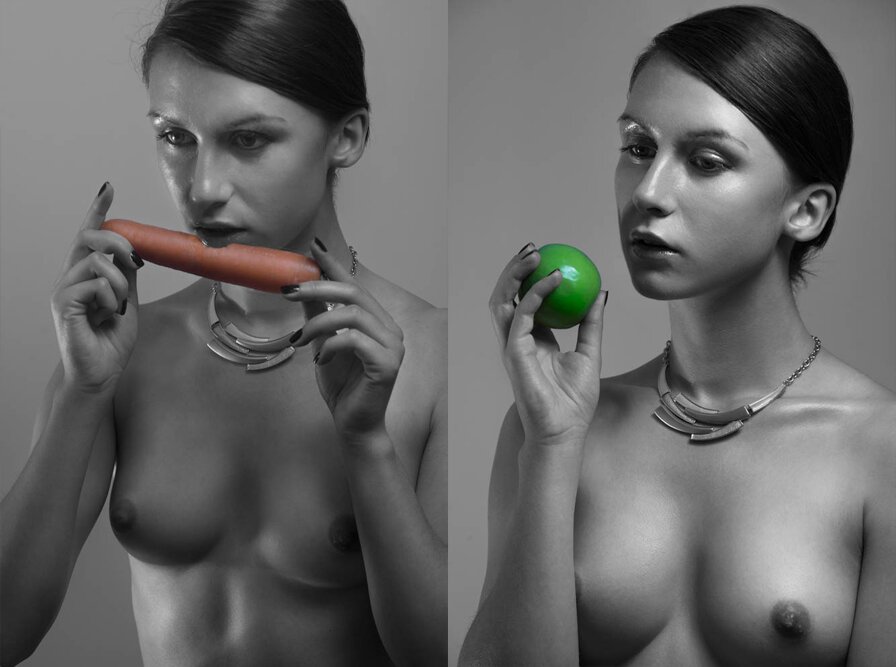
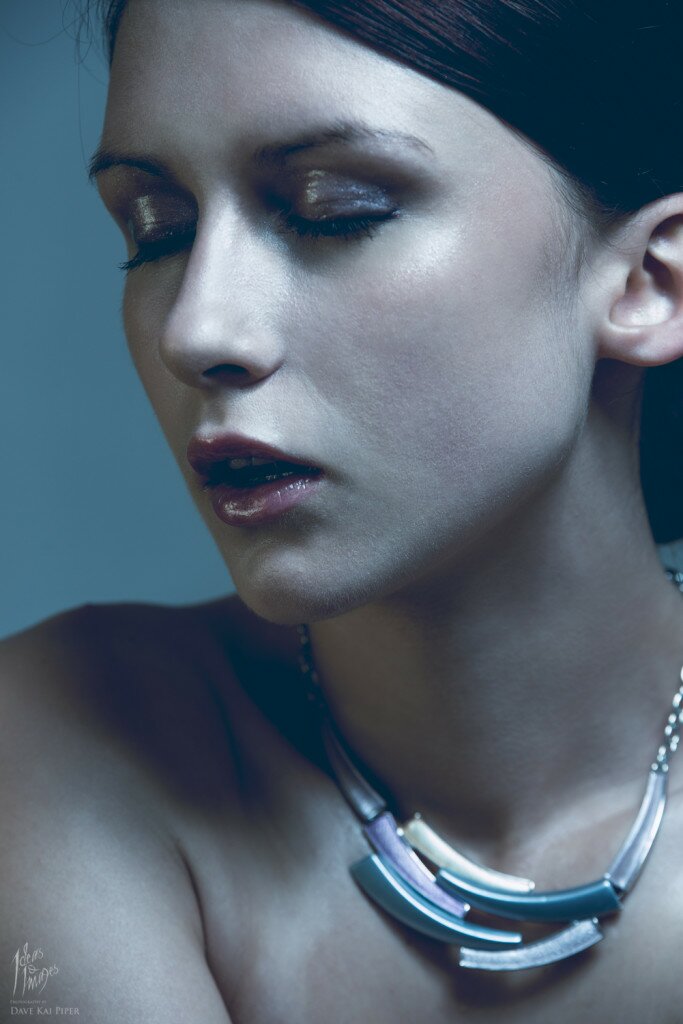
The post Wet Look & Glossy Make up with Kari Roberts appeared first on Photography by Dave Kai Piper.
]]> https://ideasandimages.co.uk/wet-look-glossy-make-up-with-kari-roberts/feed/ 0 Huge thank you to super star model Luke Grimley. This blog post was first done and made into a workflow for a live seminar in Wales, I noted it never got it’s own blog post so, here it is ! Step One: The Capture. I am a fan of getting things right in camera, I […]
The post Male Fitness editing & workflow video – Lr & Ps appeared first on Photography by Dave Kai Piper.
]]> Huge thank you to super star model Luke Grimley.This blog post was first done and made into a workflow for a live seminar in Wales, I noted it never got it’s own blog post so, here it is !

Step One: The Capture.
I am a fan of getting things right in camera, I am very much a fan of being prepared for the images and knowing what I am going to be doing with them. I like tripods and simple lighting. Regardless if your shooting Fuji or Nikon ( I shot with Nikon here for the demo as I can tether direct into Lightroom (Fuji have a program in beta testing and released very soon)
For this demo we used a single light playing about with the very edge of the light to control the Fill & Spill of the light on to the background. Think about where all the light is going and where your shadows are going to be.
Don’t be worried about trying things out and playing, this is pretty much 90% of what photographers do.
Try to not worry about the camera to much your subject is FAR more important than the camera.
This is a single light image of Luke Grimley
Step Two: Import.
Shooting direct into a computer for me is super helpful, either Capture Pro or Lightroom. The biggest gain is that my client, customer or subject can see the images on a big large screen with the presets added to the images. They and I can see the images pop up as close to an edited form as I can get. For me this speeds up my selection process too as I know when I have got ‘the’ shot. It also works as a safe back up as my shots are on the cards and the SSD drive. They from camera direct to computer, and get developed ready for editing in an instant.
*tip – Dropbox is a great place to store presets for Lightroom and Actions for Photoshop as you then have access to them all the time.
When you are importing and shooting this way, your images just fill up into your library direct meaning you don’t have import them. You can select which folder you want them to go into. Keywording can be added also as well as the file names changed to suit your needs.

Step 3: Develop in Lightroom
This stage happens automatically when tethered.
The key thing is here to be prepared and ready to shoot. When your lighting is great, your connected up and ready to go, you can fire a couple of images into the computer and set the import settings to what you want the images to look like. In this blog I am using the images I shot with Luke Grimley. I had pre-made a blue tones as per the pre-determined look we wanted for the shoot. ( Knowing what you want to shoot is always going to be good and helpful at every stage.

Step 4: Load into Photoshop
It comes as no surprise that I am a big fan of Lightroom and a big fan of Photoshop. When you use the tools together you can have a very slick streamlined workflow.
Once I have marked the 8 or so images to be edited or finished in photo shop where I can add layers and a few things I can not do or find easier in Photoshop it is time to slide them over and get to work.
R Click > Edit in > Photoshop CC > Edit Lightroom adjusted Copy >
Here are the settings I use when pushing the files from LR to PS. From here the file should launch PS unless it is already open and open up the image ready to edit.
Edit in Photoshop
So for this stage, I will be super honest – I want to keep this blog really simple and only go over some of the many things you can do and things just related to this image.

To start with – as you saw at the live show – I used a preset to do the first section and here I used an Action (download both here (click for download) there is a video at the bottom to help you download and install the PS plug in.
If you didn’t come along to the live show – here is a video showing the process that I went though at the show. In short I used a four layers with different effects going on such as grad maps, colour lookup tables and curves. We set up the file by splitting it into the colour and tones using the High Pass method (video at the bottom)
Download the Photoshop action here (click for download)
Watch this video to help you install the Photoshop action
The post Male Fitness editing & workflow video – Lr & Ps appeared first on Photography by Dave Kai Piper.
]]> https://ideasandimages.co.uk/male-fitness-editing-workflow-video-lr-ps/feed/ 0 Here is it, our BTS video from our shoot with the lovely Kate Errington & Dinah Raphaelle. In a few days we should have the lighting diagrams and stuff about the backgrounds and lighting sorted – but for now, this is the BTS video with the go-pro time lapse mixed with footage from the Fuji […]
The post Kate Errington – Dark Beauty Shoot appeared first on Photography by Dave Kai Piper.
]]> Here is it, our BTS video from our shoot with the lovely Kate Errington & Dinah Raphaelle.In a few days we should have the lighting diagrams and stuff about the backgrounds and lighting sorted – but for now, this is the BTS video with the go-pro time lapse mixed with footage from the Fuji X-Pro filmed by Stephie Rebello. BTS images taken by Simon Ellingworth.
All shoot & filmed on Fuji Cameras ! Whoop ! Please feel free to share and comment !
Amersham BTS shoot with Dave Kai-Piper from Dave Kai Piper on Vimeo.
Huge big thank you to Simon at Amersham for getting the backdrops sorted for this shoot.
We used two colours and overlayed them to give the two tone look. There is a blog coming on the Amersham site with some more info about the background and how everything was lit too. If you want to check out the a full editing video of one of the files, check the youtube video below!
Huge big thank you to IYES for letting me use the Cover of Crazy in Love check them out via the Facebook page or Soundcloud.
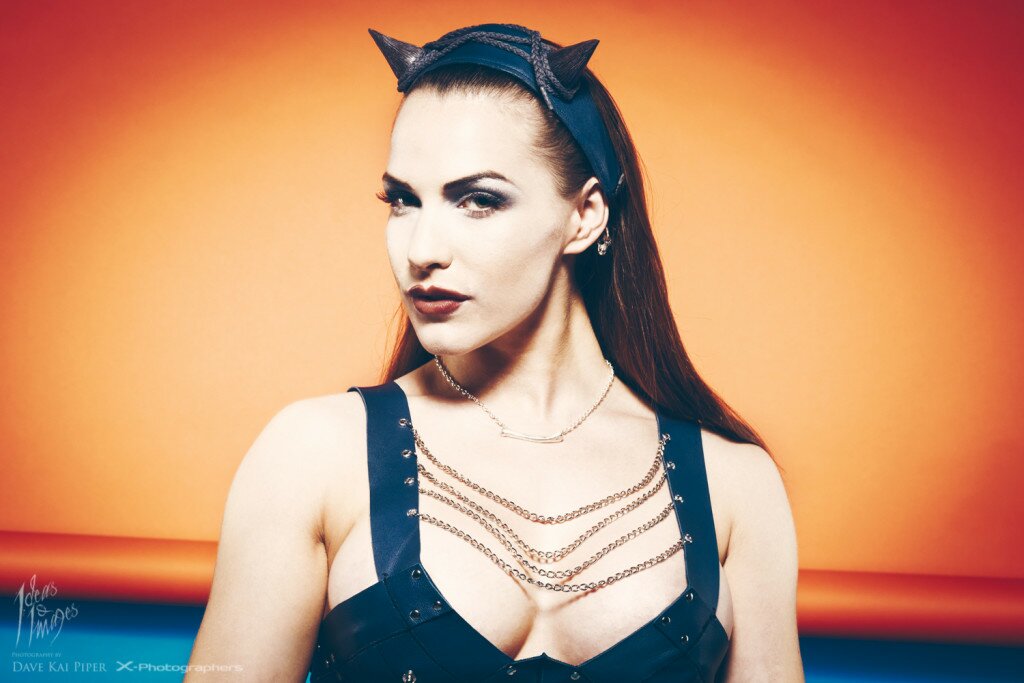
Lighting: Broncolor
Camera: Fuji X-T1
Lens: Fujinon 50-140mm
Set: Calumet Paper (Orange & Blue)
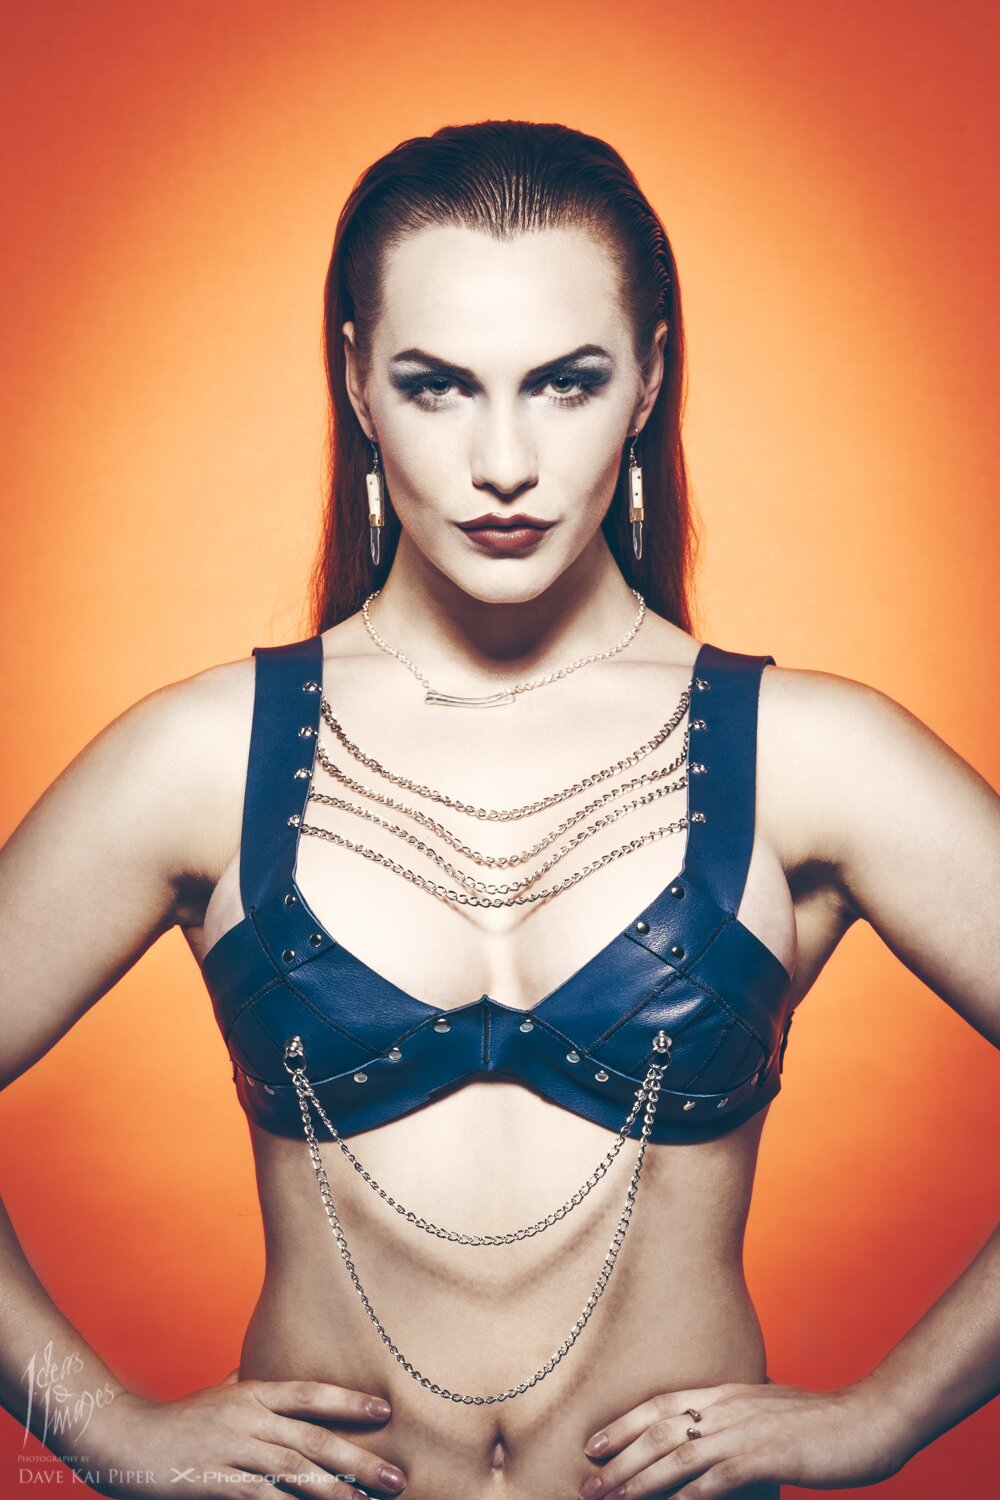

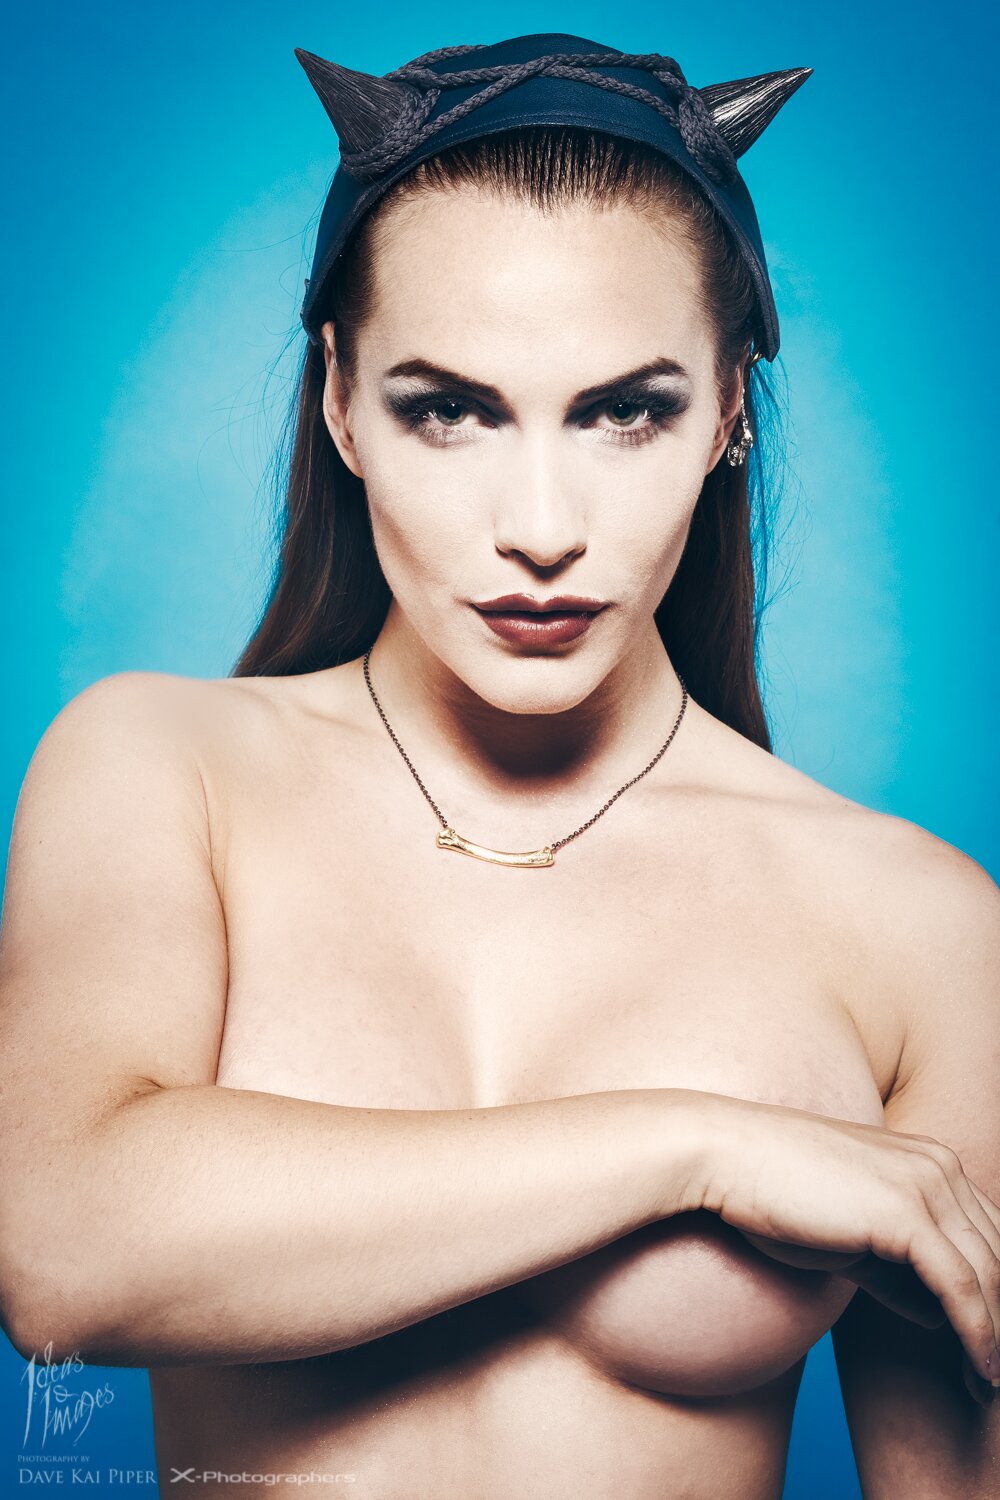
Photographer: Dave Kai-Piper Photography
Jewelry: Kitler Von Fitler – Kit Swing
Leather Headpiece/Collar: Topher Adam
Bat Prop: Necrotic Creations
Swimwear: Daniel Terrell – Koco Blaq
Makeup: Dinah Raphaelle
Model: Kate Errington
Assistant: Thomas Langley
Studio: Amersham Studios
VIEW SERIES: http://bit.ly/1NjQjXM via Dark Beauty Magazine
The post Kate Errington – Dark Beauty Shoot appeared first on Photography by Dave Kai Piper.
]]> https://ideasandimages.co.uk/katie-errington-dark-beauty-shoot/feed/ 0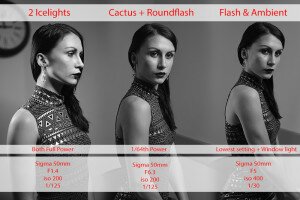 Last weekend we had a wonderful day down in South Wales, Carmarthen Cameras very kindly invited me down to talk about some simple lighting and the differences between portable constant lighting & Speedlighting. Huge big thank you to Sigma Imaging for supporting the event. We took the Catcus RF60 using the v6 Trigger & the Ice […]
The post South Wales @ the Carmarthen Cameras Photo & Optic show appeared first on Photography by Dave Kai Piper.
]]> Last weekend we had a wonderful day down in South Wales, Carmarthen Cameras very kindly invited me down to talk about some simple lighting and the differences between portable constant lighting & Speedlighting. Huge big thank you to Sigma Imaging for supporting the event.We took the Catcus RF60 using the v6 Trigger & the Ice Light along for two packed out seminars which were part slideshow presentation and part practical demo.
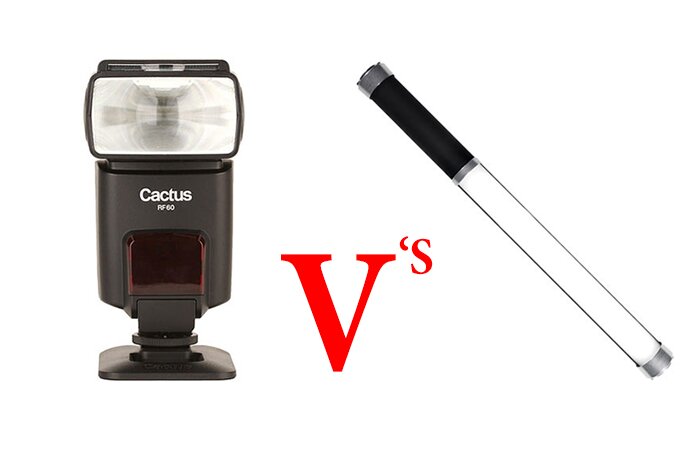
Below is the presentation element and I guess you have to to come along to the next event for the practical element ! Check out our workshops & seminars link for more info on where we will be next. https://ideasandimages.smugmug.com/Workshops
Click here the PDF version.
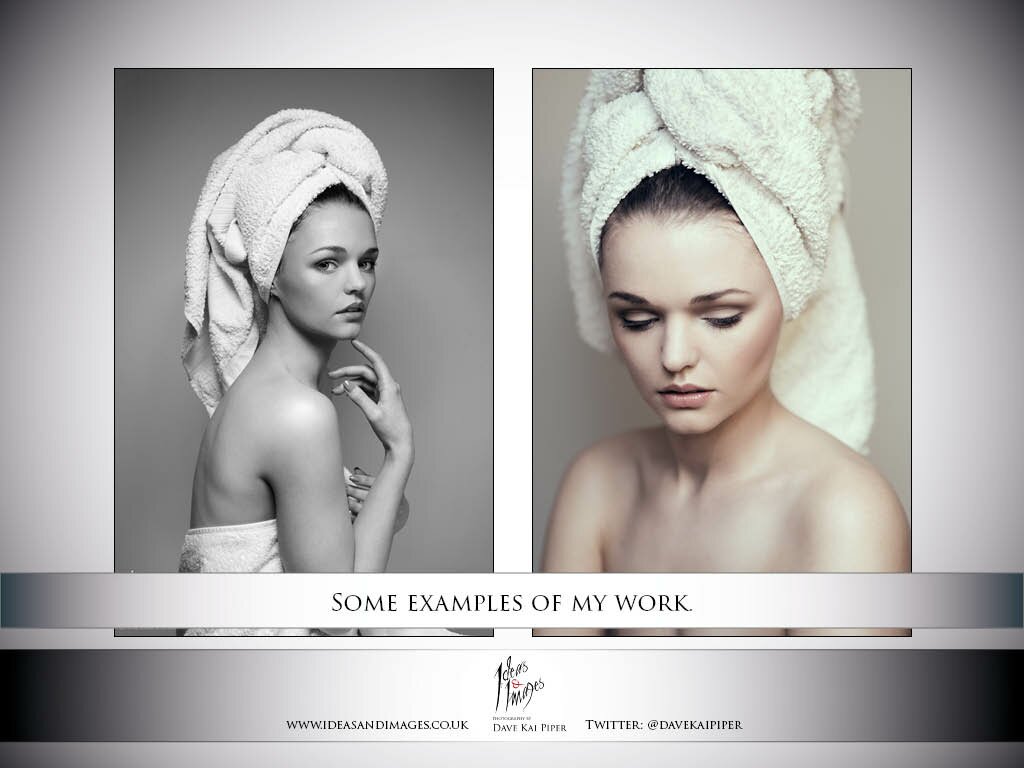
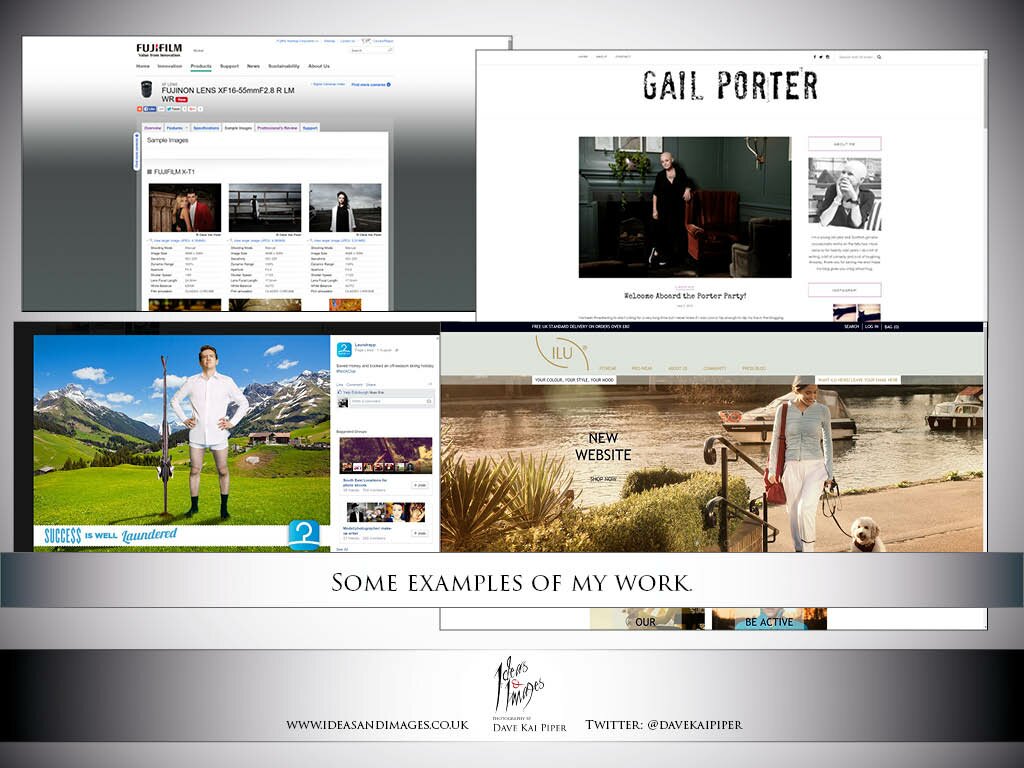
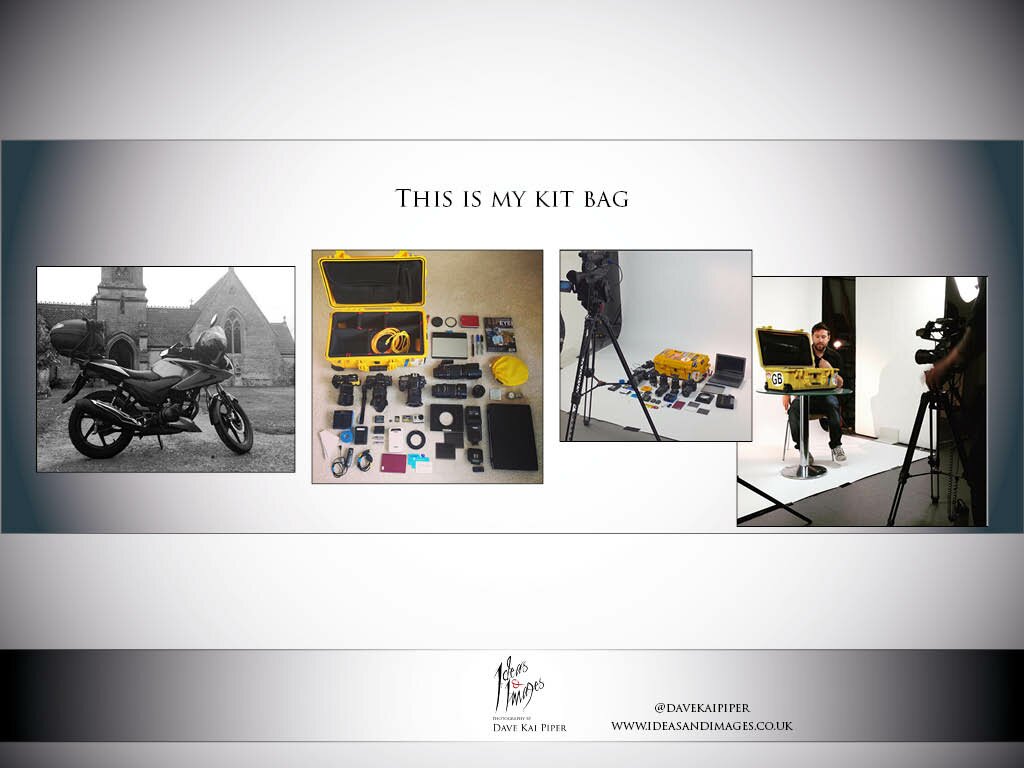
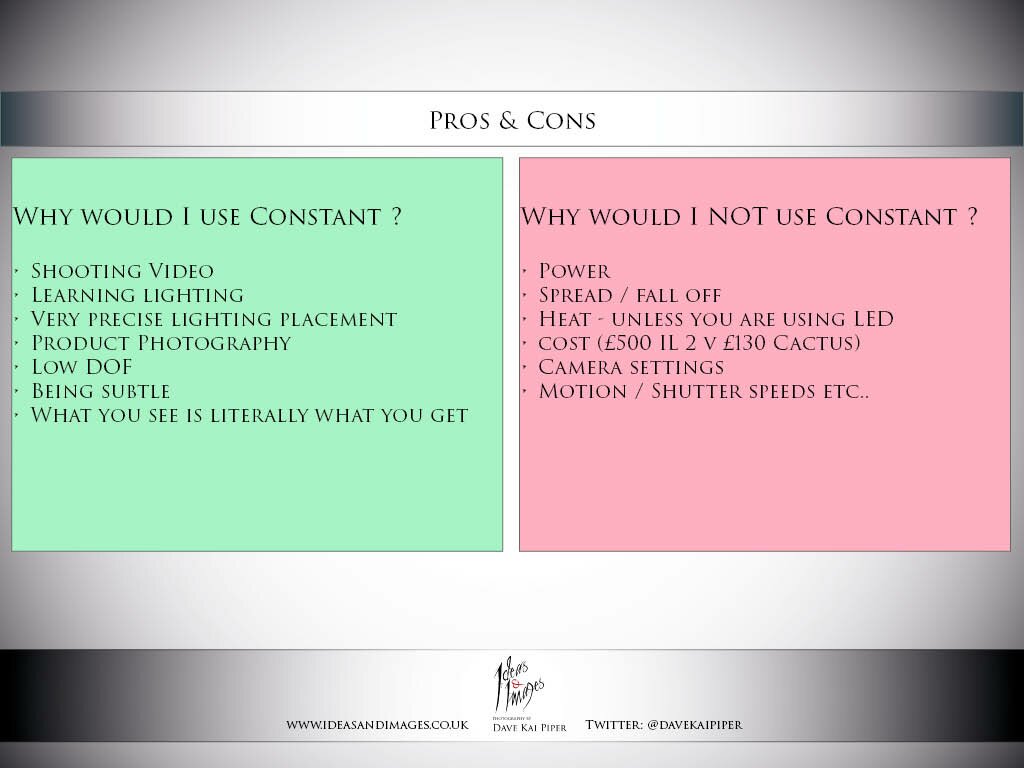
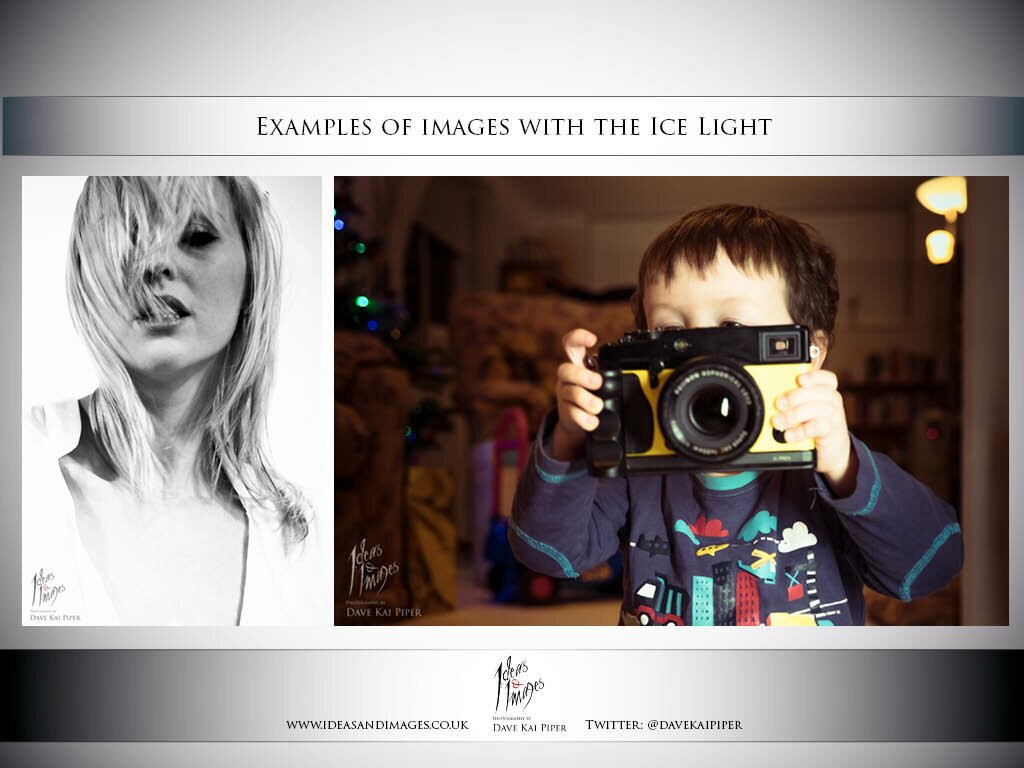
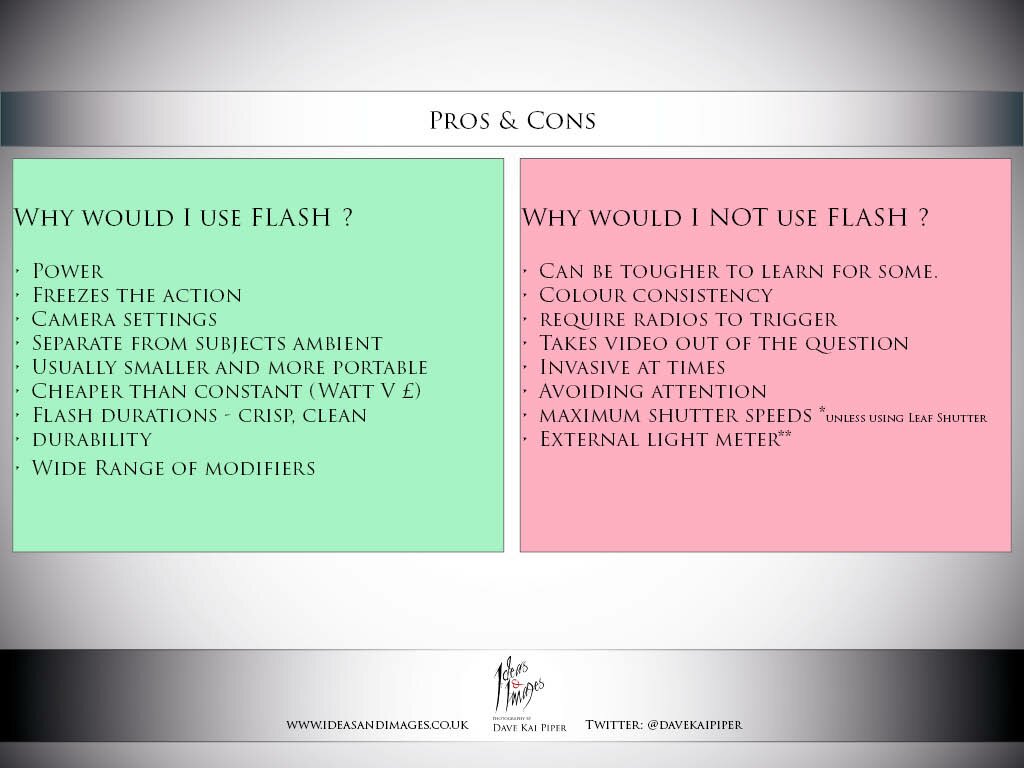
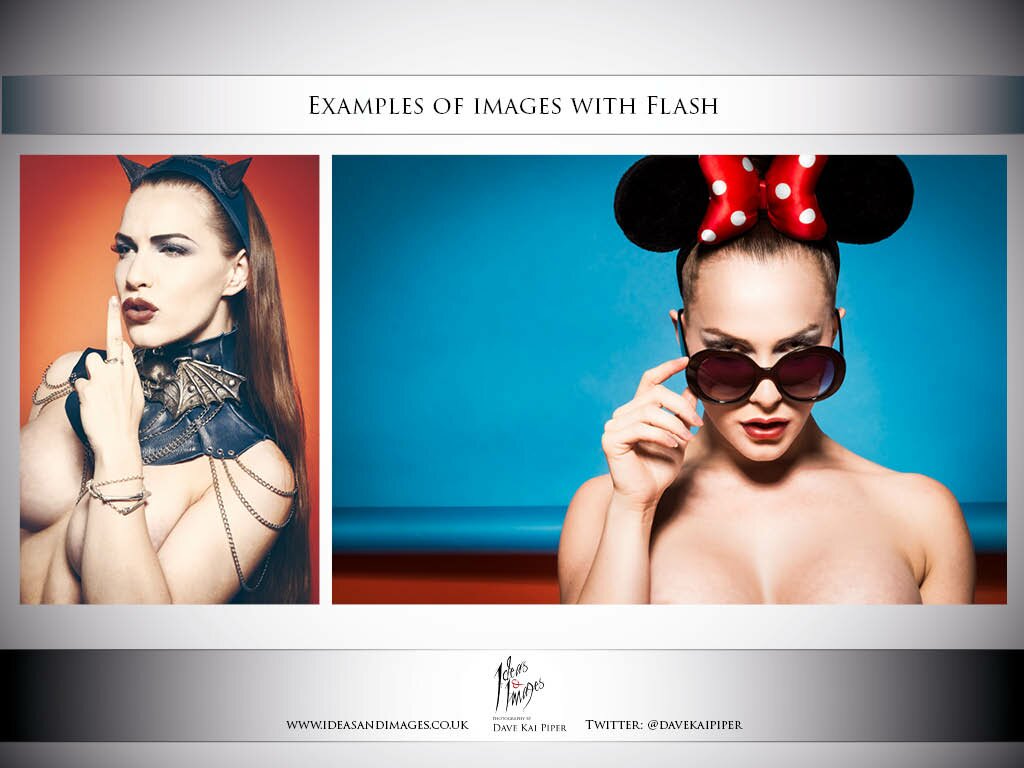

The post South Wales @ the Carmarthen Cameras Photo & Optic show appeared first on Photography by Dave Kai Piper.
]]> https://ideasandimages.co.uk/south-wales-the-carmarthen-cameras-photo-optic-show/feed/ 0 Over the last few months, at the start ( or end ) of my shoots I have started to shoot more images for my second on going project (my first being the Book of Influence), this project is my ‘Towel Series’ ( very much inspired by many photographers who have done this – but mostly inspired […]
The post Katie Errington – Towel Series appeared first on Photography by Dave Kai Piper.
]]> Over the last few months, at the start ( or end ) of my shoots I have started to shoot more images for my second on going project (my first being the Book of Influence), this project is my ‘Towel Series’ ( very much inspired by many photographers who have done this – but mostly inspired by Mario Testino)We shot two looks this was the first – the second look was part of a story being published in Dark Beauty magazine and will be posted over on the Amersham Studio blog also. They are some pretty crazy fun images – so be sure to check them out !
Huge thank you to Simon for helping out at Studio and yes the Broncolor app for the lights was amazing, I can not wait to play around with them some more !! All of the BTS images are also Simon’s images – Photographed on a X-T1 & 35mm.
I used a Fuji X-T1 for my images combined with the stunning 50-150mm lens. All exif data will be on the images via the SmugMug Gallery – ‘Towel Series’
Photographer: Dave Kai-Piper
BTS Photographer: Simon Ellingworth
Makeup Artist: Dinah Raphaelle
Model: Kate Errington
BTS Video: Stephanie Rebello
Assistant: Thomas Langley
Studio: Amersham Studios
Lighting – Single Broncolour Siros head & beauty dish
Photographed using a Fuji X-T1
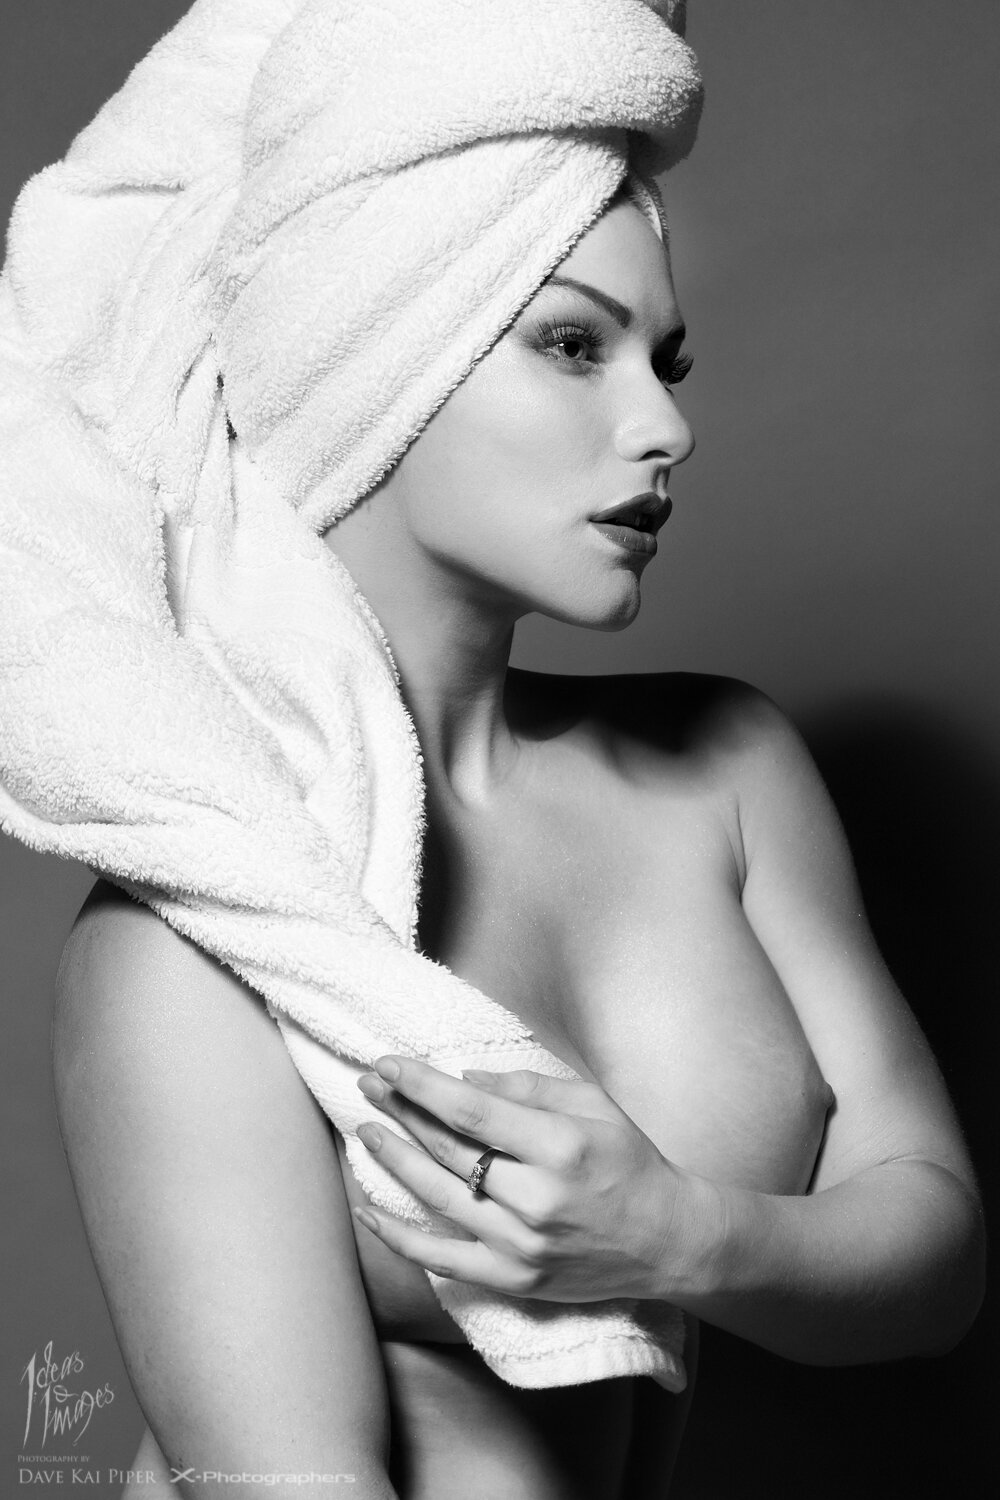
If you want to check out the conversion process for these images – check out the video at the very bottom of the blog for my Vimeo video – There is also a BTS & timelapse video of both shoots coming soon – check out the preview teaser at the Amersham Blog
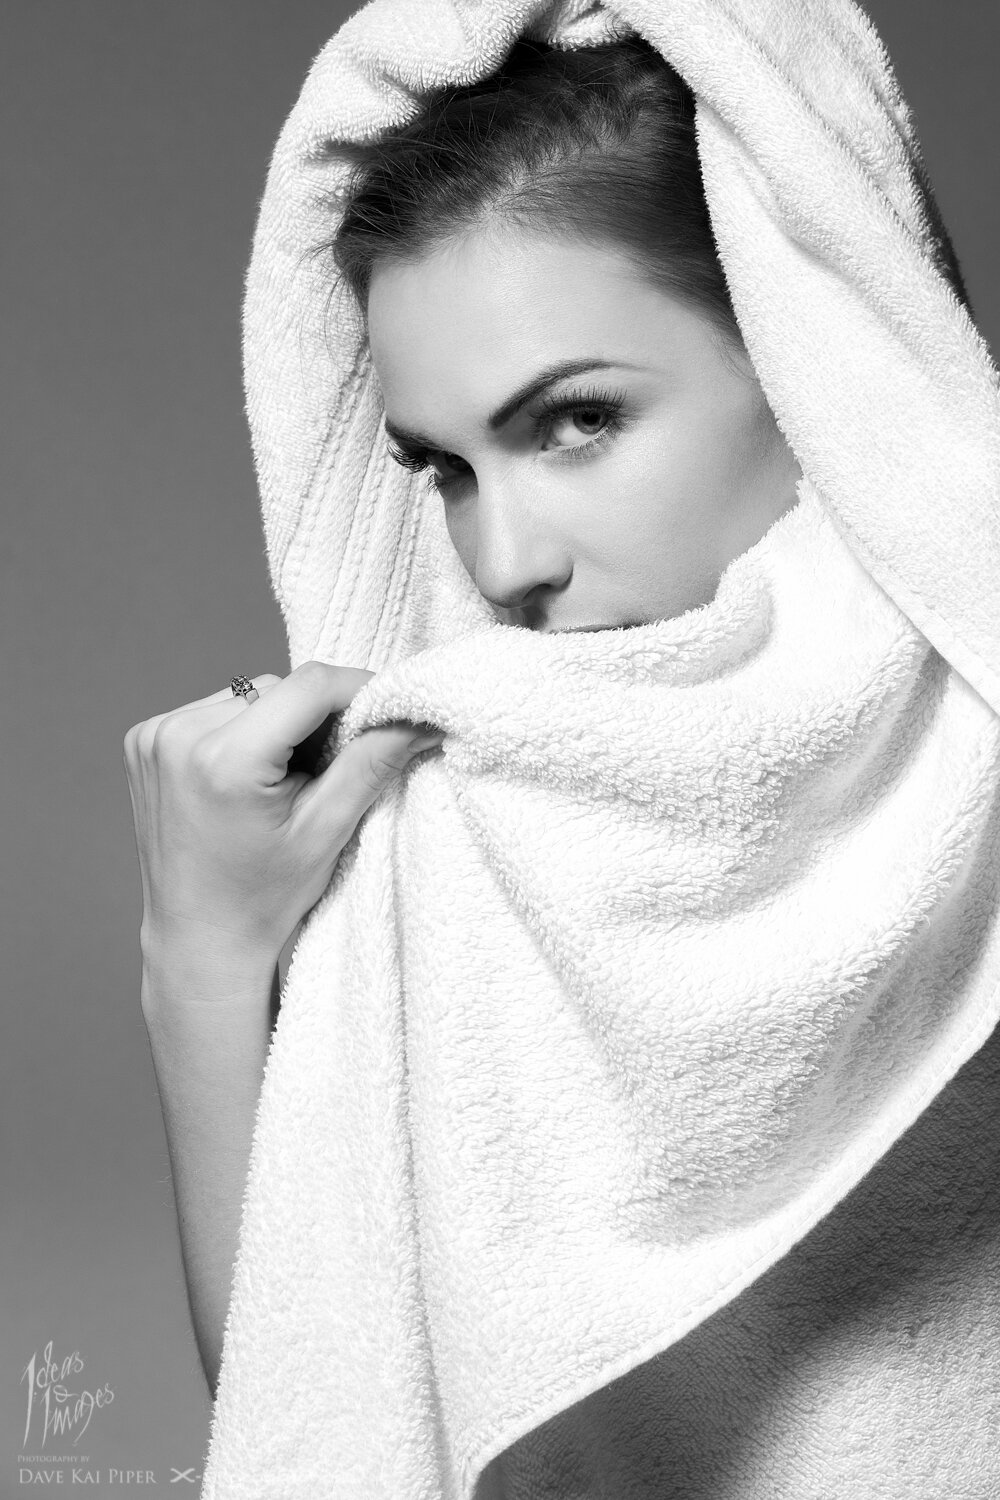
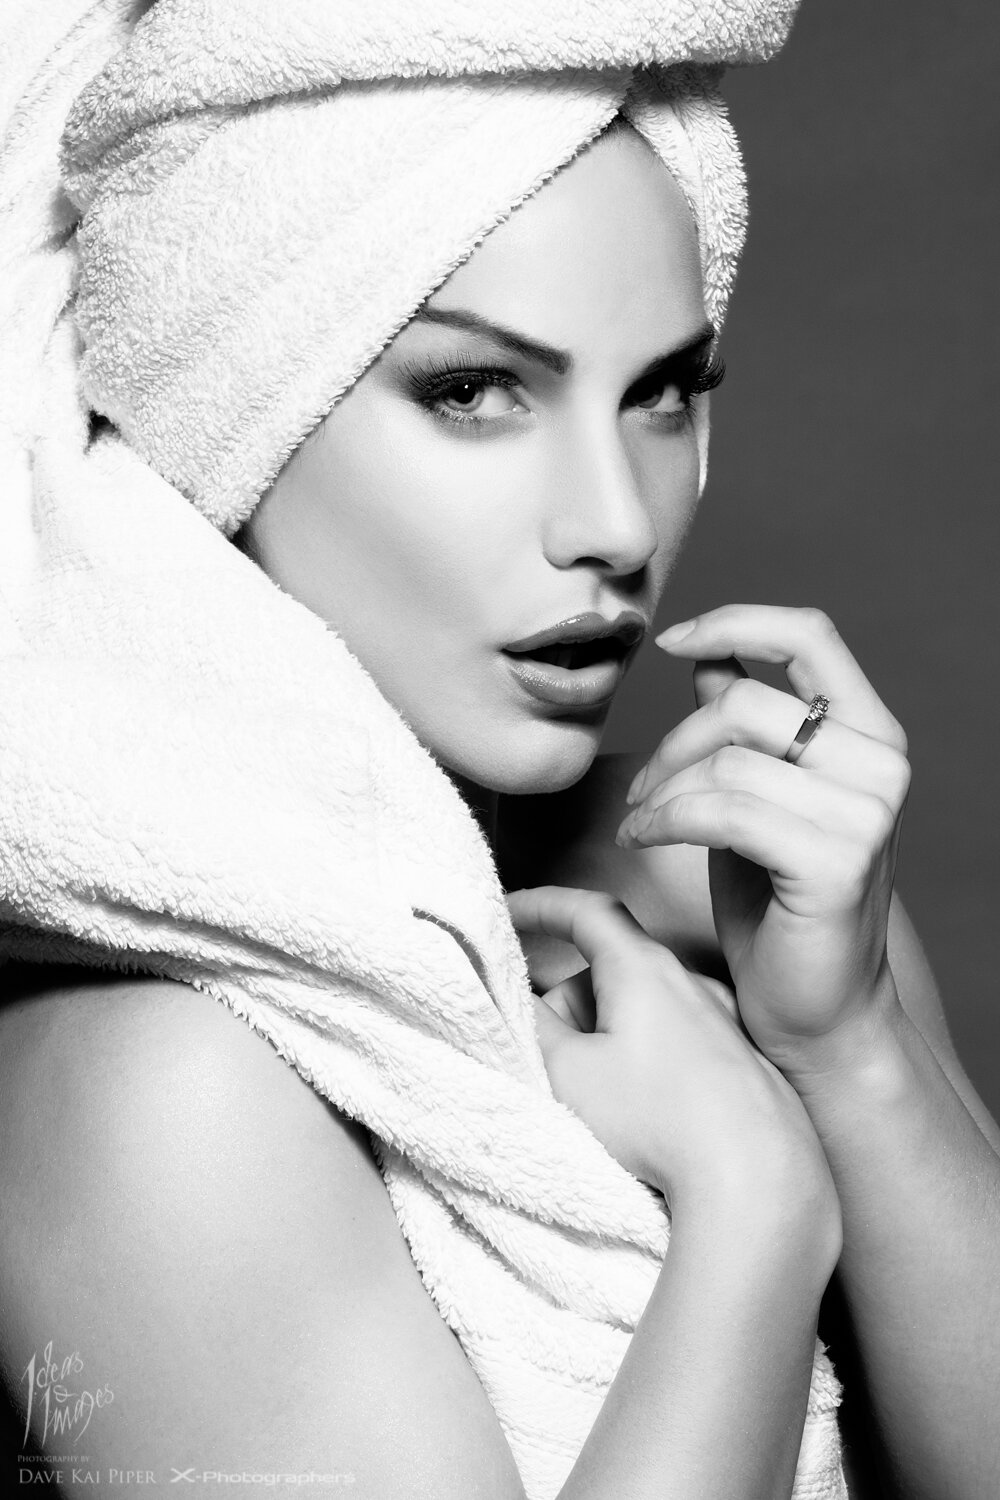
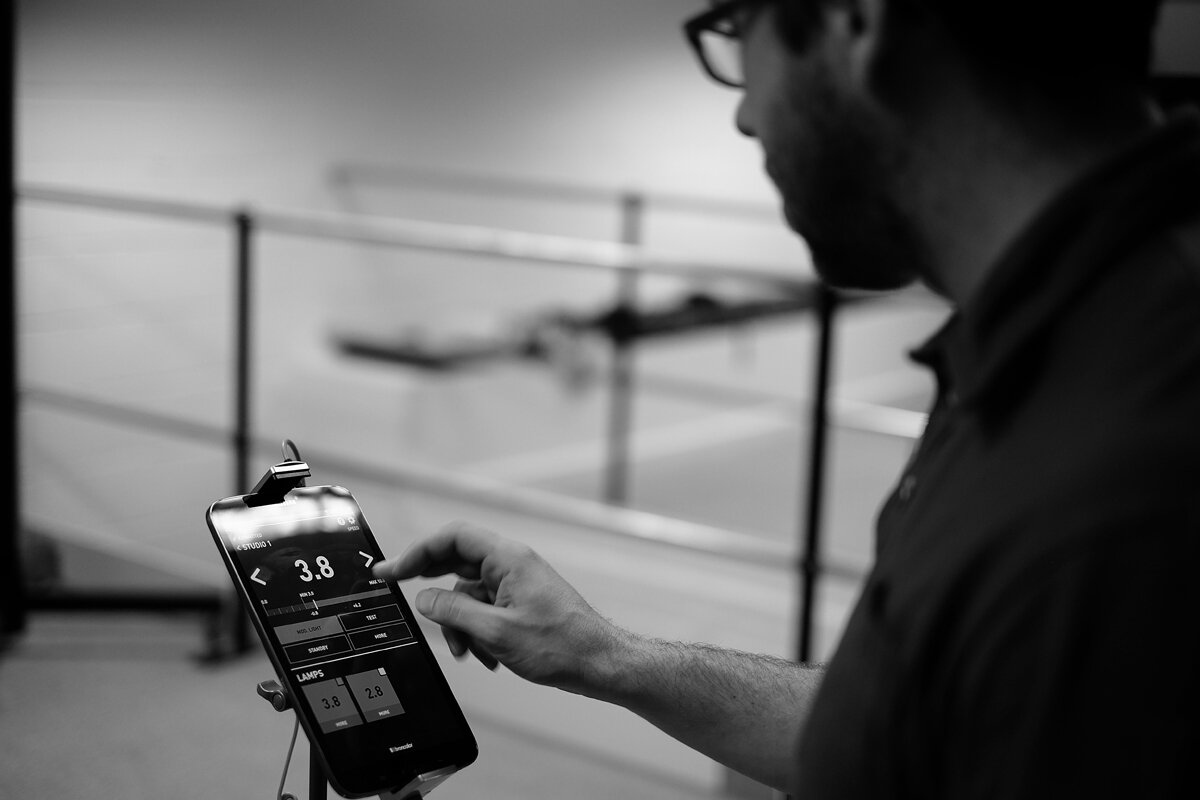
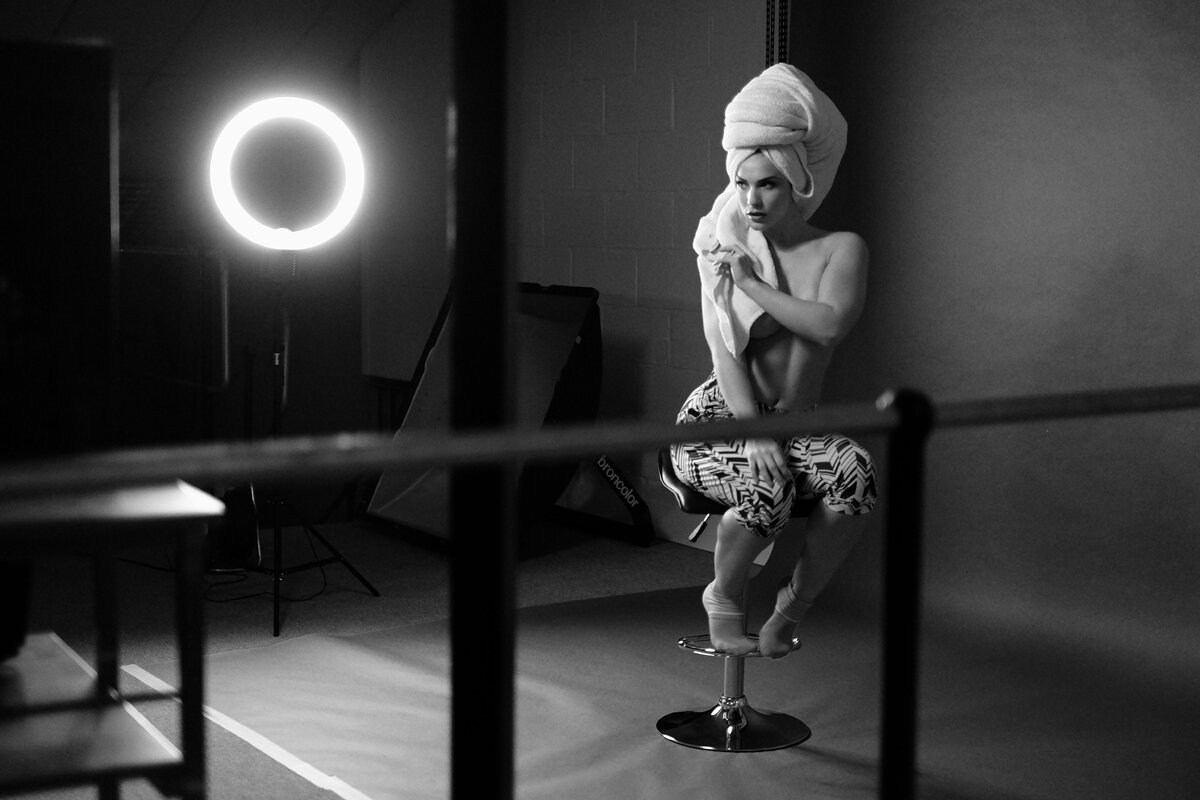
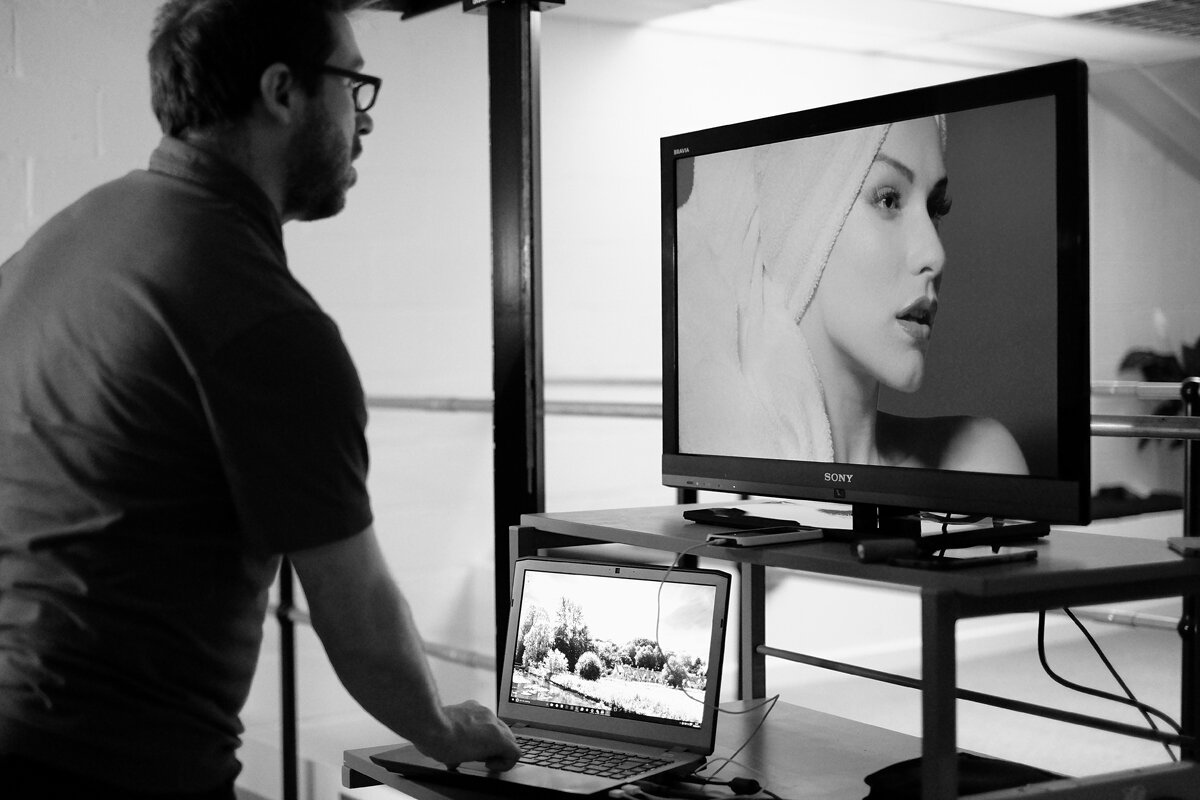
BTS images by Simon Ellingworth
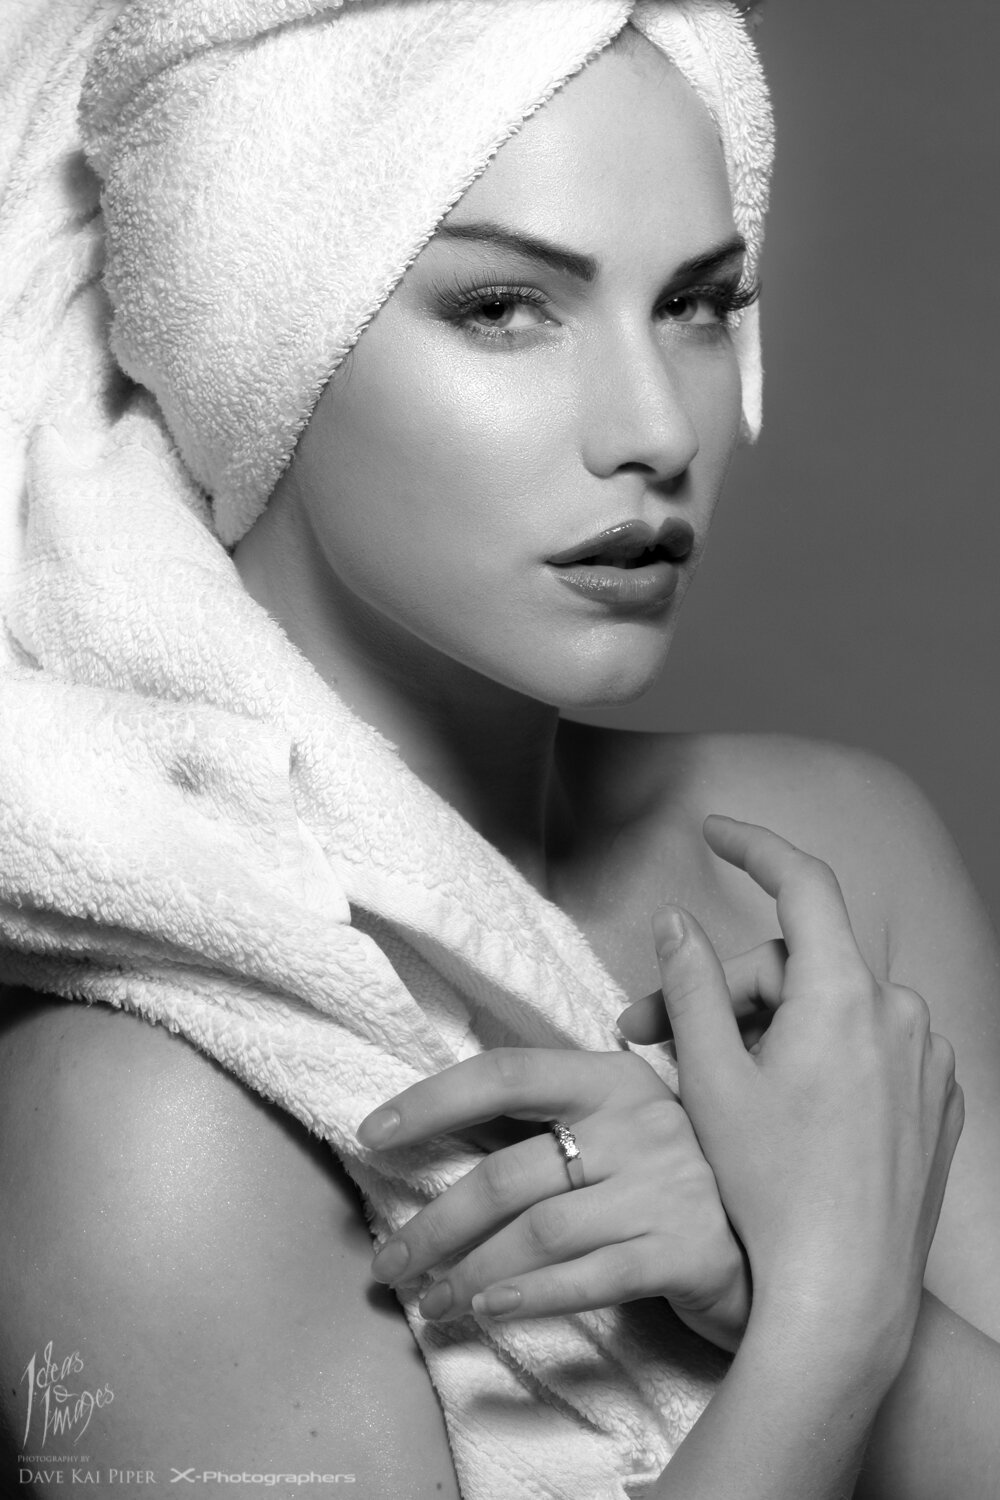
Simple Black & White Edit using Lightroom & Photoshop from Dave Kai Piper on Vimeo.
If you fancy booking Amersham Studios – just click the rate card below – they have some amazing deals on at the moment – http://amershamstudios.com/

Click here to check out our Fuji related blogs – Interviews – Blog menu
Here are a few links to help you find some of the stuff mentioned in this blog post, also remember to sign up for the newsletter which can be found here.
The post Katie Errington – Towel Series appeared first on Photography by Dave Kai Piper.
]]> https://ideasandimages.co.uk/katie-errington-towel-series/feed/ 0 For some people like me – this is pretty interesting thing.. and for most I guess news is a dull as Celeb Big Brother tramping across our screens again tonight.. but… http://blog.instagram.com/post/127722429412/150827-portrait-and-landscape As the good people at Instragam have pointed out.. we can now post Portrait and Landscape images !! Whoop !… but… I kinda […]
The post Instagram breaks away from the hip square ! appeared first on Photography by Dave Kai Piper.
]]> For some people like me – this is pretty interesting thing.. and for most I guess news is a dull as Celeb Big Brother tramping across our screens again tonight.. but…http://blog.instagram.com/post/127722429412/150827-portrait-and-landscape
As the good people at Instragam have pointed out.. we can now post Portrait and Landscape images !! Whoop !… but… I kinda liked the square… It was that thing that made Instragram … unique. Not sure they needed to do this ..
Anyway they say you can make better videos but anyway…
Here are some epic people to follow on Instagram :
https://instagram.com/davekaipiper:
Just a little bit proud at the moment
@jodilakin @fujifilm_uk – first ever cover of Hungry Eye magazine. Honestly – this cover is a milestone in my photography career. So happy. #photography
https://instagram.com/featuredphotographs:
This beautiful vision comes from creator @bellakotak and model @ophelia_overdose. #fantasy #fantasymakeup #makeup #picoftheday #wardrobestylist #wardrobe #fashionphotography #fineart #fineartphotography A photo posted by Featured Photographs (@featuredphotographs) on
https://instagram.com/robertvoltaire/:
#Repost @rachelc00k ・・・ Stoked for our next shoot
@robertvoltaire / makeup @xtony7373
A photo posted by Robert Voltaire (@robertvoltaire) on
https://instagram.com/brianrolfephoto:
#tbt 2013 rejecting fashion in favour of just a tan with @imogenleaver #beauty #body #nude #naked #skin #blackandwhite #studio #lovethisshot #models #portrait A photo posted by Brian Rolfe (@brianrolfephoto) on
https://instagram.com/missunderground/:
Blue Monday.
A photo posted by @MissUnderground (@missunderground) on
The post Instagram breaks away from the hip square ! appeared first on Photography by Dave Kai Piper.
]]> https://ideasandimages.co.uk/instagram-breaks-away-from-the-hip-square/feed/ 0 Exclusive Calumet practical workshop: Shooting provocative fashion. It has been some time since I have done a workshop in Birmingham so Calumet and I thought we should fix it! We have planned a full day of fun and hopefully interesting things all about creating images with a provocative edge. Date: 10th of OctoberPlace: Birmingham Calumet […]
The post Calumet Workshop – SHOOTING NOIR FASHION appeared first on Photography by Dave Kai Piper.
]]> Exclusive Calumet practical workshop:It has been some time since I have done a workshop in Birmingham so Calumet and I thought we should fix it! We have planned a full day of fun and hopefully interesting things all about creating images with a provocative edge.
Date: 10th of October
Place: Birmingham Calumet Store (Hagley Road)
Cost: £150 (Cheaper with student discounts)
Places: 10
Model: Pelioja
The day will be made up of a seminar and live shooting elements to recreate some images from past masters like Newton, Ritts & Rakin.
We won’t only look camera technique but how to work with subjects to create images that tell stories, seduce and impress the viewers. Looking at the concept of fashion based portraiture from the likes of Bailey, we will discuss using pros and cons of creating images with sexual overtones and how nudity has to be used carefully to avoid making cheap looking images.
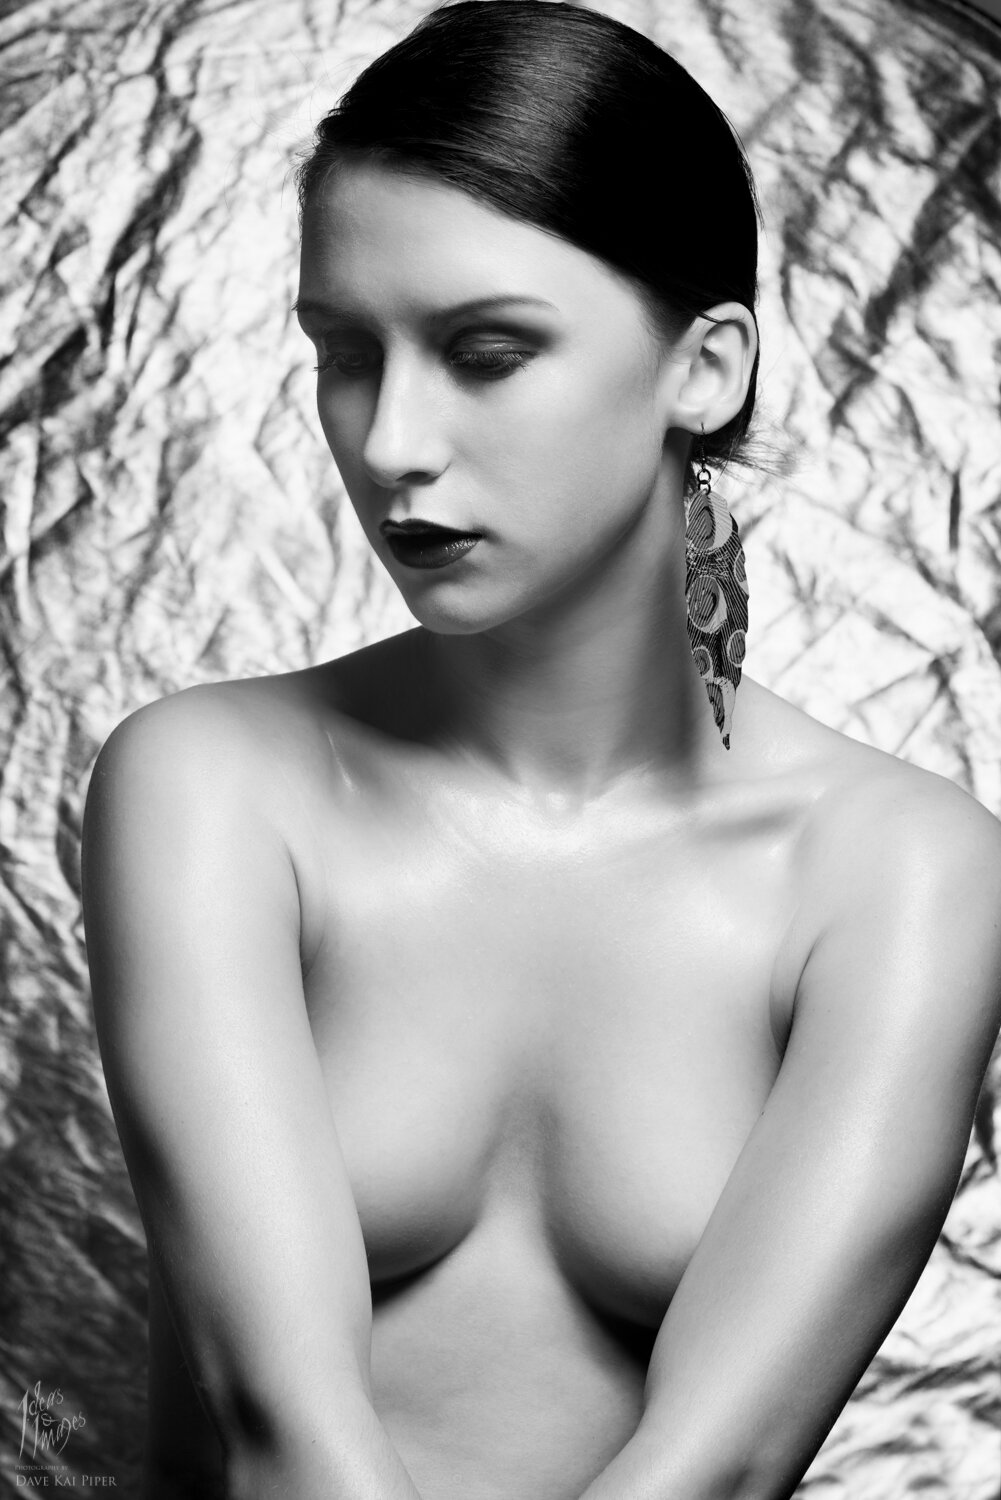
This is practical workshop that will contain elements of nudity, so please bear this is mind when booking. This seminar is aimed at anyone wanting to learn about posing and working with models / subjects. Please ensure you have charged batteries & where possible a lens in the 50mm – 135mm range with the camera of your choice.
Date: 10th of October
Place: Birmingham Calumet Store (Hagley Road)
Cost: £150 (Cheaper with student discounts)
Places: 10
Model: Pelioja
Click here to check out our Fuji related blogs – Interviews – Blog menu
Here are a few links to help you find some of the stuff mentioned in this blog post, also remember to sign up for the newsletter which can be found here.
The post Calumet Workshop – SHOOTING NOIR FASHION appeared first on Photography by Dave Kai Piper.
]]> https://ideasandimages.co.uk/calumet-workshop-shooting-noir-fashion/feed/ 0 FUJIFILM Corporation (President: Shigehiro Nakajima) is delighted to announce its two products, the FUJIFILM X-T10 digital camera and the FUJINON XF16-55mm F2.8 R LM WR lens, have been crowned at the recent 2015 EISA (the European Imaging and Sound Association) awards. Fujifilm X series cameras have consistently triumphed at the EISA awards for the last 4 years with the […]
The post Double honours at the 2015 EISA Awards for Fujifilm appeared first on Photography by Dave Kai Piper.
]]> FUJIFILM Corporation (President: Shigehiro Nakajima) is delighted to announce its two products, the FUJIFILM X-T10 digital camera and the FUJINON XF16-55mm F2.8 R LM WR lens, have been crowned at the recent 2015 EISA (the European Imaging and Sound Association) awards. Fujifilm X series cameras have consistently triumphed at the EISA awards for the last 4 years with the “FUJIFILM X100” camera winning an award in 2011, “FUJIFILM X-Pro1” in 2012, “FUJIFILM X100S” in 2013, and double honors in 2014 for the “FUJIFILM X-T1” camera and “FUJINON XF56mm F1.2 R” lens.Read the full Press statement here –
1. EUROPEAN CONSUMER COMPACT SYSTEM CAMERA 2015-2016 –
The “FUJIFILM X-T10” Mirrorless Digital camera
The Fujifilm X‐T10 includes the best bits of last year’s award‐winning X‐T1 in a smaller body and at a lower price. It has top‐plate drive mode, shutter speed and exposure compensation dials, and most lenses feature aperture rings. The 16‐million‐pixel X‐Trans CMOS II sensor offers excellent image quality, with particularly attractive JPEG colour reproduction. A newly‐developed autofocus system is now capable of tracking moving subjects, wherever they are in the frame. This is all wrapped up in a compact, lightweight SLR‐style body with an excellent 2.36‐million‐dot electronic viewfinder, built‐in flash, and Wi‐Fi for sharing images. It’s a great, lighter‐weight alternative to a DSLR.
Click here to learn more about the Fujifilm X-T10
2. EUROPEAN COMPACT SYSTEM ZOOM LENS 2015-2016 –
The “FUJINON XF16-55mm R LM WR” X Mount Interchangeable Lens
My XF 16-55mm Sample Gallery
The XF16-55mmF2.8 R LM WR is a near-perfect general purpose lens, with image quality that can normally only be achieved by using primes. It’s exceptionally sharp at all focal lengths and apertures, with extremely low distortion, chromatic aberration and vignetting.
Autofocus is very fast, almost completely silent, and consistently accurate. The XF16-55mm is a large and heavy lens, with weather resistant build quality matching that of the solidly built Fujifilm X-T1. The only missing feature is the omission of optical stabilisation, but the exceptional image quality is a worthy trade-off.
Click here to learn more about the Fujifilm Fujinon XF16-55mmF2.8 R LM WR
Fujifilm will continue to work on the development of excellent products and services that address user needs, thereby contributing to the further development of photographic culture.
* EISA (the European Imaging and Sound Association) is the association of 50 special interest magazines from 20 European countries. In June each year, the editors-in-chief from all EISA member magazines meet to decide which of the products analysed in their publications during the past year deserve a coveted EISA Award. The six categories under consideration are: Audio, Home Theater, In-car Electronics, Mobile Electronics, Photography and Video.
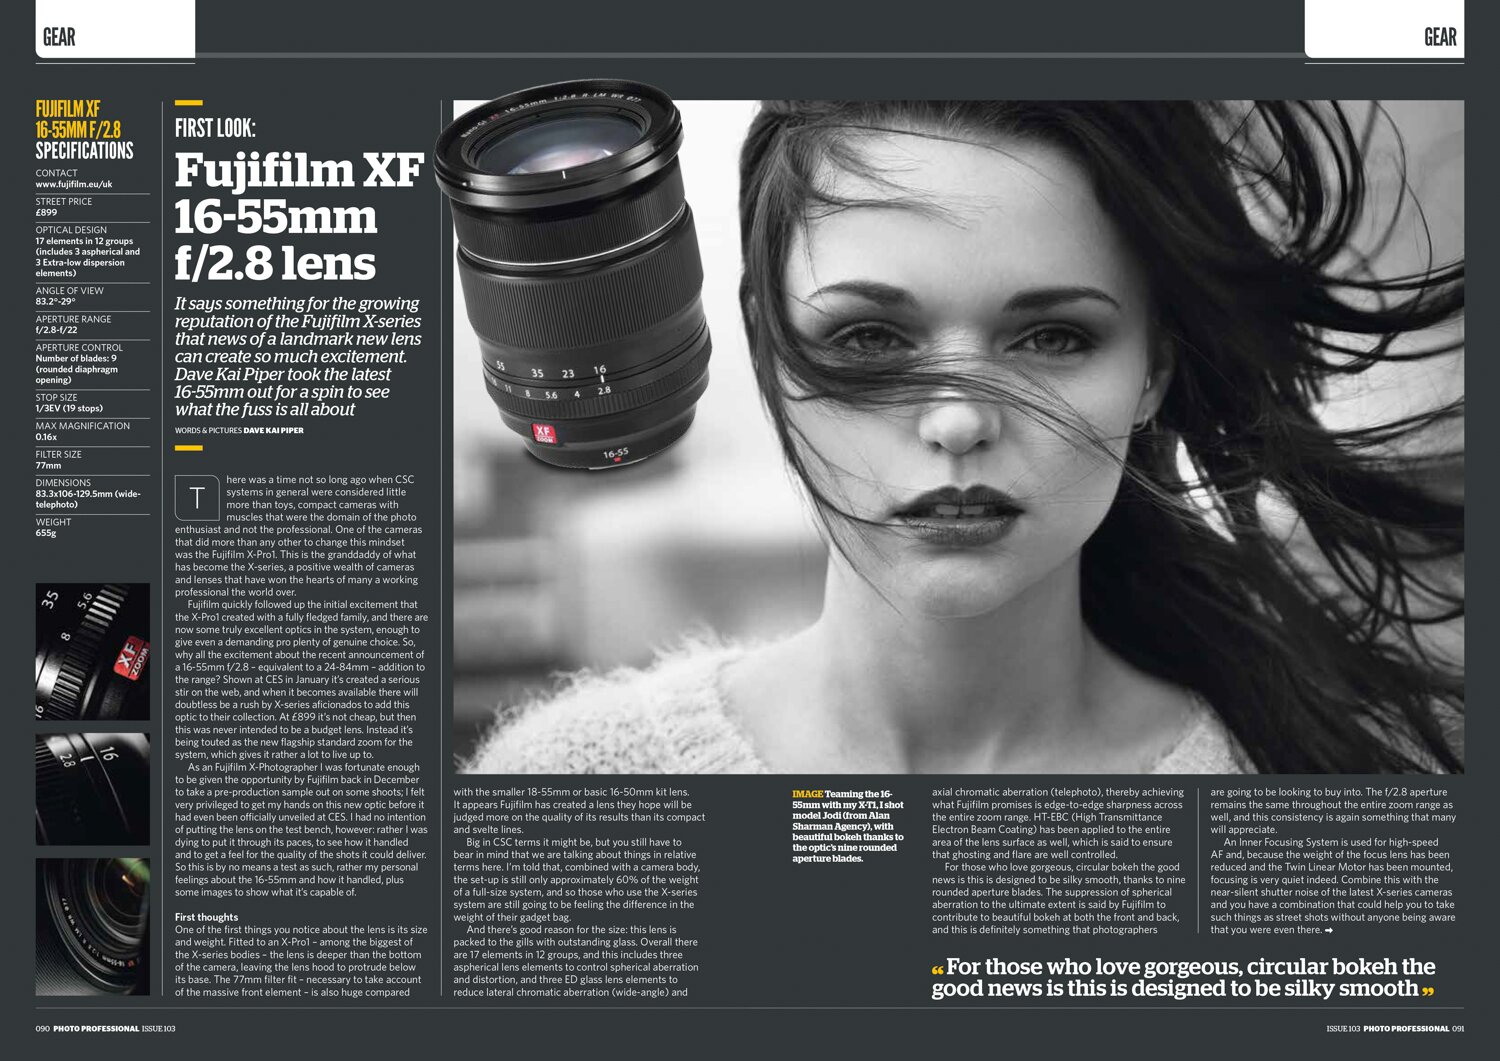
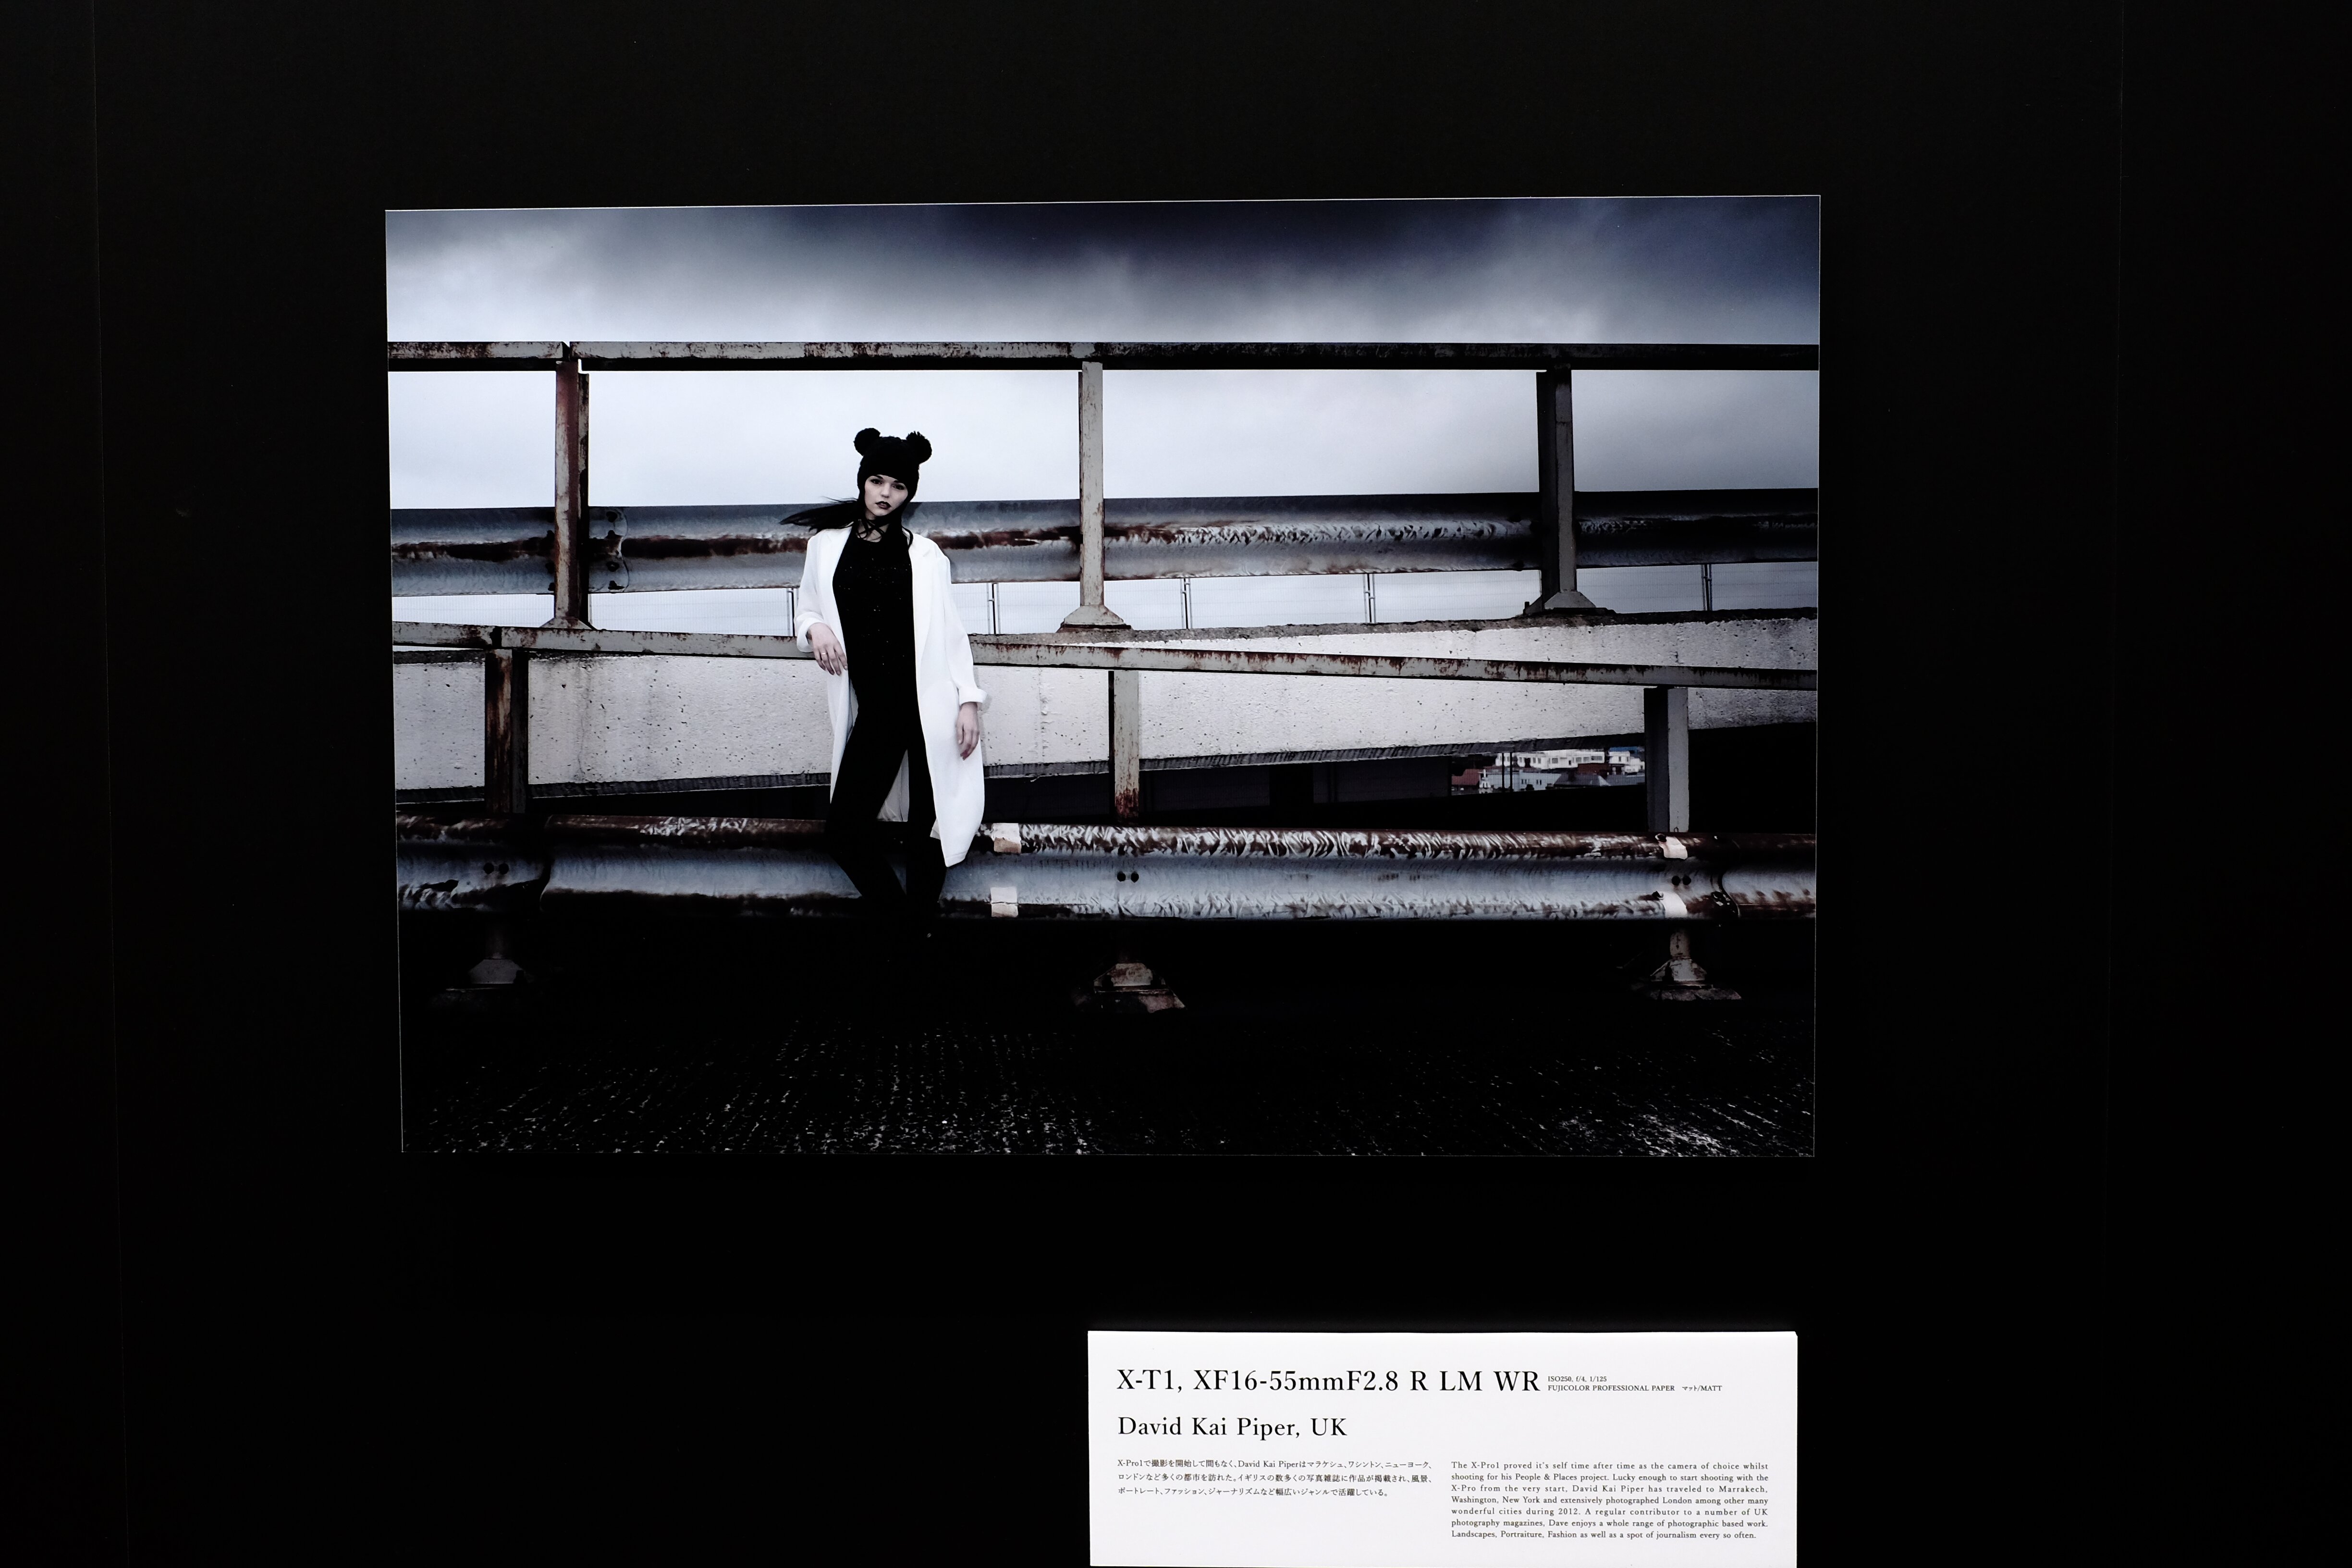
For UK MEDIA ENQUIRIES please contact:
FUJIFILM UK Digital Camera Press Office
Email: [email protected]
Tel: 07557 140268
For UK CONSUMER ENQUIRIES please contact:
FUJIFILM UK Digital Camera Customer Service
Email: [email protected]
Tel: 0344 553 2321
ABOUT FUJIFILM:
FUJIFILM Corporation and its group companies develop, produce and market products in the Imaging Solutions business (colour films, digital cameras, photofinishing equipment and colour paper, chemicals and services for photofinishing) and Information Solutions business (equipment and materials for medical diagnostics and life science, equipment and materials for graphic arts, flat panel display materials, recording media, optical devices, electronic materials and inkjet materials). The company employs more than 80,000 people worldwide, with 282 subsidiaries all over the world.
Uniquely placed to be a market leader in digital imaging, Fujifilm develops and manufactures its own sensors, lenses and processing technology. In addition to its production plants and R&D operations in Japan, the company has key manufacturing facilities in Europe and the USA for core products such as colour film, colour paper, single use cameras and CTP printing plates, and has further factories in Brazil and China. It has a global turnover in excess of ¥114 billion (around £795 million). In the UK, Fujifilm has been supplying the imaging, printing and graphics industries, as well as consumers, professional and enthusiast photographers, with high quality, innovative products and services for over 30 years. Fujifilm UK currently employs more than 390 people and is one of the country’s most popular photographic and imaging brands.
The post Double honours at the 2015 EISA Awards for Fujifilm appeared first on Photography by Dave Kai Piper.
]]> https://ideasandimages.co.uk/double-honours-at-the-2015-eisa-awards-for-fujifilm/feed/ 0 As a photographer being aware of the smaller details can be very important. If your a landscape photographer you are quite familiar with the idea that finding a great looking vista can be helpful for how engaging your image is going to be. It stands to reason that with boudoir or lingerie photography great looking lingerie is […]
The post Shooting Lingerie – Maison Close (NSFW) appeared first on Photography by Dave Kai Piper.
]]> As a photographer being aware of the smaller details can be very important. If your a landscape photographer you are quite familiar with the idea that finding a great looking vista can be helpful for how engaging your image is going to be. It stands to reason that with boudoir or lingerie photography great looking lingerie is going to be important.If you are setting out to create a certain type of image, the styling that you use is vital to how well the image is going to convey the message you are trying to give with the image. Think of this as props to tell a story. Using amazing lingerie can be the difference from a cheap tacky image to a styled, finished image.
Over the years I have photographed lots of amazing lingerie but I have found the Maison Close range is quite well suited to my style. I thought that a blog showing some of the images made over the last few years would be fun.
All Lingerie from Maison Close.
This blog is just a quick gallery of some of the images that we have made. Images range in styles, lighting set up’s and cameras used. Big thank you to all the models & make up artists who helped make these images what they are. M: Jammy Lou, Jodi Lakin, Chloe Jasmine, Beffy G, Katie Green & Peliroja. MUA: Penny Grimley, Jodi Lakin + Stephie.
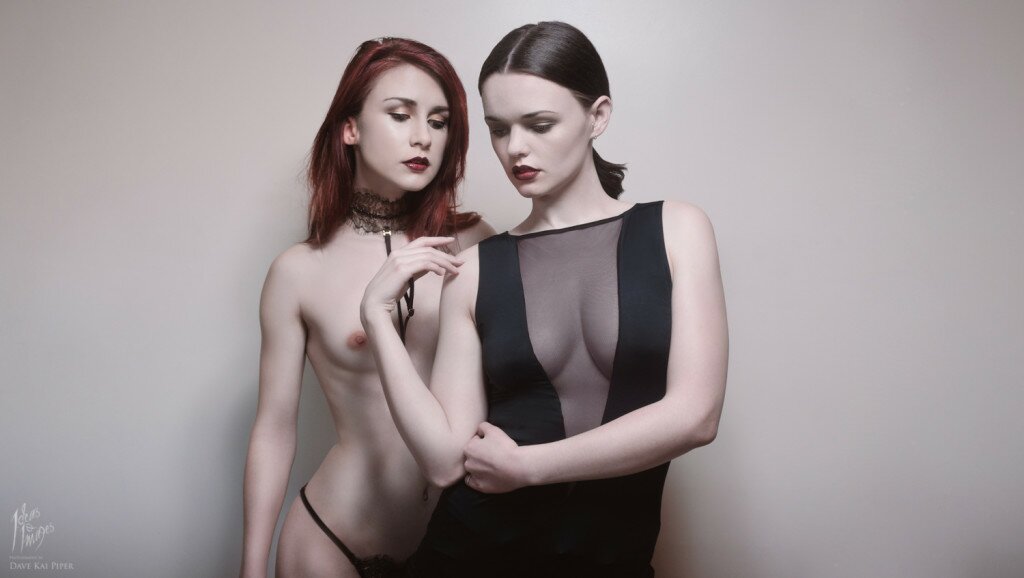
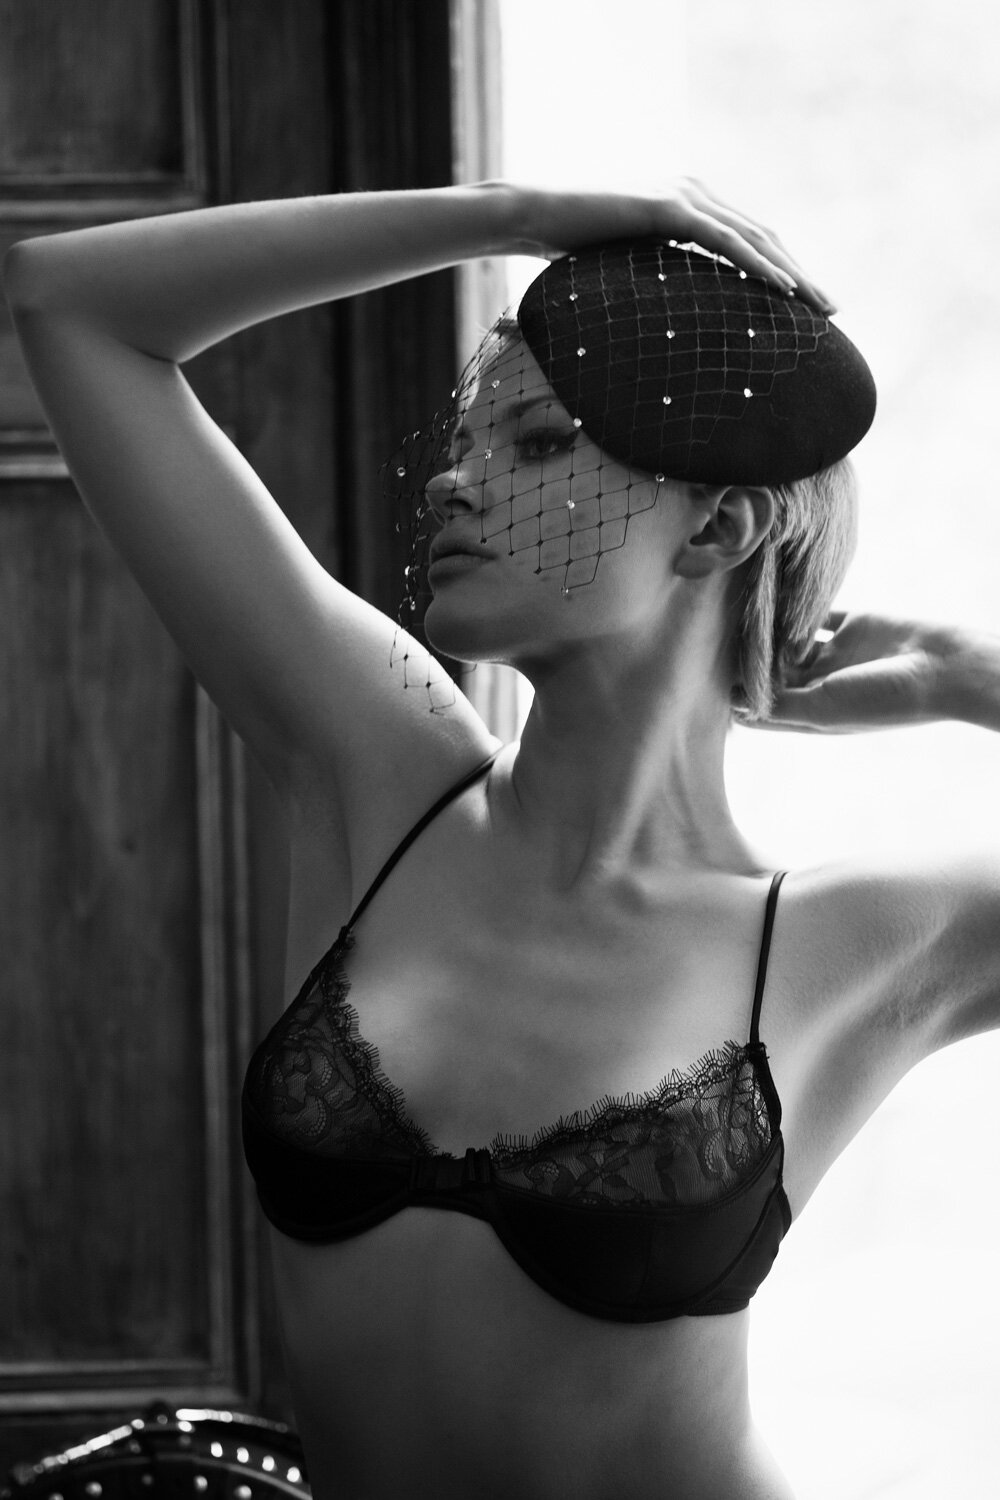
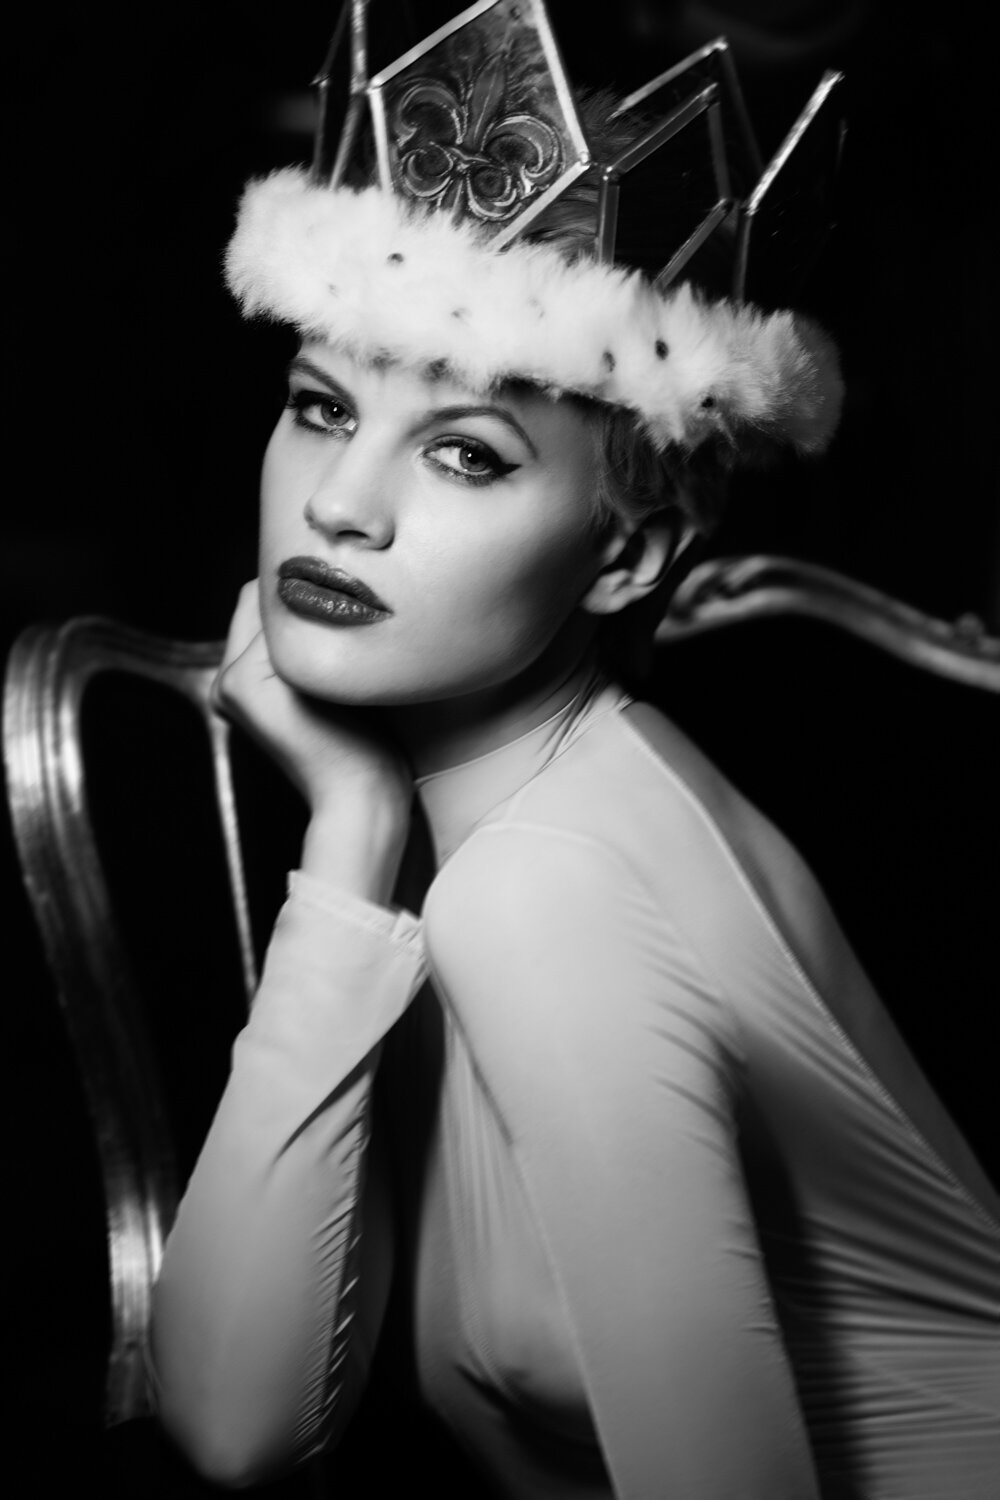
Click here to check out our Fuji related blogs – Interviews – Blog menu
Here are a few links to help you find some of the stuff mentioned in this blog post, also remember to sign up for the newsletter which can be found here.
The post Shooting Lingerie – Maison Close (NSFW) appeared first on Photography by Dave Kai Piper.
]]> https://ideasandimages.co.uk/shooting-lingerie-maison-close/feed/ 0